Advertisement
Features:
•
Clear functional design
•
Easy to read outdoor temperature from indoors
•
Maximum and minimum values with auto reset
•
Easy to mount
•
Detachable for simple window cleaning
•
Weather resistant
Specifications:
Measuring range:
Accuracy:
Resolution:
Battery:
Installation:
1.
Select your location for mounting in an area that is easy to view.
2.
Clean the glass surface completely before mounting.
NOTE: Be sure to completely clean the surface of dust and dirt and let the area dry completely prior to mounting the thermometer. Failure to do so may result in bad
adhesion between the window and holder.
3.
Remove the holder that has the adhesive tape attached (this is held on by a pressure fitting and can simply be pulled off).
4.
Using a screwdriver open the battery compartment.
5.
Remove the plastic tab from between the battery and the positive terminal.
6.
At this point the display will be active.
7.
Replace the battery compartment door.
8.
Replace the thermometer into the holder.
9.
Remove the protective film from the display of the thermometer.
NOTE: Before continuing please be sure to set the time – See the next section on Setting the Time
10. Remove the plastic from the adhesive strip.
11. Press the adhesive strip against the glass to adhere the thermometer.
Please note: In order to obtain the most accurate temperature reading be sure to mount the thermometer out of direct sunlight. Mounting the unit in direct sunlight
will cause artificially high temperature readings.
Setting the Time:
1.
Press the MODE button to enter the setting mode.
2.
The hours digits will flash in the center of the display.
3.
Press and release the + button to advance the hour.
NOTE: When in the hours between midnight and noon A.M. will be displayed on the left of the display. When in the hours between noon and midnight P.M. will be
displayed on the left side of the display.
4.
Press and release the MODE button to confirm the hour and advance to the minute setting.
5.
The minutes digits will flash at the bottom of the display.
6.
Press and release the + button to advance the minute.
7.
Holding down the + button will advance the minutes faster.
8.
Press and release the MODE button to confirm the minutes and exit the time setting mode.
NOTE: The thermometer does not have an automatic time out feature and will stay in the time set mode until manually completed.
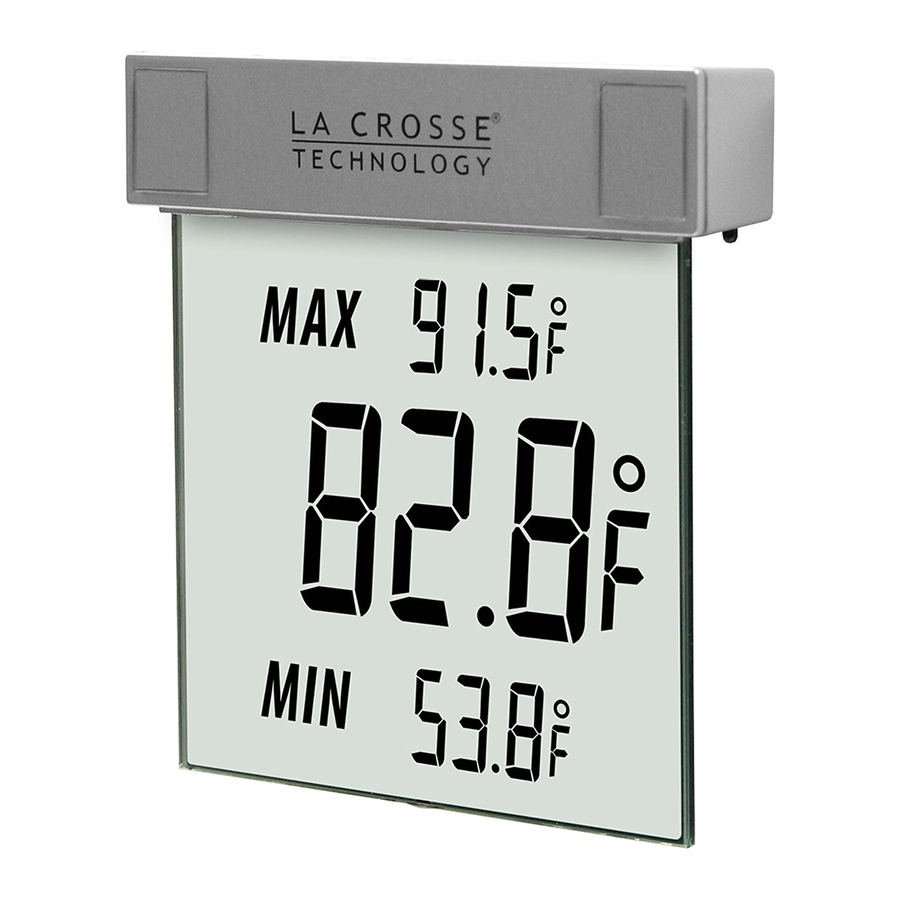
Use and MAX/MIN temperatures:
•
The upper display shows the maximum temperature.
•
The middle display shows the current temperature.
•
The lower display shows the minimum temperature.
•
The maximum temperature automatically resets at 8:00 A.M.
•
The minimum temperature automatically resets at 8:00 P.M.
•
If the time is not set the maximum and minimum temperature will not be reset at the correct local time.
Maintenance:
•
Replace the battery when the display becomes weak.
•
Do not expose the instrument to extreme temperatures, vibration or shock
•
Clean the thermometer with a soft damp cloth only. Do not use solvents or scouring agents.
•
Please do not try to repair the unit. Contact the original point of purchase or La Crosse Technology Warranty for repair/replacement instructions.
WS-1025 Digital Window Thermometer
-13 ºF to +158 ºF
32 ºF to 122 ºF ± 1.8 ºF, otherwise ± 2.7 ºF
0.1 ºF (0.1ºC)
1 AAA alkaline
1
Advertisement
Table of Contents

Related Manuals for La Crosse Technology WS-1025


Summary of Contents for La Crosse Technology WS-1025
- Page 1 WS-1025 Digital Window Thermometer Features: • Clear functional design • Easy to read outdoor temperature from indoors • Maximum and minimum values with auto reset • Easy to mount • Detachable for simple window cleaning • Weather resistant Specifications: Measuring range: -13 ºF to +158 ºF...
- Page 2 La Crosse Technology, Ltd provides a 1-year limited warranty on this product against manufacturing defects in materials and workmanship. This limited warranty begins on the original date of purchase, is valid only on products purchased and used in North America and only to the original purchaser of this product.
Need help?
Do you have a question about the WS-1025 and is the answer not in the manual?
Questions and answers
The battery was weak so I changed it, and now none of the buttons work. I am not able to set the time or the tempreture
If the buttons on the La Crosse Technology WS-1025 do not work after changing the battery, ensure the plastic tab has been removed from between the battery and the positive terminal, and confirm the battery is correctly installed. If the issue persists, do not attempt to repair the unit yourself. Contact the original point of purchase or La Crosse Technology Warranty for repair or replacement instructions.
This answer is automatically generated
@Mr. Anderson
How do you gently remove the window thermometer from the window bracket and open it to change the (low) battery?? LaCrosse WS-1025U model.
To remove the La Crosse Technology WS-1025 window thermometer from the bracket to change the low battery:
1. Grasp both sides of the thermometer and pull back firmly.
2. Use a screwdriver to remove the battery cover.
3. Replace the AAA battery.
4. Securely screw the battery cover back in place.
5. Reattach the thermometer to the mounting bracket.
This answer is automatically generated
How do you remove the LaCrosse window-mounted thermometer from its window mount base safely to change the battery?
To safely remove the La Crosse Technology WS-1025 window-mounted thermometer from its window mount base to change the battery:
1. Detach the thermometer – The thermometer is attached to the window mount base using a pressure fitting. Simply pull it off to detach it.
2. Open the battery compartment – Use a screwdriver to open the battery compartment.
3. Replace the battery – Remove the old battery and insert a new AAA alkaline battery.
4. Reattach the thermometer – After replacing the battery, secure the battery compartment and reattach the thermometer to the window mount base.
This process allows for easy battery replacement while keeping the mount in place.
This answer is automatically generated