
Related Manuals for Insignia NS-RTM10WH2


Summary of Contents for Insignia NS-RTM10WH2
- Page 1 USER GUIDE 10 Cu. Ft. Top Mount Refrigerator NS-RTM10WH2/NS-RTM10WH2-C/NS-RTM10SS2/NS-RTM10SS2-C Before using your new product, please read these instructions to prevent any damage.
-
Page 2: Table Of Contents
ONE-YEAR LIMITED WARRANTY ..............20 Introduction Congratulations on your purchase of a high-quality Insignia product. Your NS-RTM10WH2, NS-RTM10WH2-C, NS-RTM10SS2, or NS-RTM10SS2-C represents the state of the art in top mount refrigerator design and is designed for reliable and trouble-free performance. -
Page 3: Important Safeguards
10 Cu. Ft. Top Mount Refrigerator IMPORTANT SAFEGUARDS CAUTION RISK OF ELECTRIC SHOCK DO NOT OPEN This symbol indicates that dangerous voltage constituting a risk of electric shock is present within your refrigerator. This symbol indicates that there are important operating and maintenance instructions in the literature accompanying your refrigerator. -
Page 4: Grounding Requirement
WARNING Electric Shock Hazard Failure to follow these instructions can result in electric shock, fire, or death. 1 WARNING–Keep ventilation openings, in both your refrigerator and the built-in structure, clear of obstruction. 2 WARNING–Do not touch the interior of your refrigerator with wet hands. This could result in frostbite. -
Page 5: Features
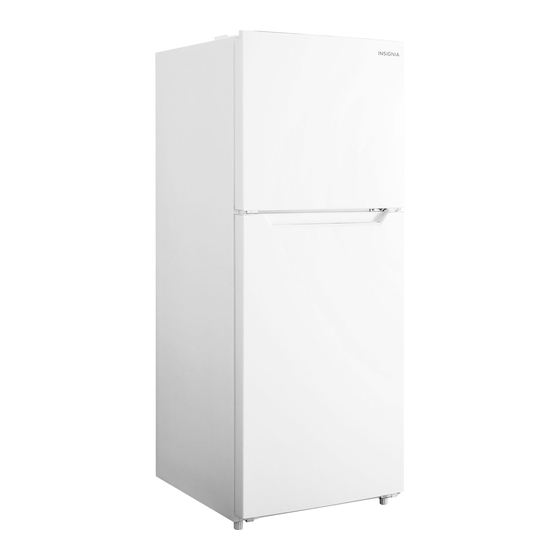
10 Cu. Ft. Top Mount Refrigerator Features Package contents • 10 Cu. Ft. Refrigerator • Left-Side Upper Hinge Cover • Lower Left Hinge • User Guide Dimensions 59.4 in. (151 cm) www.insigniaproducts.com... -
Page 6: Exterior
Exterior Top hinge Freezer door Refrigerator door handle Refrigerator door Leveling feet www.insigniaproducts.com... -
Page 7: Interior
10 Cu. Ft. Top Mount Refrigerator Interior Freezer shelf Freezer door racks Freezer temperature control Refrigerator temperature control LED light Dairy compartment Refrigerator door racks Refrigerator shelves Bottle storage bin Crisper humidity control Crisper drawer Leveling foot Leveling foot Setting up your refrigerator CAUTION: •... -
Page 8: Providing Correct Ventilation
• Avoid locating your refrigerator in moist areas. • Your refrigerator is intended for household use only. It is not designed for outside installation, including anywhere that is not temperature controlled, such as a garage or porch. Your refrigerator is designed to operate in a temperature range of 50°F (10°C) and 109°F (43°C). If you operate your refrigerator outside this temperature range, your refrigerator may not work correctly. -
Page 9: Providing The Correct Power Source
10 Cu. Ft. Top Mount Refrigerator Providing the correct power source Check your local power source. Your refrigerator requires a 115V, 60Hz power supply. WARNINGS: Make sure that: • The power outlet accepts a 3-prong grounding plug. The third prong on the power cord plug grounds your refrigerator to minimize the possibility of electric shock. -
Page 10: Reversing The Refrigerator Door
Reversing the refrigerator door CAUTION: If you lay your refrigerator on its back or side for any length of time, wait for six hours after you stand it up again before you plug it in. Otherwise, you may damage internal components. You will need the following tool to reverse the refrigerator door: Phillips screwdriver 1 Make sure that your refrigerator is unplugged. - Page 11 10 Cu. Ft. Top Mount Refrigerator 8 Move the hinge hole sleeve from the top right side of the refrigerator door to the top left side of the door, then move the hinge hole cover from the top left side of the refrigerator door to the top right side of the door. Set the refrigerator door aside.
- Page 12 13 Install the lower left hinge (found in the accessory bag) on the lower left side of the refrigerator. Front of refrigerator Lower left hinge 14 Install the adjustable feet on the bottom of the refrigerator, then set the refrigerator upright. Adjustable foot Adjustable foot Refrigerator bottom...
-
Page 13: Using Your Refrigerator
10 Cu. Ft. Top Mount Refrigerator Using your refrigerator CAUTIONS: • If you run your refrigerator in an ambient temperature below 50° F, it may not operate consistently, it may not operate consistently. For example, the freezer temperature may become too warm and the contents may defrost. •... -
Page 14: Setting The Humidity In The Crisper
Setting the humidity in the crisper There is a humidity control gauge on the crisper that can be used to control the level of humidity inside the crisper. The single water drop indicates less humid conditions. The three water drops indicate more humid conditions. Move the slider to change the setting. -
Page 15: Adjusting The Door Racks
10 Cu. Ft. Top Mount Refrigerator Adjusting the door racks CAUTION: Do not put too many heavy items in the door racks. You may break the racks. The refrigerator and freezer compartments have door racks. You can adjust a rack to fit the items you want to store. 1 Remove all items from a rack. -
Page 16: Maintaining Your Refrigerator
Maintaining your refrigerator Cleaning your refrigerator CAUTIONS: To prevent damage to the finish: • Do not use gasoline, benzine, thinner, or other similar solvents. • Do not use abrasive cleaners. • Do not use sharp objects because they are likely to scratch the surface. We recommend that you do the following every time you clean your refrigerator to keep it running odor-free and efficiently: 1 Unplug your refrigerator from the power outlet. -
Page 17: Tips On Saving Energy
10 Cu. Ft. Top Mount Refrigerator Tips on saving energy • Locate your refrigerator in the coolest area of the room, away from heat producing appliances or heating ducts and out of direct sunlight. • Let hot foods cool to room temperature before placing them in your refrigerator. Overloading your refrigerator forces the compressor to run longer. -
Page 18: Troubleshooting
Troubleshooting CAUTION: Do not try to repair your refrigerator yourself. Doing so invalidates the warranty. If any temperature indicator lights flash continuously, it indicates a possible malfunction. Unplug the refrigerator for one min and then plug it back in. If the flashing light condition recurs, contact customer service. PROBLEM SOLUTION •... -
Page 19: Specifications
10 Cu. Ft. Top Mount Refrigerator PROBLEM SOLUTION The following sounds are normal: • Compressor running noises. • Air movement noise from the small fan motor in the freezer compartment or other compartments. • Popping noise during automatic defrosting. The refrigerator makes unusual •... -
Page 20: One-Year Limited Warranty
During the Warranty Period, if the original manufacture of the material or workmanship of the Product is determined to be defective by an authorized Insignia repair center or store personnel, Insignia will (at its sole option): (1) repair the Product with new or rebuilt parts; or (2) replace the Product at no charge with new or rebuilt comparable products or parts. - Page 21 For product inquiries, please contact us with the information below: 1-877-467-4289 www.insigniaproducts.com INSIGNIA is a trademark of Best Buy and its affiliated companies. Distributed by Best Buy Purchasing, LLC 7601 Penn Ave South, Richfield, MN 55423 U.S.A. V3 ENGLISH ©2021 Best Buy. All rights reserved.
Need help?
Do you have a question about the NS-RTM10WH2 and is the answer not in the manual?
Questions and answers