Keysight Technologies E8267D Installation Notes
Psg signal generators upgrade kit for option 601 and 602, digital bus baseband generator with 8 and 64 msample memory, respectively
Hide thumbs
Also See for E8267D:
- Installation manual (43 pages) ,
- Installation note (25 pages) ,
- Service manual (417 pages)
Table of Contents
Advertisement
Quick Links
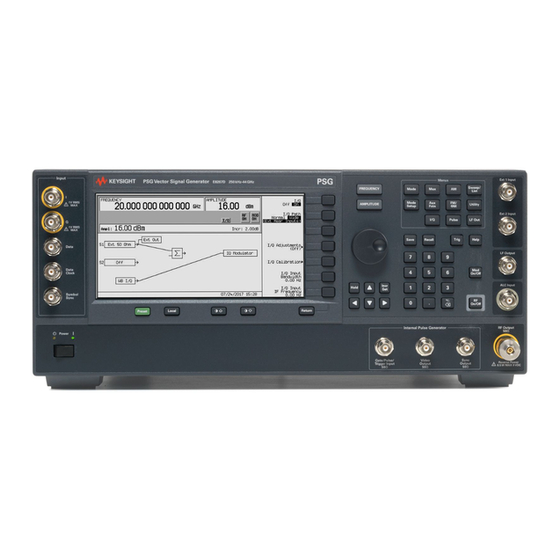
Keysight E8267D PSG Signal Generators
Upgrade Kit for Option 601 and 602
(Digital Bus Baseband Generator with 8
and 64 Msample Memory, respectively)
Kit Part Numbers E8267DK-601 and E8267DK-602
Notice: This document contains references to Agilent.
Please note that Agilent's Test and Measurement busi-
ness has become Keysight Technologies. For more in-
formation, go to www.keysight.com.
Installation Note
Part Number: E8251-90388
Printed in USA August 2014
Advertisement
Table of Contents

Subscribe to Our Youtube Channel
Related Manuals for Keysight Technologies E8267D


Summary of Contents for Keysight Technologies E8267D
- Page 1 64 Msample Memory, respectively) Kit Part Numbers E8267DK-601 and E8267DK-602 Notice: This document contains references to Agilent. Please note that Agilent’s Test and Measurement busi- ness has become Keysight Technologies. For more in- formation, go to www.keysight.com. Installation Note Part Number: E8251-90388...
- Page 2 The information contained in this document is subject to change without notice. Keysight Technologies makes no warranty of any kind with regard to this material, including but not limited to, the implied warranties of merchantability and fitness for a particular purpose. Keysight Technologies shall not be liable for errors contained herein or for incidental or consequential damages in connection with the furnishing, performance, or use of this material.
- Page 3 Estimated Verification Time: ....1.0 hours Introduction This upgrade kit adds the Digital Bus Baseband Generator with 8 or 64 Msample memory to the E8267D. NOTE This kit requires a PC or UNIX computer with LAN, GPIB, or RS232 access.
-
Page 4: Installation Kit Parts List
Installation Kit Parts List Item Quantity Description Part Number Installation Note E8251-90388 W64 Ribbon Cable Assembly 8121-1328 W90 Digital Bus Cable 8121-0690 Hex Nut 15/21-32 (AUX I/O) 2950-0035 Washer .4721D (BNC) 2190-0102 A14 Digital Bus Baseband Generator 8/64 Msample E4400-60765 W65 Cable A33/A04 400G 8121-0643 Entitlement Certificate... -
Page 5: Check Signal Generator Functionality
Check Signal Generator Functionality Use the following procedure to confirm that the signal generator powers up and the internal check identifies no errors. The internal check evaluates the operation of the signal generator and returns an error message if it detects a problem. NOTE When the signal generator is first connected to ac line power, the error message ERROR 514, Reference Oven Cold occurs, which causes both the OVEN COLD annunciator and the... -
Page 6: Remove The Outer And Inner Signal Generator Covers
Remove the Outer and Inner Signal Generator Covers Remove the Outer Cover Refer to Figure 1. Disconnect the power cord. 2. Using a T-20 driver, loosen the two screws (1) and remove the strap handle (2). 3. Using a T-15 driver, remove the center screws (3) on the four rear-panel feet (4). 4. - Page 7 Figure 1 Outer Cover Removal...
- Page 8 Figure 2 Inner Top Cover Removal...
- Page 9 Install the A14 Digital Bus Baseband Generator Board Remove the A40 Compact Flash Drive Assembly If the unit has a flash drive, remove the flash drive. Otherwise, proceed to “Install the Baseband Board”. Refer to Figure 3 Figure 4 for this procedure. 1.
- Page 10 Figure 4 A41 Flash Drive Door Assembly Door Latch Screw Install the Baseband Board Refer to Figure Figure Figure 7, and Figure 1. Remove the four screws from the baseband cover as shown in Figure 2. Set the baseband cover aside. 3.
- Page 11 Figure 5 Baseband Cover Removal...
- Page 12 Figure 6 A14 Internal Baseband Generator Board W64/A14J13 W90/A14J21 W65/A14J801 Figure 7 A17 Baseband Generator Interface Board W90/A17P1 W64/A17P2...
- Page 13 CAUTION Make sure the angled side of the cable connector on W90 is facing up. Failure to do so could result in damage to the A17 Rear Panel Interface Board connector. Figure 8 Digital Bus Cable Installation A17P1...
-
Page 14: Re-Assemble The Signal Generator
Activate Option 601/602 1. Follow the instructions on the Entitlement Certificate. Verify Proper Installation of Option 601/602 1. Turn the signal generator on. 2. Check that Option 601/602 is installed by pressing > > Utility Instrument Info/Help Mode Options Info 3.
Need help?
Do you have a question about the E8267D and is the answer not in the manual?
Questions and answers