Juniper EX4300 Manual
Hide thumbs
Also See for EX4300:
- Hardware manual (415 pages) ,
- Quick start manual (11 pages) ,
- Hardware documentation (966 pages)
Advertisement
Quick Links
Day One+
EX4300
IN THIS GUIDE
Step 1: Begin | 1
Step 2: Up and Running | 6
Step 3: Keep Going | 9
Step 1: Begin
IN THIS SECTION
Meet the EX4300 Line of Ethernet Switches | 1
Install the EX4300 | 2
Power On | 5
Meet the EX4300 Line of Ethernet Switches
®
The Juniper Networks
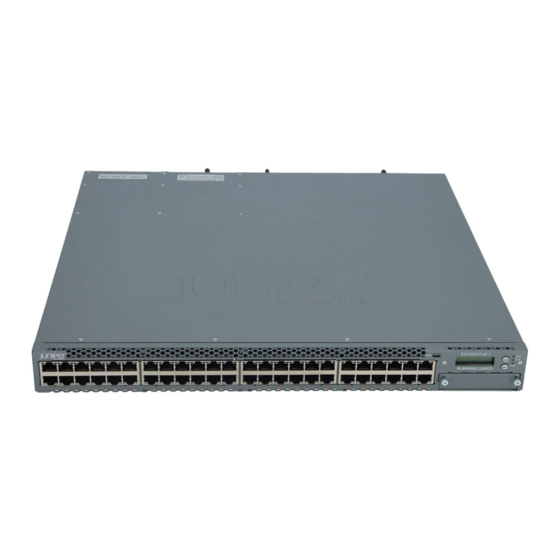
systems or as part of a Virtual Chassis switching architecture. The EX4300 switches are available in 24-port, 32-port, and
48-port models, with or without PoE+, with AC or DC power supplies, and with different airflow directions. EX4300
switches also provide uplink ports and a slot for installing an optional uplink module.
Model
EX4300-24T
EX4300-24P
EX4300 Ethernet Switches are fixed-configuration platforms that can be deployed as standalone
10/100/1000BASE-T Ports
24
24
PoE/PoE+ Ports
0
24
Advertisement

Related Manuals for Juniper EX4300


Summary of Contents for Juniper EX4300
- Page 1 EX4300 Ethernet Switches are fixed-configuration platforms that can be deployed as standalone systems or as part of a Virtual Chassis switching architecture. The EX4300 switches are available in 24-port, 32-port, and 48-port models, with or without PoE+, with AC or DC power supplies, and with different airflow directions. EX4300 switches also provide uplink ports and a slot for installing an optional uplink module.
- Page 2 EX4300-32F 32 100/1000BASE-X ports In this guide, we show you how to install an AC-powered EX4300 switch with the fan modules and power supplies preinstalled. If you need instructions for installing fans, power supplies, and optional uplink modules, see the...
- Page 3 You can install the EX4300 switch on a table or desktop, on a wall, or in a two-post or four-post rack. The mounting kit that ships in the box has the brackets you need to install the EX4300 switch in a two-post rack. We’ll walk you through how to do that.
- Page 4 Attach the mounting brackets to the location that best suits where you want the EX4300 switch to sit in the rack. 4. Lift the EX4300 switch and position it in the rack. Line up the bottom hole in each mounting bracket with a hole in each rack rail, making sure the EX4300 switch is level.
- Page 5 6. Check that the mounting brackets on each side of the rack are level. Power On Now you’re ready to connect the EX4300 switch to a dedicated AC power source. The switch comes with the AC power cord for your geographic location.
-
Page 6: Step 2: Up And Running
Customize the Basic Configuration | 7 Now that the EX4300 switch is powered on, let’s do some initial configuration to get the switch up and running on your network. It’s simple to provision and manage the EX4300 switch and other devices on your network. Choose the configuration tool that’s right for you:... -
Page 7: Plug And Play
Enables IGMP snooping Enables the LLDP and RSTP protocols These settings load as soon as you power on the EX4300 switch. If you want to see what’s in the factory-default configuration file for your EX4300 switch, see EX4300 Switch Default Configuration. - Page 8 Stop bits—1 DCD state—Disregard 2. Connect the console port on the EX4300 switch to a laptop or desktop PC using the Ethernet cable and the RJ-45 to DB-9 serial port adapter that came in the box with the switch. NOTE: If your laptop or desktop PC doesn't have a serial port, use a serial-to-USB adapter (not provided).
- Page 9 15. When the configured parameters are shown on the screen, type yes to commit the new configuration. This becomes the active configuration for the EX4300 switch. You can now log in to the EX4300 switch with the CLI and continue customizing the configuration. Step 3: Keep Going Congratulations! Now that you’ve done the initial configuration, your EX4300 switch is ready to use.
Need help?
Do you have a question about the EX4300 and is the answer not in the manual?
Questions and answers