Table of Contents
Advertisement
Advertisement
Table of Contents

Subscribe to Our Youtube Channel
Related Manuals for VIOMI V2 max


Summary of Contents for VIOMI V2 max
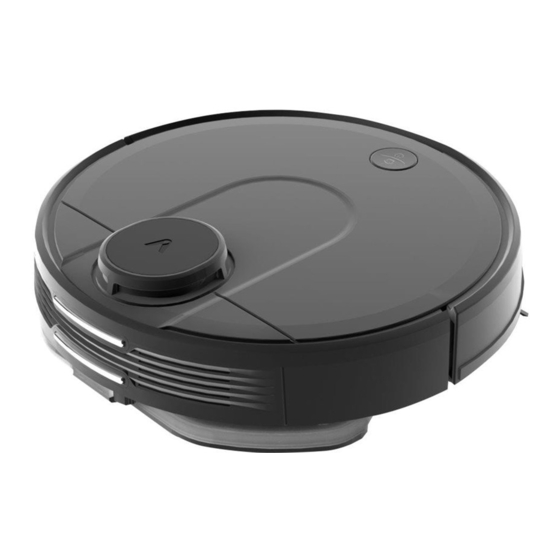
- Page 1 Viomi Robot Vacuum Cleaner V2 max...
- Page 3 CONTENTS Viomi Robot Vacuum Cleaner V2 Max User Manual ....................01...
-
Page 4: Safety Information
Safety Information Usage Restrictions • This appliance is not intended for use by persons (including children) • Do not spray any liquid into the vacuum-mop (make sure the dust with reduced physical, sensory or mental capabilities, or lack of compartment is thoroughly dry before its reinstalling). experience and knowledge, unless they have been given supervision or •... -
Page 5: Electrical Diagram
Electrical Diagram BaGeries and Charging • Do not use any third-party baGery, charger, or charging dock. Use Power Charging Board Power Adapter Plug only with<NLD120200W1A4> supply unit. • The appliance must be disconnected from the supply mains when removing thebaGery. Leh Wheel Leh Wheel •... -
Page 6: Product Overview
Product Overview Product & Accessories List Vacuum-Mop Accessories Cleaning Brush Main Brush Main Brush Guard Accessory Box Contents Viomi V2 Max 2-in-1 Dust Compartment Side Brush (×2) Charging Dock Power Adapter with Water Reservoir (for vacuuming and mopping modes) Note: Illustrations of product, accessories, and user interface in the user manual are for reference purposes only. -
Page 7: Indicator Status
Charging Dock Charging Indicator Mop Assembly Leh Wheel Laser Radar Right Wheel Main Brush Guard Cover Main Brush BaGery Pack Function BuGons SideBrush Cliff Sensors Collision Sensor IRReceiver Sensor Indicator Status Dock Press to send vacuum-mop back to Slowly blinking yellow Returning to dock to Blinking blue Wi-Fi not connected... -
Page 8: Installation
Installation 1. Connect the charging dock to the power outlet. 3. Place the charging dock on a level ground against a wall. 2. Install the side brush on the upper-leh corner of the vacuum-mop, as shown in the figure. An extra side brush in the package is provided as a spare and does not need to be installed. - Page 9 Installing Accessories for Desired Mode Vacuuming and mopping mode: Install 2-in-1 dust compartment with water reservoir, mop holder, and mop. Cleanup mode: Install 2-in-1 dust compartment with water reservoir. 1. Open the water reservoir lid, fill up the reservoir, then reaGach the lid.
- Page 10 4. Pinch the clips, install the mop holder horizontally into the boGom of the vacuum-mop, as illustrated. 5. Turn on the vacuum-mop. It is now ready to start vacuuming and mopping. Precautions: 1. Do not place the charging dock in an area with direct sunlight. 2.
-
Page 11: How To Use
How toUse Turning On/Off When the vacuum-mop is on the charging dock, it will automatically turn on and cannot be turned off. Tomanually turn on the vacuum-mop,press and hold the buGon until the indicator lights up. When the vacuum-mop is in standby mode and not on the charging dock, press and hold the buGon to turn it off. - Page 12 Cleaning Preferences Four suction modes are available in the Mi Home/Xiaomi Home app: Silent, Standard, Medium, and Turbo. The default mode is Standard. Do Not Disturb Mode In the Do Not Disturb mode, the vacuum-mop will not resume cleanup, perform scheduled cleanup, or issue voice alerts. Do Not Disturb Mode is enabled by default and can be disabled via the app.
- Page 13 Connect with Mi Home/Xiaomi Home App This product works with Mi Home/Xiaomi Home app *. Control your device, and interact it and other smart home devices with Mi Home/Xiaomi Home app. Scan the QR code to download and install the app. You will be directed to the connection setup page if the app is installed already.
-
Page 14: Care And Maintenance
Care &Maintenance 2-in-1 Dust Compartment with Water Reservoir Filter To clean the filter in 2-in-1 dust compartment with water reservoir, 1. Open the cover of vacuum-mop, remove it as indicated in the diagram. remove the 2-in-1dust compartment with water reservoir, then remove the filter as shown in the figure. -
Page 15: Side Brush
Side Brush Periodically remove and clean the side brush. It is recommended to replace the side brush every 3–6 months for optimal cleaning effectiveness. Cliff Sensors Clean the cliff sensors every three months using a soh cloth. Cliff Sensors... -
Page 16: Possible Causes
Wi-Fi Wi-Fi coverage. "viomi-vacuum-v19_ andhave a goodsignal. Follow the 2. There is something wrong with the miapXXXX" in the app instructions inthe user manual to Wi-Fi connection. -
Page 17: Troubleshooting
Troubleshooting Fault Solution Fault Solution Error 1: Make sure that Clear any foreign objects which may Error 8: Reinstall the dust Make sure the dust compartment the laser distance sensor block or obstruct the laser distance compartment and filter. and filter are installed correctly. If the is not obstructed. -
Page 18: Specifications
Specifications Vacuum-Mop • Our company reserves the right to make any tech- nical or design changes to the product due to Model V-RVCLM24B continuous product improvement needs. Dimensions φ350 × 94.5 mm • The right of interpretation belongs to our compa- Rated Input Voltage 20 V Rated Input Current... - Page 19 Manufactured by: Guangdong Lizi Technology Co., Ltd Address: Room 1-6, North of 1st Floor, Block A, Shengda Industrial Park, North No.2, Xinxi Four Road, Xiashi Village, Lunjiao Town, Shunde District, Foshan, Guangdong, China...
Need help?
Do you have a question about the V2 max and is the answer not in the manual?
Questions and answers