Advertisement
Quick Links
aspenhome
ah
ITEM NO: I256-6808
Thank you for purchasing this quality product. Be sure to check all packing material carefully for
small parts that may come loose inside the carton during shipment.
HARDWARE LIST:
Description
No.
Bolt Ø5/16" x 1-1/2"
A
Lock Washer Ø5/16"
B
Flat Washer Ø5/16" x 7/8"
C
D Allen Wrench 4mm
FUNCTIONALITY INSTRUCTION
2 AC outlet
Power Pack
BEFORE USING THIS PRODUCT PLEASE READ, UNDERSTAND, AND FOLLOW THESE INSTRUCTIONS.
Save these instructions for future reference.
Page 1/2
R
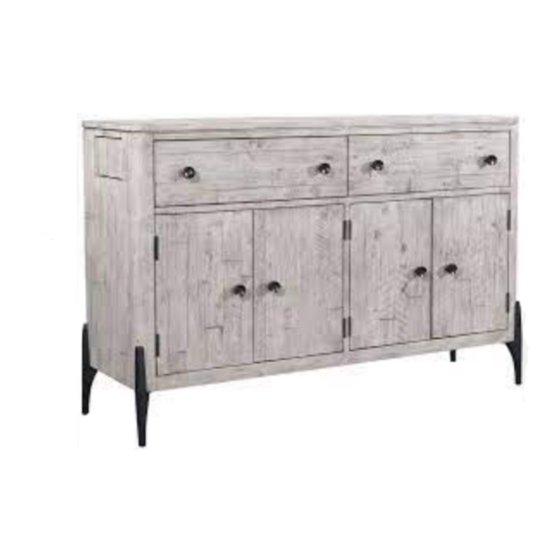
Sideboard
Quantity
Sketch
4 PCS
4 PCS
4 PCS
1 PC
If you prefer to adjust the shelf
location, remove the screws and
move shelf brackets to the desired
location. Then secure the brackets
to shelf with screws.
FOR INDOOR USE ONLY
MADE IN VIETNAM
ASSEMBLY INSTRUCTIONS
TOOLS REQUIRED (NOT PROVIDED)
PHILLIPS SCREWDRIVER
COMPONENTS LIST:
Description
No.
1
Case
Metal Leg
2
Support Leg
3
Quantity
Sketch
1 PC
4 PCS
1 PC
Removable Jewelry tray
Felt-lined Top Drawers
Leveler on Legs
Adjust the leveler
when necessary
04-15-2022
Advertisement

Subscribe to Our Youtube Channel
Summary of Contents for Furniture Values International aspenhome I256-6808
- Page 1 aspenhome ASSEMBLY INSTRUCTIONS ITEM NO: I256-6808 Sideboard Thank you for purchasing this quality product. Be sure to check all packing material carefully for small parts that may come loose inside the carton during shipment. TOOLS REQUIRED (NOT PROVIDED) PHILLIPS SCREWDRIVER HARDWARE LIST: COMPONENTS LIST: Description...
- Page 2 aspenhome ASSEMBLY INSTRUCTIONS ITEM NO: I256-6808 Sideboard STEP 1: Put the case upside down on a soft surface. STEP 2: Each metal leg will come with screw pre-installed with a 1/4" lag as shown below. Adjust as needed to ensure the 1/4" lag. Insert the screw on each metal leg into the buckle plate on the case and push it down to the suitable position.


Need help?
Do you have a question about the aspenhome I256-6808 and is the answer not in the manual?
Questions and answers