Advertisement
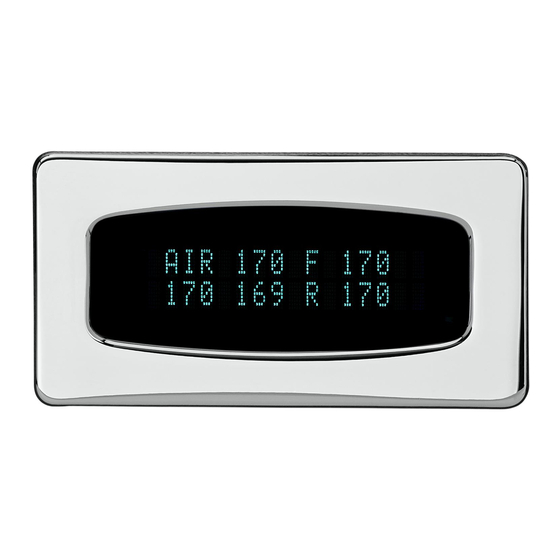
DUAL, TRIPLE, or QUAD AIR PRESSURE GAUGE
Warning output
+12V power
Light or
Buzzer.
1 AMP max.
www.dakotadigital.com
techsupport@dakotadigital.com
605-332-6513
setup/status switch
Connect to main
chassis ground
+12V
Key on power
(fused 5 - 20 AMP max)
ODY-19-6
Connect to tail light circuit.
Gauge will dim when
terminal has +12V
+12V
(fused 5 - 20 AMP max)
Momentary
switch
for setup
Connect to main
chassis ground
To gauge control box
or another BIM
BIM-19-1
AIR RIDE
1
Key on power
Left Front pressure sensor
Right Front pressure sensor
Right Rear pressure sensor
Left Rear pressure sensor
Tank pressure sensor
MAN#650446
Advertisement
Table of Contents

Subscribe to Our Youtube Channel
Related Manuals for Dakota Digital Odyssey ODY-19-6


Summary of Contents for Dakota Digital Odyssey ODY-19-6
- Page 1 ODY-19-6 DUAL, TRIPLE, or QUAD AIR PRESSURE GAUGE Warning output +12V power Light or Buzzer. 1 AMP max. Connect to tail light circuit. Gauge will dim when terminal has +12V +12V Key on power (fused 5 - 20 AMP max) Momentary switch for setup...
- Page 2 For higher current buzzers or lights, a relay will need to be used to switch the indicator on. Dakota Digital’s RLY-1 30A relay may be used for this. One of the coil wires should be connected to 12 volts and the other coil wire connected to the WRN terminal. When the gauge is outside its limits, the relay will turn on.
- Page 3 Setting the warning limit: The low and high warning limits can be set to different values for each sensor. A push button switch connected to the SW terminal is used for setting the warning limit. The switch should provide a momentary ground to the SW terminal. The procedure for setting the warning limit is as follows: 1.
- Page 4 Mounting: The gauge requires a rectangular cut out that is about 3-3/8“ x 1-11/16“. It should be inserted into the opening from the front and the U-clamp will be installed from the back. Tighten the two nuts on the U-clamp so that the gauge is secure. MAN#650446...
- Page 5 Troubleshooting guide. Problem Possible cause Solution Gauge will not light up PWR terminal does not have Connect to a location that has power. power. GND terminal is not getting Connect ground to a different location. a good ground. Gauge is damaged. Return gauge for repair.
- Page 6 Any action for breach of any warranty hereunder, including any implied warranty of merchantability, must be brought within a period of 24 months from date of original purchase. No person or representative is authorized to assume, for Dakota Digital, any liability other than expressed herein in connection with the sale of this product.
Need help?
Do you have a question about the Odyssey ODY-19-6 and is the answer not in the manual?
Questions and answers