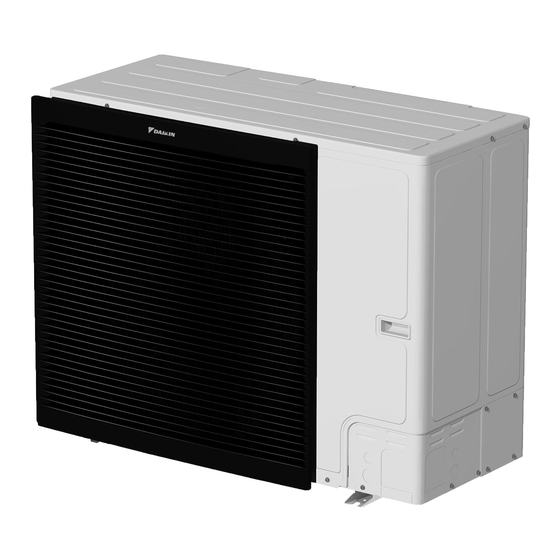
Daikin Altherma 3 R Installation Manual
Hide thumbs
Also See for Altherma 3 R:
- Installer's reference manual (312 pages) ,
- User reference manual (64 pages) ,
- Installation manual (48 pages)
Table of Contents

Summary of Contents for Daikin Altherma 3 R
- Page 1 Installation manual Daikin Altherma 3 R https://daikintechnicaldatahub.eu ERLA11D▲V3▼ ERLA14D▲V3▼ ERLA16D▲V3▼ ERLA11D▲W1▼ ERLA14D▲W1▼ ERLA16D▲W1▼ Installation manual English ▲= A, B, C, …, Z Daikin Altherma 3 R ▼= , , 1, 2, 3, …, 9...
- Page 2 (mm) — ≥300 A, B, C — ≥500 ≥300 ≥100 B, E — ≥300 ≥1000 ≤500 A, B, C, E — ≥500 ≥300 ≥150 ≥1000 ≤500 — ≥500 D, E — ≥500 ≥1000 ≤500 A, C — ≥500 ≥100 B, D OR H ) ≤...
- Page 4 2P701702-1...
- Page 5 2P701702-1...
- Page 6 2P701702-2...
- Page 7 2P701702-2...
- Page 8 2P701702-3...
- Page 9 2P701702-3...
- Page 10 2P701702-4...
- Page 11 2P701702-4...
-
Page 12: Table Of Contents
To fix the fluorinated greenhouse gases label .... 18 Daikin website (publicly accessible). 6 Electrical installation ▪ The full set of latest technical data is available on the Daikin About electrical compliance............19 Business Portal (authentication required). Specifications of standard wiring components ......19 Online tools Guidelines when connecting the electrical wiring...... -
Page 13: Specific Installer Safety Instructions
▪ The wiring diagram, which is delivered with the unit, located at the inside of the service cover. For a translation of its legend, see "9.2 Wiring diagram: unit" [ 4 23]. Outdoor ERLA11~16D Installation manual Daikin Altherma 3 R 4P643598-1B – 2022.05... -
Page 14: To Remove The Transportation Stay
2 Remove and discard the transportation stay (b). 3 Remove and discard the spacer (c). 4 Reinstall the nut (a) of the compressor mounting bolt and torque (mm) to 10.1 N•m. Installation manual ERLA11~16D Daikin Altherma 3 R 4P643598-1B – 2022.05... -
Page 15: To Install The Outdoor Unit
3 Remove the sling, and dispose of it. 4 Fix the unit to the installation structure. Discharge side Distance between anchor points Bottom frame Drain holes Knockout hole for snow ERLA11~16D Installation manual Daikin Altherma 3 R 4P643598-1B – 2022.05... -
Page 16: To Install The Discharge Grille
▪ Remove the service cover (a) with screw (b). ▪ Remove the piping intake plate (c) with screws (d). 4.3.1 To open the outdoor unit DANGER: RISK OF ELECTROCUTION DANGER: RISK OF BURNING/SCALDING Installation manual ERLA11~16D Daikin Altherma 3 R 4P643598-1B – 2022.05... - Page 17 3 Do the following: ▪ Connect the liquid pipe (a) to the liquid stop valve. ▪ Connect the gas pipe (b) to the gas stop valve. ERLA11~16D Installation manual Daikin Altherma 3 R 4P643598-1B – 2022.05...
-
Page 18: Checking The Refrigerant Piping
4 After turning the pump OFF, check the pressure for at least 1 hour. 5 If you do NOT reach the target vacuum or CANNOT maintain the vacuum for 1 hour, do the following: Installation manual ERLA11~16D Daikin Altherma 3 R 4P643598-1B – 2022.05... -
Page 19: Electrical Installation
Earth leakage circuit breaker 30 mA – Must comply with applicable legislation MCA=Minimum circuit ampacity. Stated values are maximum values (see electrical data of combination with indoor units for exact values). ERLA11~16D Installation manual Daikin Altherma 3 R 4P643598-1B – 2022.05... -
Page 20: Finishing The Outdoor Unit Installation
Insulation resistance is not OK. Go to the next step. 2 Turn ON the power and leave it on for 6 hours. Result: The compressor will heat up and evaporate any refrigerant in the compressor. Installation manual ERLA11~16D Daikin Altherma 3 R 4P643598-1B – 2022.05... -
Page 21: To Finish The Outdoor Unit Installation
Rotating fan. Before powering ON the outdoor unit, make sure that the discharge grille covers the fan as protection against a rotating fan. See "4.2.4 To install the discharge grille" [ 4 16]. ERLA11~16D Installation manual Daikin Altherma 3 R 4P643598-1B – 2022.05... -
Page 22: Technical Data
9 Technical data Technical data A subset of the latest technical data is available on the regional Daikin website (publicly accessible). The full set of latest technical data is available on the Daikin Business Portal (authentication required). Piping diagram: Outdoor unit... -
Page 23: Wiring Diagram: Outdoor Unit
(only for 1N~ models) Q1DI # Earth leakage circuit breaker Terminal strip (4) Notes (4) Notes Main terminal Earth wiring Field supply Several wiring possibilities Option Wiring depending on model Switch box ERLA11~16D Installation manual Daikin Altherma 3 R 4P643598-1B – 2022.05... - Page 24 4P643598-1 B 00000006 4P643598-1B 2022.05 Verantwortung für Energie und Umwelt...


Need help?
Do you have a question about the Altherma 3 R and is the answer not in the manual?
Questions and answers