Advertisement
Advertisement
Table of Contents

Subscribe to Our Youtube Channel
Related Manuals for Nova 4205


Summary of Contents for Nova 4205
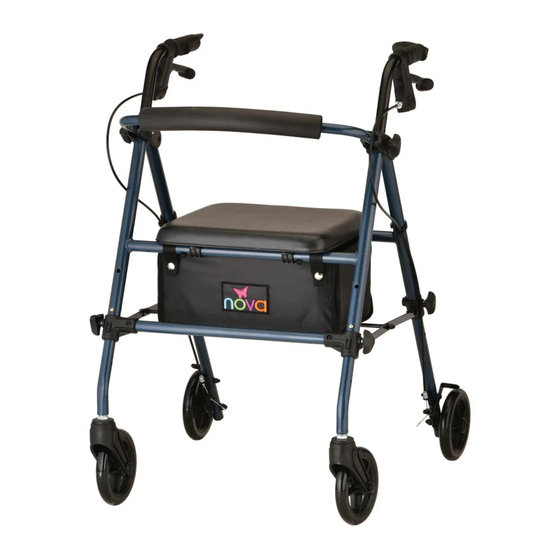
- Page 2 ASSEMBLY INSTRUCTIONS To Remove 1. Carefully remove the walker frame and components from the shipping box. 2. Examine all parts for damage from shipping. If any parts are missing or damaged, please call 1-800-557-6682 and prompt Customer Service. DO NOT use walker until all parts are received. Components - Walker Frame with Bag and Seat, Backrest (see image 1) - (2) Front Wheels (see image 2) - (2) Rear Wheels with Cable Handle and Hand Brake (see image 3) - (6) Leg and Handle Adjustment Screws (see image 4) To Unfold 1. Unfold the walker by pulling the front and rear frame apart and place on a flat surface. Lift the seat and push downward on the folding support piece so the side folding hinges are fully extended. (see image 5) 2. Insert the backrest into the plastic backrest hinges. Press down on the push buttons and slide the backrest completely into the hinge until the buttons engage into the hinge holes (pull on the backrest to make sure it is secure). (see image 6) 3. Turn the walker so that it rests on the rear of the frame. (see image 7) 4. Insert the front wheels into the frame for your desired seat height.
- Page 3 10. Insert the four leg attachment screws into the holes located on the outside of the frame. Hand tighten until the screw is secure and the plastic knob is flush with the frame. (Adjustment handle should be tight and not move from side to side.) Be sure all four screw legs screws are secure before using the walker. (see image 15) Determining the Correct Handle Height Stand upright behind the walker with your arms hanging at your side and both feet in line with the rear wheels. Adjust the height of the walker handles so that they are even with the wrist of the user. This should create a 20 to 30 degree bend in the elbow when using the walker. 1. Align the hole in the handle with the hole in the frame to your selected handle height and hand tighten until the screw is secure and the plastic knob is flush with the frame. (Adjustment handle should be tight and not move from side to side.) (see image 16) 2. Attach the plastic cable guide to the frame of the walker. (see image 17) OPERATING INSTRUCTIONS To Open...
Need help?
Do you have a question about the 4205 and is the answer not in the manual?
Questions and answers