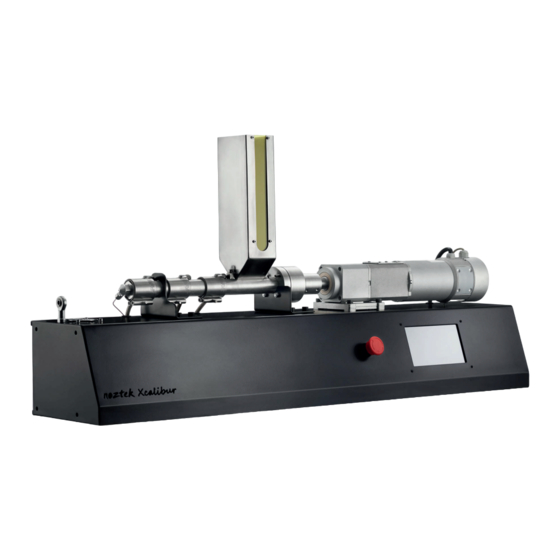
Noztek Xcalibur User Manual
Hide thumbs
Also See for Xcalibur:
- User manual (14 pages) ,
- User manual (18 pages) ,
- User manual (13 pages)
Table of Contents
Advertisement
Quick Links
Advertisement
Table of Contents

Summary of Contents for Noztek Xcalibur
- Page 2 WARRANTY/SAFETY SPECIFICATION DIAGRAMS START UP GUIDE USER INTERFACE CONNECTING TO A COMPUTER CHANGING THE NOZZLE COLOUR MIXING MAINTENENCE LUBRICATION BARREL JAM MOTOR BLOCK...
- Page 3 WARRANTY Equipment manufactured by Noztek carries the standard machine tool guarantee of freedom from de- fects in workmanship and material for one year from date of shipment. TO INSURE THAT YOUR WARRANTY IS HELD IN EFFECT, PROPER OPERATION PROCEDURES MUST BE OB- SERVED.
- Page 4 Computer connection The Xcalibur Controller enables you to take control of the machine via USB connection. Warm-Up Designed to allow the barrel to fully heat after 10 minutes so unmelted materials do not block the motor.
- Page 5 First attach the hopper; the bolts are located in the bolt holes in the barrel. Then you are ready to swicth on the power. Once powered up, the Xcalibur will take a short period to boot before presenting the touch screen user interface It is recommended that you read through all intructions BEFORE turning on your machine for the first time, to get aquainted with the process of operating the machine.
- Page 6 CONNECTING TO A COMPUTER The Xcalibur Controller software enables you to control the Xcalibur and collect data using a USB connec- tion. The data can then be saved to a “.csv” file in order to be opened in a spreadsheet software. You will also be able to see the data on a graph.
- Page 7 Replace with a 15amp fuse CONTACT NOZTEK Please see our FAQ help section on our website at www.noztek.com for further troubleshooting. If the answer to your quey is not found here, please contact the Noztek expert team directly.


Need help?
Do you have a question about the Xcalibur and is the answer not in the manual?
Questions and answers