
Related Manuals for SereneLife SLARHKY54


Summary of Contents for SereneLife SLARHKY54
-
Page 2: What's In The Box
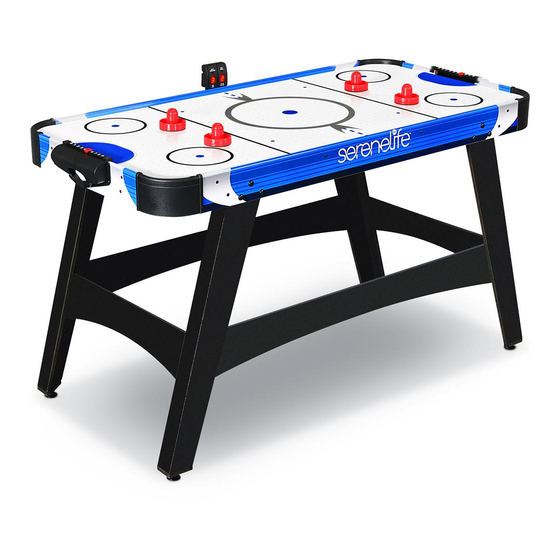
IMPORTANT After receiving the shipment, inspect the product thoroughly to ensure that it has been shipped with care. Before assembly make sure that the packaging contains all parts. FEATURES: • Compact Design • Perfect for any Gameroom or Apartment • Space Saving •... -
Page 3: Parts List
PARTS LIST PRE INSTALLED PARTS ASSEMBLY INSTRUCTIONS: 1. Find a clean, level place to begin the assembly of your Air Hockey Table. The table must be assembled upside down and then turned over on its legs once the assembly is completed. This game table is heavy, and turning it over will require at least two strong adults. - Page 4 2. Remove all parts from the box and verify that you have all the listed parts as shown on the parts list page. Carefully cut or tear the four corners of the box so that the bottom of the box can be used as your work surface. X 12 X 12 X 12...
- Page 5 4. Screw the Leg Levelers (#12) into the bottom of each leg. X 16 X 16 X 16 FIG.2 5. Attach the Leg Side Panels (#5) to the Legs using four Leg Bolts (#A2), four Leg Washers (#A3) per Leg Side Panel. 6.
- Page 6 Go back and make sure that all connections are tight. DO NOT LEAN THE CABINET DO NOT HOLD THE LEGS TABLE ON ITS LEGS HOLD TABLE CAUTION: Two strong adults are recommended to turn the table over as shown. 1. Lift the table o the ground. 2.
- Page 7 www.SereneLifeHome.com...
- Page 8 FIG.3 8. Thread the wire from Goal Box (#10) through the openings of the end aprons and alongside the play- eld’s support beams to the opening of side apron and use Velcro Straps to x Scorer Wire. See FIG. 3A 9.
- Page 9 ELECTRONIC SCORER OPERATION 1. Install Batteries Battery Box: Remove the battery cover and insert 2 “AAA” Batteries into the battery box. ( 2 “AAA” Batteries not included.) When HOME/VISITOR indicates “0”, the game can start. 2. Reminder: a. Batteries must be installed according to the correct polarization (+ and -). b.
- Page 10 Questions? Comments? We are here to help! Phone: (1) 718-535-1800 Email: support@pyleusa.com...
Need help?
Do you have a question about the SLARHKY54 and is the answer not in the manual?
Questions and answers