Advertisement
Quick Links
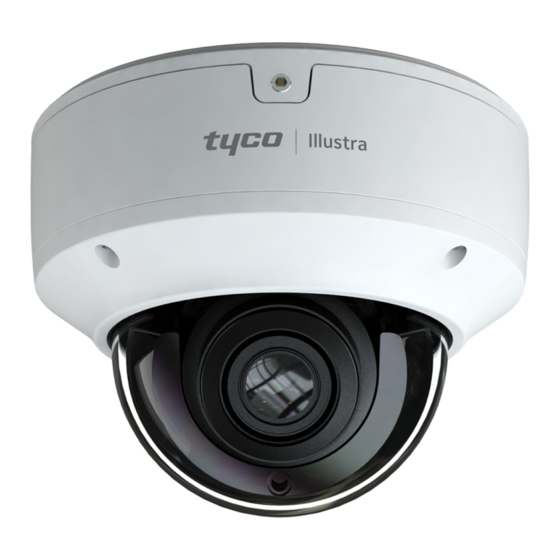
Illustra Standard Series
Quick Start Guide
■ Please read this instruction carefully before using the product and keep
it for further reference.
■ All the examples and pictures used here are for reference only.
■ The contents of this manual are subject to change without notice.
1
Warning and Caution
■ If the product does not work properly, please contact your dealer
or the nearest service center. Never attempt to disassemble the
camera yourself. (We shall not be responsible for any problems
caused by unauthorized repair or maintenance.)
■ Keep away from liquid while in use.
■ In the use of the product, you must be strict compliance with the
electrical safety regulations of the nation and region. When the product
is mounted on wall or ceiling, the device shall be firmly fixed.
■ Do not use camera beyond specified voltage range.
■ Do not drop the camera or subject it to physical shock.
■ Avoid touching the camera lens.
■ If cleaning is necessary, please use clean cloth to wipe it gently.
If the device will not be used for a long time, please cover the lens
cap to protect the device from dirt.
■ Do not aim the camera at the sun or extra bright place.
■ Do not place the camera in extremely hot, cold (the operating
temperature shall be -30˚C~60˚C), dusty or damp locations, and do
not expose it to high electromagnetic radiation.
■ To avoid heat accumulation, good ventilation is required for
operating environment.
■ A few parts of the device shall be replaced regularly according
to their average enduring time.
2
Package
V
Camera
Dome Camera
CD
Sponge
3
Overview
* If the PoE switch is used to power the camera, DC12V/AC24V power supply is
not required.
* AC24V power supply is not available for ISV-V05M023S-N/ISV-V05M024S-N/
JSV05-D02-OI01.
4 tapping screws
Quick start guide
Drill template
Plastic plug
CVBS&DC
IN cables
Screwdriver
1
1
Ethernet Connector
2
2
Audio Input (MIC)
3
3
Audio Output (HP)
4
5
4
CVBS Video Output
6
5
Alarm Input/Output
6
DC12V Power Connector
12
7
Zoom-
8
Zoom+
11
9
Micro SD Card Slot
10
10
Reset
7
11
DC IN & CVBS Interface
8
9
12
Microphone
1--ALM-COM
2--ALM-OPEN
3--ALM-INA
4--ALM-GND
DC12V/AC24V
●
Alarm Connection
Alarm Input: Join the grounding ends of the sensor and the camera
and then connect the signal cable of the sensor to the alarm input
port (ALM-INA) of the camera.
Alarm Output: Loosen the screws in the alarm output port. Then
insert the signal wires of the alarm output devices into the port of
×4
OPEN and COM separately. Finally tighten the screws. Some of the
external alarm output devices need the power supply.
●
Connecting Network Cable
1
① Loosen the nut from the main element.
② Run the network cable (without RJ 45 connector) through the
both elements. Then crimp the cable with RJ 45 connector.
③ Connect the cable to the hermetic connector. Then tighten the
nut and the main cover.
4
Installation
* Please make sure that the wall or ceiling is strong enough to
withstand 3 times the weight of the camera.
* Please install the camera in the dry environment. You'd better install
back the lower dome less than 4 hours after removing it.
* Do not directly touch the dome when installing.
* Do not remove the protection film until finishing the installation.
① Loosen the screws to open the lower dome and then loosen the
lock screw to remove the mounting base.
② Attach the drill template to the place where you want to fix the
camera and then drill 4 screw holes and 1 cable hole (if you want to
route the cables through the mounting base) according to the drill
template.
2
3
Advertisement

Related Manuals for Tyco Illustra Standard Series


Summary of Contents for Tyco Illustra Standard Series
- Page 1 ● Alarm Connection Alarm Input: Join the grounding ends of the sensor and the camera and then connect the signal cable of the sensor to the alarm input Illustra Standard Series Camera 4 tapping screws Quick start guide port (ALM-INA) of the camera.
- Page 2 Modify Network Parameter Mac Address CE :98 :23 :75 :35 :22 88 mm IP Address 192 .168 . 1 . 168 ∅6 Subnet Mask 255 . 255 . 255 . 0 ∅148 ∅22 192 .168 . 1 . 1 Gateway 89mm Lock Screw Modify...