cycliq Fly12 Sport Quick Start Manual
Hide thumbs
Also See for Fly12 Sport:
- User manual (16 pages) ,
- Quick start manual (16 pages) ,
- User manual (35 pages)
Table of Contents
Advertisement
Quick Links
Advertisement
Table of Contents

Subscribe to Our Youtube Channel
Related Manuals for cycliq Fly12 Sport


Summary of Contents for cycliq Fly12 Sport
- Page 1 QUICK START GUIDE...
-
Page 2: What's In The Box
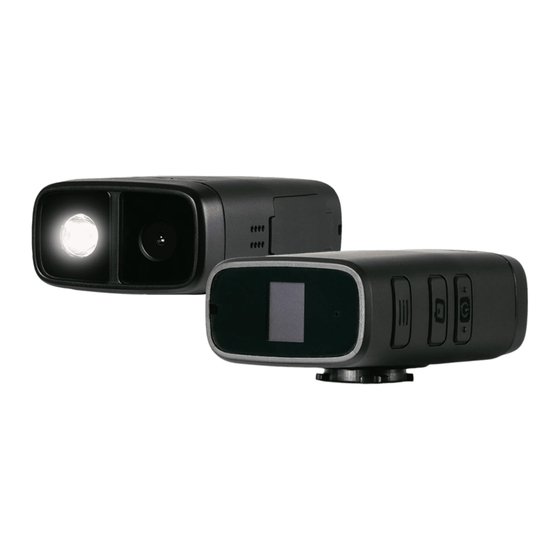
What’s in the box 64GB micro SD Fly12 Sport Handlebar 22.2mm handlebar card (preinstalled) mount adapter Universal M5 screw for USB-A - USB-C Safety adapter universal adapter cable tether... - Page 3 Fly12 Sport layout microSD card slot Charge port Reset Speaker button Camera Main LED...
- Page 4 Fly12 Sport layout Q button Power button Function button Tether hole Microphone Status LED Display screen...
-
Page 5: Before Your First Ride
Fly12 Sport. 1. Ensure you fully charge the Fly12 Sport. 2. Ensure the Fly12 Sport port door is securely closed. 3. Ensure the safety tether is correctly attached. 4. Ensure the rotation of the display screen is correct. - Page 6 The first time you connect you will need to follow the below steps to enable Bluetooth. Turn on the Fly12 Sport by pressing and holding the power button. Open the CycliqPlus mobile app and ensure Bluetooth is enabled on your mobile device.
- Page 7 Mounting the Fly12 Sport...
- Page 8 2Nm. 2. With the Fly12 Sport facing forward and at a 45° angle to your handlebar, line up the quick release male component on the Fly12 Sport with the female receptor on the handlebar mount.
-
Page 9: Light Modes
Pulse Low (Main LED pulsing with low intensity) Organic (Random generation of high and low intensity) All light modes are available by default on the Fly12 Sport. You can customise the available light modes on CycliqPlus so only your preferred modes are available. - Page 10 Display screen - home The display screen on the back of the Fly12 Sport allows you to control many features and functions with ease. The display screen can be toggled by pressing the function button. The home screen is the default display on your Fly12 Sport.
- Page 11 Display screen - rotation The rotation screen shows the orientation the Fly12 Sport is set to record in. Changing rotation To rotate the orientation of the Fly12 Sport, press and hold the function button (for approximately 3 seconds). Correct rotation...
- Page 12 Looping function The Fly12 Sport was designed as a set and forget cycling safety device. The footage is set to record on a continuous loop so you don’t have to worry about running out of storage space on the microSD card.
- Page 13 Incident Protection...
- Page 14 Incident protection mode is activated when the Fly12 Sport is tilted more than 60° from vertical (or 30° from the ground) for more than five seconds. If this happens, the Fly12 Sport will lock the current and immediately preceding video file then continue recording as normal.
-
Page 15: Image Capture
A lock icon will be shown on the display screen to confirm the manual footage capture. Still image capture The Fly12 Sport can take a still image while recording video. You can do this by holding the Q button for approximately 3 seconds. - Page 16 After your ride, you can access your footage in a number of ways: 1. Connect the Fly12 Sport to a PC or Mac using the USB cable. 2. Remove the microSD card and read data using your PC or Mac.
- Page 17 UpRide your ride Evidence makes a difference! If you've had an incident on the roads, been subjected to a close pass or capture any other dangerous activity, upload it to www.UpRide.cc and use your footage to help make cycling safer. Then share your UpRide with your community and help spread the word.
-
Page 18: Tech Specs
Tech specs Feature Specification 1280x720p @120fps 1920x1080p HDR @30fps Recording 1920x1080p @60fps 2560x1440p @30fps 2880x2160p UHD @24fps Lens angle 135° wide viewing angle Video format Image stabilisation 6-axis electronic image stabilisation Lumens 400lm max output Weight 148g / 5.22oz Dimensions 29.5mm (H) x 50.7mm (W) x 81.2mm (L) Battery 3000mAh, 11.10Wh (up to 7 hours) - Page 19 Scan for more information C Y C L I Q . C O M...
Need help?
Do you have a question about the Fly12 Sport and is the answer not in the manual?
Questions and answers