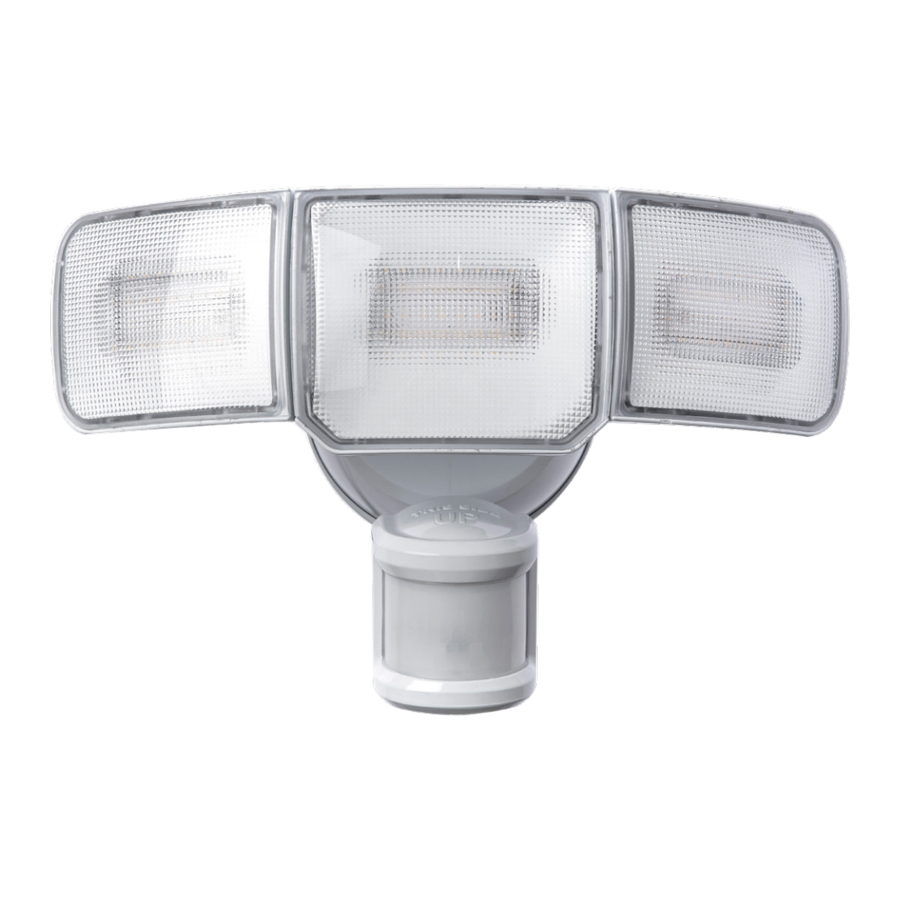
Home Zone Security Smart Auto CCT Triple Head Security Flood Light ES00931G Manual
- Installation instructions manual (12 pages)
Advertisement
Warning
PLEASE READ CAREFULLY AND SAVE THESE INSTRUCTIONS, AS YOU MAY NEED THEM AT A LATER DATE.
 IMPORTANT SAFETY OPERATING INSTRUCTIONS
- Please read all warning and instruction labels which are included in the box and fixture to avoid personal injury, property damage caused by fire, cuts, bruises, death and other dangers.
- Please follow these general precautions before installing, maintaining, or fixing.

Risk of Electrical Shock
- Turn off electrical power at fuse or circuit breaker box before wiring fixture to the power supply.
- Make sure all electrical and grounded connections are in accordance with the National Electrical Code and applicable local code requirements.
- All wiring connections should be compliant with UL standard.
Risk of Injury
- Wear gloves and safety glasses at all times when moving luminaire from carton, installing, servicing or performing maintenance.
- Avoid direct eye exposure to the light source while it is on. Or this may cause irreparable damage to the eyes.
- Account for small parts and destroy packing material, as these may be hazardous to children.
Risk of Burn
- Allow fixture to cool before touch.
- Do not exceed maximum wattage marked on luminaire label.
Attention: lights must to be installed by the experienced household wire installer or a qualified electrician, Electrical system and the electrical connection method of light fixture must conform to the national electrical standards and specification requirements of the local architecture.

This product can expose you to chemicals including lead and lead compounds, Di(2-ethylhexyl)phthalate (DEHP), which are known to the State of California to cause cancer and birth defects or other reproductive harm. For more information go to www.P65Warnings.ca.gov.
Ref. Parts
PREPARATION
Tools required for assembly (not included): phillips screwdriver, safety goggles, power drill and ladder.
- Light fixture

- Small Mounting Bolt

- Decorative Cover

- Mounting Plate

- Mounting Bracket

- #6-32 X 1/2" Junction Box Screw x2

- #8-32 X 1/2" Junction Box Screw x2

- Large Mounting Bolt (pre-installed)
")
- Wire Nut x3


")

Parameter
- Illumination output: approx. 3500 lumens
- CCT: 3000K - 5000K
- Wattage: 36W
- Power source: AC120V/60Hz
- Detection range: up to 70feet (21.3m), 240 degree
Installation
- Installing the Mounting Bracket
* Align the holes on the mounting bracket (E) with the holes on your junction box.
* Lock the two mounting screws (F or G) to the junction box.
Note:
* Make sure the mounting bracket with the stamped word "FRONT" facing away from the junction box.
* For the best performance, install the light fixture at 5.9 feet ~11.5 feet (1.8~3.5m) above the ground.


- Connecting the Wires
![]()
Do not cut any wires and remove the wire connectors.
*Connect the wires on the mounting plate (D) and the wires on the junction box with wire nut (I).- White to white
- Black to black
- Green ground wire to house ground
Note: Make sure the polarity is correct.

- Installing the Mounting Plate
- Place the mounting plate (D) against the junction box.
When installing the mounting plate to a wall, the "arrow" must be upward.
When installing the mounting plate to an eave, the "arrow" must be toward the house. - Insert the small mounting bolt (B) through the mounting plate (D) hole and mounting bracket (E) hole. Tighten the bolt (B) securely.
- Pull on the mounting plate (D) to verify if it is tightly attached to the mounting bracket (E).

- Place the mounting plate (D) against the junction box.
- Mounting the Light Fixture
- Connecting the positioning hole of the light fixture (A) and positioning pillar of the mounting plate (D).
- Tighten the large mounting bolt (H) securely through the center of the mounting plate (D). DO not overtighten.
- Push the decorative rubber cover (C) firmly into the large mounting bolt hole on the light fixture (A).


- Use silicone caulk to seal completely around the gap between the mounting bracket and the wall.

Note: If you install this light fixture on the covered wall or eave without junction box, you must consult a qualified, licensed electrician and use the appropriate screws (not included) to install this light fixture on the wall or eave directly depending on the surface.


How It Works
Adjusting the lamp heads and motion sensor
- Swing the lamp heads to adjust the lamp head left and right or up and down to get the desired lamp direction.
- Gently grasp the motion sensor and adjust the sensor left and right or up and down to get the desired lamp direction.


Start Setting Smart Auto CCT Triple Head Security Flood Light
After the smart security light is connected to electricity, the floodlight will be flashing, then you can start pairing the Home Zone Smart APP.
Short press the ON/OFF button in loop, there will be three models.

- Light OFF model
- Enter sensor model
- Enter light always ON model with Auto CCT
Note: After long press the ON/OFF button about 5S, the smart light can be reset.
Set up Router
Please install the Smart Auto CCT Triple Head Security Light within Wi-Fi covered area to ensure best performance. Make sure your smart phone is connected with your wireless router.

Note: The security light only supports 2.4GHz and NOT 5GHz frequency.
Connect Home Zone Smart APP
Get the APP and create an account.
Download the 'Home Zone Smart' APP to your smartphone from APP Store or Google Play.


Launch the APP from your smart phone and Create an account. Follow the on-screen instruction.


Setup the Smart Auto CCT Security Light
After the smart light is connected to electricity, the security light will be flashing. Then you can pair your Smart Auto Light to Home Zone Smart APP.
- Tap "Add Device" or "+" in the upper right corner.

- Tap CCT Smart Light.

- Confirm the security light is blinking rapidly and tap Next.

- Select 2.4Ghz Wi-Fi network and enter password and then tap Next.

- The connecting status window will appear. Wait until it's completed.

- Once device is successfully added, tap the Pen icon
![]() to rename the device. Then save the name and tap Done.
to rename the device. Then save the name and tap Done.


Access the Features and Control your Smart Light
- Home Page


- Auto Page

Auto Page

Motion Detection Range Setting

Full Light Duration Setting

Intelligent Linkable, can tap "+" to link your desired devices in this APP

- Luminance Detection:
- Can set ambient brightness to active sensor
- Slight Bright:
- Can set the light brightness and duration
- Luminance Detection:
- Schedule Page

Tap "+" in the upper right corner.

Adjust the timer, and then tap Power Switch.

Select the power switch and then tap Save.


Cleaning and Maintenance
- Clean periodically with soft cloth.
- Do not use any cleaners with chemicals, solvents or harsh abrasives on this light. Do not use scouring pads, powders, steel wool or brasive paper. They could cause deterioration of the finish.
FCC
This device complies with Part 15 of the FCC Rules.
Operation is subject to the following two conditions:
(1) this device may not cause harmful interference, and
(2) this device must accept any interference received, including interference that may cause undesired operation.
This device complies with FCC Part 15 of FCC Rules.
Changes or modifications to this unit not expressly approved by the party responsible for compliance could void the user's authority to operate the equipment.
NOTE: This equipment has been tested and found to comply with the limits for a Class B digital device, pursuant to Part 15 of the FCC Rules. These limits are designed to provide reasonable protection against harmful interference in a residential installation. This equipment generates, uses and can radiate radio frequency energy and, if not installed and used in accordance with the instructions, may cause harmful interference to radio communications.
However, there is no guarantee that interference will not occur in a particular installation. If this equipment does cause harmful interference to radio or television reception, which can be determined by turning the equipment off and on, the user is encouraged to try to correct the interference by one or more of the following measures:
- Reorient or relocate the receiving antenna.
- Increase the separation between the equipment and receiver.
- Connect the equipment into an outlet on a circuit different from that to which the receiver is connected.
- Consult the dealer or an experienced radio/TV technician for help.
This equipment should be installed and operated with a minumum distance of 20 cm between the radiator and your body.
Register & Subscribe today to protect your investment and join our email list!
Scan below for link:

homezonesecurity.com
support@homezone-usa.com
US: +1 888-782-5618
Why Register?
- Receive your extended warranty
- Get professional warranty support
- Be the first to hear the latest product news.
- Get exclusive deals delivered to you email.
Distributed by
Horizon Marketing Group, LLC
4198 Industry Way
Flowery Branch, GA 30542 USA
Made In Cambodia

Documents / Resources
References

Download manual
Here you can download full pdf version of manual, it may contain additional safety instructions, warranty information, FCC rules, etc.
Download Home Zone Security Smart Auto CCT Triple Head Security Flood Light ES00931G Manual
Advertisement


Need help?
Do you have a question about the ES00931G and is the answer not in the manual?
Questions and answers