Advertisement
Quick Links
Tools required:
Phillips screwdriver.
Parts Included:
A
2pcs Leg Frame
Left
Right
G
H
4pcs
4pcs
Floor Glides
Casters
To Assemble:
Unpack and inspect contents to confirm that you have all parts
1
listed above.
Screw floor glides ( G ) or casters ( H ), whichever you prefer, into
2
bottom tubes of left and right leg frames (A).
Place back panel ( C ) on a bench or table (at least 20" high) with
3
ends hanging over the edge and threaded holes facing up.
Hang left leg frame ( A ) on top of back panel ( C ) as shown in
4
Figure 1. Align holes in steel flange with holes in back panel and
install ½" Allen bolts ( K ). Be sure ends of back panel are pushed
flush against steel tubing and tighten bolts securely.
Repeat step
for right leg frame ( A ).
5
4
Carefully remove base assembly from table/bench and place
6
upright on floor. Use care not to overstress back panel connections
at this time.
Place shelf ( D ) with pre-drilled holes facing down onto the steel
7
shelf flanges. Attach with ½" Allen bolts ( K ) from below. Be sure
ends of shelf panel are pushed flush against steel tubing and
tighten bolts securely.
Insert front and rear extension tubes ( E and F ) into base assembly.
8
Pay close attention to correct orientation of attachment brackets
on left and right rear tubes, as shown in Figure 2. Install height
adjustment knobs ( J ) in each leg and set each extension tube in
the third hole for the time being.
Extension tube holes align with height adjustment knobs when
Hint
half of the hole above is showing, as shown in Figure 3. Set base
assembly aside.
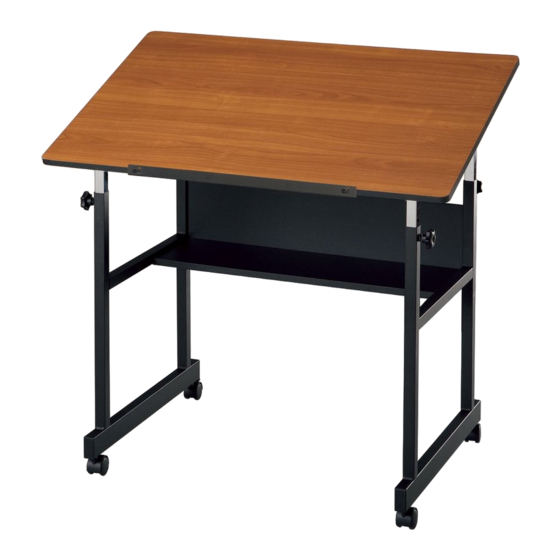
MiniMaster
Assembly Instructions
B
1pc Table Top
J
4pcs
Height
Adjustment
Knobs
™
Drawing Table
C
1pc Back Panel
Colored surface both sides
D
1pc Shelf
Colored surface one side only
K
L
8pcs
10pcs
½" Allen
⁄
" Wood
5
8
Bolts
Screws
Floor Glides
Front
Extension
Tube
Adjustment
Knob
For MM36-3-WBR and
MM36-5 purchased after April 2008
E
2pcs
Rear
Extension
Tubes
F
Front
Left
Right
Extension
Tubes
M
1pc Pencil Ledge
Rear Extension Tube
½" Allen
Bolt
2pcs
Figure 1
½" Allen
Bolts
Figure 2
Advertisement

Subscribe to Our Youtube Channel
Related Manuals for Alvin MiniMaster MM36-3-WBR


Summary of Contents for Alvin MiniMaster MM36-3-WBR
- Page 1 MiniMaster ™ Drawing Table Assembly Instructions For MM36-3-WBR and MM36-5 purchased after April 2008 Tools required: Phillips screwdriver. Parts Included: 1pc Table Top 1pc Back Panel 2pcs Rear 2pcs Leg Frame Extension Colored surface both sides Tubes 2pcs Front Left Right 1pc Shelf Extension...
- Page 2 MiniMaster table. We are constantly working on product improvements and look forward to hearing from you. ©2008 Alvin & CompAny, inC. • P.O. Box 188, Windsor, CT 06095-0722 www.alvinco.com Phone: 860-243-8991 • Toll-Free: 800-444-2584 • Fax: 860-242-8037 • Toll-Free Fax: 800-777-2896...
Need help?
Do you have a question about the MiniMaster MM36-3-WBR and is the answer not in the manual?
Questions and answers