Advertisement
Quick Links
Parallel Straightedge Assembly Instructions
For Models 1101 and 2201
Parts List
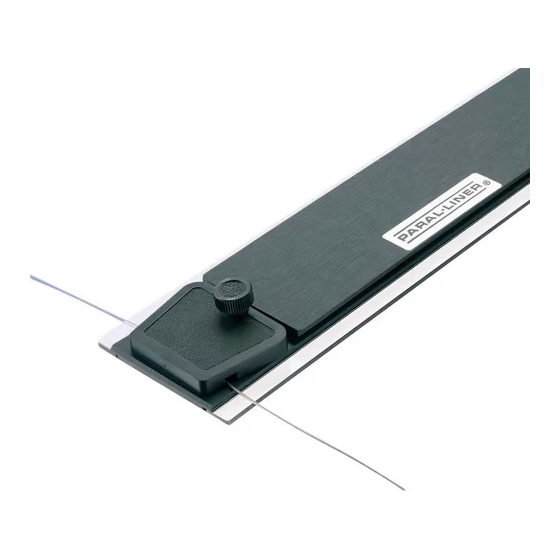
Straightedge with Wire and Spring (1)
wire
Left Rear
Wire Connector
(1)
Tools Required: Phillips screwdriver and
To assemble, follow step-by-step instructions below:
1. Verify that all parts shown in parts list are included.
2. Check that drawing board has a solid outer frame to hold screws and that it is not warped.
Alvin straightedges will not work properly on warped boards.
3. Position front and rear wire connectors on top of drawing board as shown in Figure
Use chart below to determine proper spacing. Center the straightedge on the board.
For Straightedge Length
Proceed to step 4 on next page.
Figure 1
Right Rear
Rear Pulleys
Wire Connector
(1)
1
⁄
" drill or awl
16
Dimension A
30"
36"
42"
48"
60"
C
Rear Brake
Knob
(2)
(1)
*NOTE: Only six screws total are required for installation. We have included
two extra screws to accomodate various board thicknesses.
Dimension B
27¾"
28¾"
33¾"
34¾"
39¾"
40¾"
45¾"
46¾"
57¾"
58¾"
A
Rear Wire Connectors
Front Wire Connectors
B
Front Wire Connectors (2)
1/2" Brake
3/4"
Stud Screw
Screws*
(1)
(6)
Dimension C
¾"
¾"
¾"
¾"
¾"
C
5/8"
3/8"
Screws*
Washers
(2)
(2)
1
.
Advertisement

Related Manuals for Alvin Parallel Straightedge 1101


Summary of Contents for Alvin Parallel Straightedge 1101
- Page 1 2. Check that drawing board has a solid outer frame to hold screws and that it is not warped. Alvin straightedges will not work properly on warped boards. 3. Position front and rear wire connectors on top of drawing board as shown in Figure Use chart below to determine proper spacing.
- Page 2 4. Mark screw positions for front and rear connectors and pre-drill pilot holes about ¼" deep " drill bit. TIP: Wrap masking using a ⁄ tape ¼" from drill tip to set drilling depth. Use care not to drill through tabletop. 5.
- Page 3 ADJUSTMENTS To Adjust Parallel Position: 1. Be sure all three brake knobs are free and loose. (See Figure 5 on previous page for brake locations.) 2. Grasp one end of straightedge and hold firmly against drawing board. 3. Gently pivot other end of straightedge up or down until desired parallel position is reached. 4.
- Page 4 2 Front wire connectors 30 Feet of wire to string straightedges from 30" to 72" in length ALVIN & COMPANY, INC. • P.O. Box 188, Windsor, CT 06095-0722 Phone: 860-243-8991 • Toll-Free: 800-444-2584 • Fax: 860-242-8037 • Toll-Free Fax: 800-777-2896 #KN3...
Need help?
Do you have a question about the Parallel Straightedge 1101 and is the answer not in the manual?
Questions and answers