BobsCNC Evolution E3 Series Quick Start Manual
Cnc router engraver bearing and rail dust kit
Hide thumbs
Also See for Evolution E3 Series:
- Troubleshooting manual (16 pages) ,
- Assembly manual (90 pages) ,
- Manual (9 pages)
Advertisement
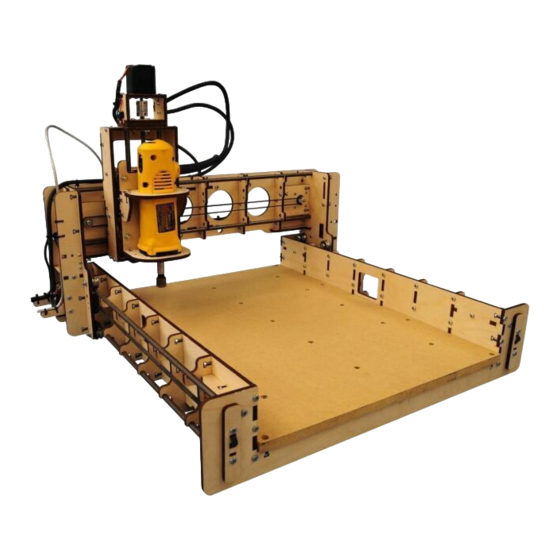
BobsCNC Evolution E3, E4, E5, and KL series
Thank you for the purchase of the BobsCNC rod and bearing cleaner kit. The following is the instructions to put the
product together. If you don't currently own a wiper kit, they are available from the Old Country Woodworker on Etsy:
Rail and Bearing Wiper Kit
Procedure:
This is a kit for the top bearings and rods for the top X and Y-axis bearing and rods. Each bag is labeled on the bag for
that axis kit.
X-axis' Parts
First thing to do is to thoroughly clean both the rod and bearing on the X-axis of all
dust.
Gather the X-axis bag containing the X-axis parts. The X-axis front bag (photo 1) will
contain, 3 each plywood parts FRX1 FRX3, and FRX4 (Front Right) and FLX1, FLX3 and
FLX4 (Front Left), 1 each FRX2 (Front Right) and FLX2 (Front Left) felt pads, and 4 each
locking washer, flat washer and 4mm X 30mm screws.
The X-Axis Right Rear bag will contain (photo 2), 1 each plywood part RRX1 and RRX3 (Rear Right) and 1 each plywood
part RLX2 and RLX2 (Rear Left), 1 each felt part RRX2 (Rear Right) and RLX2 (Rear Left), 2 cable ties, and 4 each 4mm x
30mm long screws.
Front X-axis' Assembly
We will start on the front right X-Axis bearing and rod. First remove the 2 - 4mm X 16mm screws just above and just
below to the left of the front bearing (see picture 3) and leave the nut in place using masking tape, so they don't fall out
(see photo 4). Keep these screws, since you will use them on the Y-axis
assembly.
Photo 3
4mm screws
to remove
assembly.
CNC Router Engraver
Bearing and Rail Dust Kit
and eBay:
Rail and Bearing Wiper
Get the 2 longer 4mm X 30mm screws from
the rear X-axis kit bag. Place a locking washer
and flat washer on the longer 4 mm X 30mm
screws, then through part FRX1, with the
number facing the head of the screw, then through felt pad part
FRX2, then part FRX3, and FRX4 then insert the screw back into
the frame and into the existing nut. Don't tighten the screws yet until,
the felt parts FRX2 is adjustable. Push the felt pad down until they are
touching the bearing and the rails. When they are touching then
tighten the screws. Photo 5 shows the front X parts mounting on the
Kit.
Page 1 of 3
Photo 1 Front X
Parts
Photo 2
Rear X
Parts
Photo 4
Advertisement
Table of Contents

Related Manuals for BobsCNC Evolution E3 Series


Summary of Contents for BobsCNC Evolution E3 Series
- Page 1 Bearing and Rail Dust Kit Thank you for the purchase of the BobsCNC rod and bearing cleaner kit. The following is the instructions to put the product together. If you don’t currently own a wiper kit, they are available from the Old Country Woodworker on Etsy:...
- Page 2 Now repeat the above step for the left side x-axis parts starting with the letters FLX. When completed with the front left x-axis, the front x-axis is complete. Proceed to the rear x-axis assemble, next page. FLX4 FLX3 FLX2 FLX1 Cut Cable Tie being careful Photo 5...
- Page 3 Y-Axis Installation The first thing to do is to thoroughly clean both the rod and bearing on the Y-axis of Left all dust. Side The Y-axis bag contains the Y-axis parts, see photo 8. It will contain, 1 each Right part RY1 and LY1, 1 each part RY2 and LY2, 1 each part RY3 and LY3, 2 each Side 4mm nut, flat washer, and 4mm x 20mm long screws, see photo 6 showing...
Need help?
Do you have a question about the Evolution E3 Series and is the answer not in the manual?
Questions and answers