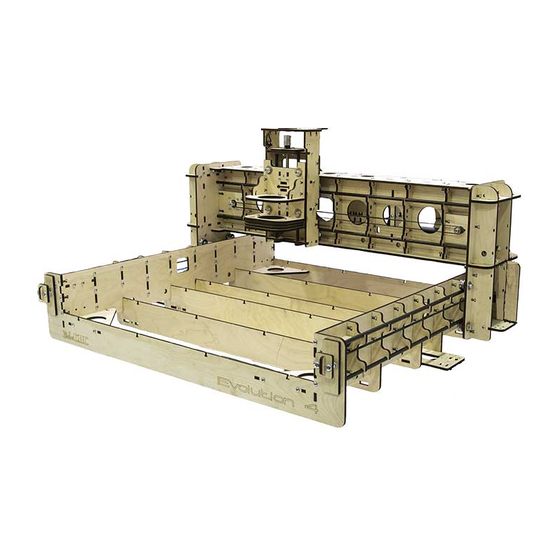
BobsCNC E3 Manual
Z-spindle kit includes mounts
Hide thumbs
Also See for E3:
- Troubleshooting manual (16 pages) ,
- Assembly manual (90 pages) ,
- Quick start manual (3 pages)

Subscribe to Our Youtube Channel
Related Manuals for BobsCNC E3


Summary of Contents for BobsCNC E3
- Page 1 The E3 & E4 Z-Spindle Kit Includes Mounts For* Makita RTO701C 52MM Air DeWalt 611 Cooled Spindle *routers not included. 52MM Air DeWalt 611 Makita RTO701C Cooled Spindle Page 1...
- Page 2 Spindle Mount The Laser markings on the five spindle mounts pictured below may differ from the kit you order. Parts List Part # Components Part # Components Frame Mount Support Z-Spindle Mid Mount (D) Z-Frame Support Z-Spindle Top Mount (E) Z Frame M4 x 16 Machine Screws Z-Spindle Bottom Mount (A)
- Page 3 It is a good idea to apply dry lube to the threaded rod once a month . Dry lube is a good lubricant for the dusty environment created when operating Your E3 and E4CNC. Remove the washer and nut assembly from your old...
- Page 4 Attach the Z Spindle Bottom Mount Assembly onto the Z Step 8 Frame in the following sequence. Attach the Z Spindle Mount Bottom (A) to the Z Frame Step 3 using five M-16 screws and nuts. Page 4...
- Page 5 Attach the Z Spindle Mount Bottom (B) to the Z Frame Step 4 using two M-16 screws and nuts. The two Z-Spindle Mid Mounts (B & C) have slots that allow them to slide toward the frame when their M-16 screws and nuts are tightened.
- Page 6 Attach the Z Spindle Mount Top (D) to the Z Frame using Step 6 two M16 screws and nuts. Secure the four lower supports together with two M4 x 30 Step 7 screws and nuts. Do not tighten. The two Mid Mounts must be able to slide freely to allow the router/spindle to be installed.
- Page 7 Attach the two Frame Step 7 Mount Supports to the Spindle Top Mount (E) with two M4 x 16 Screws and nuts. Attach the Z Spindle Mount Top Step 8 (D) to the Z Frame using six M4 x 16 screws and nuts. Page 7...
- Page 8 Before inserting your new router make sure the machine Step 10 screws holding the Z-Spindle Mid Mounts (B & C) are loose which allows the Mid Mounts to slide open to receive the Router body. After inserting your new router tighten the four screws Step 10 circled below to secure the Router body in place.
Need help?
Do you have a question about the E3 and is the answer not in the manual?
Questions and answers