
Related Manuals for Denwa Communications DW-610P


Summary of Contents for Denwa Communications DW-610P
-
Page 1: Table Of Contents
Home PBXware SERVERware TELCOware SIPmon SIPProt Desktop & Mobile UADs Appliances From Bicom Systems Wiki Contents 1 Introduction 2 Requirements 2.1 Identifying phone model 2.2 Phone firmware 2.3 DHCP server 2.4 PBXware version 3 Installation 3.1 Power adapter 3.2 Power over Ethernet (PoE) 3.3 Find the phone IP address 3.4 Reset to factory settings 4 Registering phone... -
Page 2: Requirements
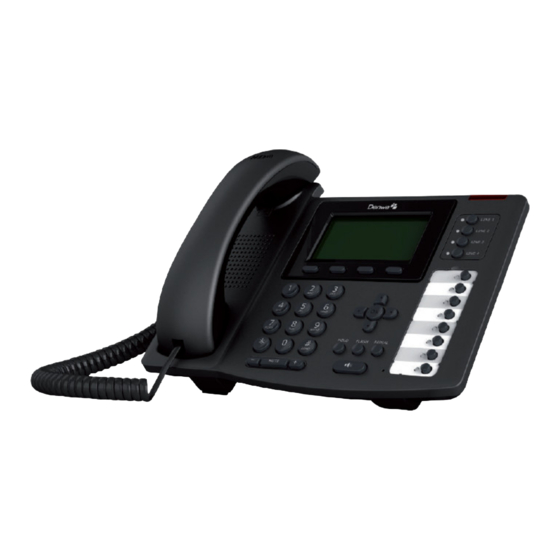
This Configuration Guide is written as general guide on how to configure the Denwa phone model DW-610P to work with PBXware 4.1. Requirements Identifying phone model To start and successfully complete registration of your Denwa phone you need to know which phone model you will setup. -
Page 3: Pbxware Version
PBXware version PBXware version 4.1.2.0 In order to find out the PBXware version: Login to PBXware Navigate to Settings: About. On the top of About page is a code similar to this one PBXware Edition: Business, Release: 4.1.2.0 (387597b7), Running: 1.8.32.1-gc-b47edc45, PBXware Proxy v4.1.2 (62b7bcd), API: 4.1, libmemcached version: 1.0.14, where Release denotes the exact version of your PBXware. -
Page 4: Find The Phone Ip Address
Find the phone IP address Find out your Denwa phone IP Address. Press the OK button. The IP address will be displayed on the top of display. Reset to factory settings This step is not required for brand new out-of-the-box phones, however, if the phone has been already used then it is a must. - Page 5 UAD Settings UAD settings Login to PBXware web administration interface Open a new browser window and enter the IP address in order to access the PBXware web administration login screen. Example: http://192.168.1.10. Login to PBXware with your e-mail address and password. UAD settings Navigate to Settings:UAD.
- Page 6 REQUIRED FIELDS: Name Enter a name for the extension being created. Example: John Smith. E-mail Enter the e-mail address associated with this extension. This e-mail address will receive all system notification messages. Example: john.smith@bicomsystems.com Department Department to which extension will belong to. Example: Sales. Click on the Save button.
-
Page 7: Auto Provisioning
The Secret of the extension as received in the e-mail associated with this extension. Example: _%Z4M3*Ts9y7. A password is generated automatically for each newly created extension. SIP User Usually the same number as the Phone Number. Display Name Extension username. Example: John. Enable Registration Make sure the Check box is selected. - Page 8 UAD settings. Navigate to Settings:UAD. Make sure Denwa UAD is enabled. To check the UAD status click on the edit icon corresponding to your Denwa phone. Make sure Status is set to Active, Auto provisioning is set to Yes, and DHCP is set to Yes. Click on the Save button to save changes.
- Page 9 Set to Yes. MAC Address Enter Denwa phone MAC address. Example: 001565FF1536. MAC address can be found at the back of the phone. Click on the Save button. Registering Phone This chapter describes how to register Denwa phone using DHCP, TFTP or HTTP & HTTPS. The following topics are covered: DHCP TFTP or HTTP &...
-
Page 10: Configure Blf
Example for IP Address using HTTP or HTTPS: 192.168.1.10/prov Example for Hostname using TFTP: voip.bicomsystems.com Example for IP Address using TFTP: 192.168.1.10 Protocol Type Choose what server type you intend to use: HTTP, HTTPS and Trivial FTP. NOTE: recommendation is to use the HTTP. Update Mode Set to Update After Reboot. -
Page 11: Etension Settings
Etension Settings Login to PBXware web administration interface. Open a new browser window and enter the IP address in order to access the PBXware web administration login page. Example: http://192.168.1.10. Login to PBXware with your e-mail address and password. Edit extension. On the Extensions page click on the edit icon corresponding to your extension. - Page 12 Disclaimers - About Bicom Systems Wiki...
Need help?
Do you have a question about the DW-610P and is the answer not in the manual?
Questions and answers