Table of Contents
Advertisement
Quick Links
Advertisement
Table of Contents

Related Manuals for SAN HIMA ROOF-RACK-T


Summary of Contents for SAN HIMA ROOF-RACK-T
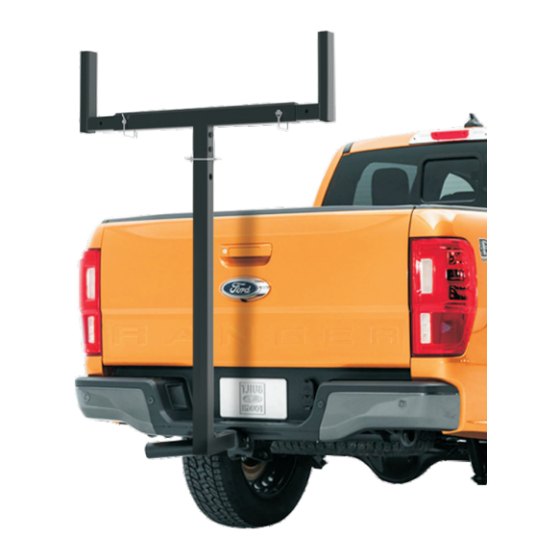
- Page 1 LADDER RACK USER MANUAL MODEL: ROOF-RACK-T...
- Page 2 At San Hima, we have wild souls and we are committed to designing products that are tough enough to take on any adventures and at the same time, making them safe and easy to use. These values in our conviction are what drive us to make innovations.
- Page 3 SAFETY WARNINGS AND INSTRUCTIONS Read and understand all safety warnings and instructions. Failure to follow the warnings and instructions may result in serious injury or death. Save all warnings and instructions for future reference. WORK AREA Keep work area clean, free of clutter and well lit. Cluttered and dark work areas can cause accidents.
- Page 4 PACKAGE LIST ① Tubes x5 ② Anti-Rattle Stabilizer x1 ③ Accessories and Tools x1 SPECIFICATIONS Material: High Tensile Steel Coating: Electrostatic Spraying Fitment: 2'' Hitch Receiver Product Weight: 14kg Maximum Weight Capacity: 80kg Maximum Weight Capacity 160kg Coupled with Roof Rack: Width: 770~1135mm Height:...
- Page 5 ASSEMBLY: Assembly Type 1 Assembly Type 2 Identify the end of tube (b1) where the two holes at the tail end can align with the two holes on tube (c). Insert (b1) into tube (c). The two holes at the tail end of (b1) must align with those on tube (c). Insert the ring bolt into the center hole of tube (c).
- Page 6 Insert (b2) into tube (a). One of the holes on (b2) must align with the smaller hole on tube (a). Install the security pin & clip. Insert tube (d) into one arm of tube (c). One of the holes on tube (d) must align with the hole on the arm. Install the security pin &...
- Page 7 HEIGHT ADJUSTMENT Remove the security pin & clip. Move tube (b) vertically to the height you want, ensuring that a hole on (b2) aligns with the smaller hole on tube (a). Install the security pin & clip. WIDTH ADJUSTMENT Remove the security pin & clip. Move tube (d) horizontally to the position you want, ensuring that a hole on tube (d) aligns with the hole on the arm of tube (c).
- Page 8 1-Year Warranty Period, San Hima will, at its option, replace it with the same or similar product, or issue a refund for the defective San Hima product. And San Hima will pay for the cost of shipping or transportation of a defective component. This warranty terminates if a Purchaser transfers the product to any other person.
Need help?
Do you have a question about the ROOF-RACK-T and is the answer not in the manual?
Questions and answers