Table of Contents
Advertisement
Quick Links
Advertisement
Table of Contents

Related Manuals for Stihl FS-MM


Summary of Contents for Stihl FS-MM
- Page 1 FS-MM 2 - 13 Instruction Manual...
-
Page 2: Table Of Contents
Caution where there is a risk of damaging the MultiSystem machine or its individual components. Engineering improvements STIHL's philosophy is to continually improve all of its products. For this reason we may modify the design, engineering and appearance of our products periodically. - Page 3 Wear face protection and make sure it is a good STIHL or are technically identical. If you have fit. Face protection alone is not sufficient to pro‐ any questions in this respect, consult your tect the eyes.
- Page 4 For this cial accessory) on MultiEngine. purpose: ► Undo the screws (1) Use only genuine STIHL wheels. The use of ► Pull off the gearbox (2). other wheels may result in damage to the machine or personal injury.
- Page 5 3 Safety Precautions and Working Techniques English While Working Make sure you always have a firm and secure footing. In the event of impending danger or in an emer‐ gency, switch off the engine immediately by mov‐ Careful when working on steep slopes – risk of ing the slide control / stop switch/button to slipping.
- Page 6 Have all other work performed by a with Polymer Blades servicing dealer. STIHL recommends that you have servicing and For mowing unobstructed edges of meadows repair work carried out exclusively by an author‐ (without posts, fences, trees or similar obsta‐...
-
Page 7: Approved Multiengines
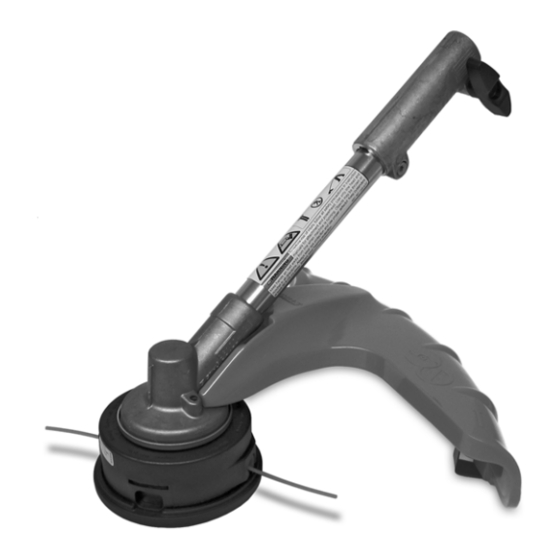
PolyCut mowing head. Only use MultiEngines supplied by STIHL or The PolyCut can also be equipped with mowing expressly approved by STIHL for use with the line in place of the polymer blades. MultiTool. The mowing head comes with instruction leaflets. - Page 8 English 6 Fitting, removing the MultiTool Remove the deflector ► Loosen the screw (3) and pull the deflector (4) off the drive tube. WARNING Keep the deflector in a safe place and always refit it before using other MultiTools – there is otherwise a risk of accidents.
-
Page 9: Mounting The Deflector
7 Mounting the Deflector English Mounting the Cutting Attachment Placing Power Tool on the Ground ► Push the gearbox (3) into position and tighten down the clamp screws (4). ► Shut off the engine. ► Turn the power tool so that the cutting attach‐ ment mounting face is pointing up. -
Page 10: Starting / Stopping The Engine
English 9 Starting / Stopping the Engine ► Secure the handlebar in the normal operating position. ► Fit the thrust plate ► Retract the wheels, if fitted – see chapter on ► Turn the mowing head anticlockwise on the "Wheels" in MultiEngine instruction manual. shaft (1) as far as it will go ►... -
Page 11: Storing The Machine
Precut lengths of nylon line can be fitted to the PolyCut in place of the cutting blades. If there are signs of serious wear, replace the complete mowing head. STIHL DuroCut, STIHL PolyCut The nylon mowing line is referred to as "nylon WARNING line" or "line" in the following. -
Page 12: Maintenance And Care
14.3 Sound and Vibration Values Noise and vibration data measurements on power tools with the FS-MM MultiTool include idling and rated maximum speed in a ratio of 1:6. For further details on compliance with Vibration Directive 2002/44/EC, see www.stihl.com/vib 14.3.1... -
Page 13: Maintenance And Repairs
The K‑factor in accordance with Directive 2006/42/EC is 2.0 dB(A) for the sound pressure level and sound power level; the K‑factor in ► Take STIHL products including packaging to a accordance with Directive 2006/42/EC is suitable collection point for recycling in accord‐... - Page 14 English 16 Disposal 0458-480-0121-B...
- Page 15 16 Disposal English 0458-480-0121-B...
- Page 16 *04584800121B* 0458-480-0121-B...
Need help?
Do you have a question about the FS-MM and is the answer not in the manual?
Questions and answers