Table of Contents
Advertisement
Quick Links
Advertisement
Table of Contents

Related Manuals for Nugens VCM200


Summary of Contents for Nugens VCM200
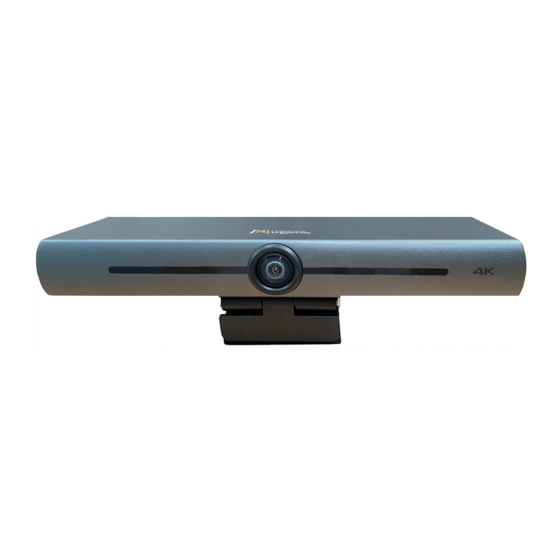
- Page 1 Auto-Framing AI-4K Video Conference Camera VCM200 User Manual Ver.2022...
-
Page 2: Table Of Contents
Contents Attentions ..........................................3 1. Fast Installation ........................................ 4 Camera Interface ................................4 Camera Operation ................................4 2. Product Overview ......................................5 Product Introduction ..............................5 2.1.1 Dimensions ................................5 2.1.2 Accessories ................................5 Main Features ................................. 6 Technical Specifications ..............................7 Interface Instruction ............................... -
Page 3: Attentions
Attentions This manual introduces functions, installation, and operations for the camera in details. Please read this manual thoroughly before installation and use. How to Use To prevent damage to this product or any product connected to it, this product can only be used within the specified range. -
Page 4: Fast Installation
1. Fast Installation 1.1 Camera Interface Figure 1.1 camera interface 1. camera lens 3. built-in MIC 5. positioning hole 2. bracket 4. tripod fixing hole 6. USB 3.0 output interface 1.2 Camera Operation 1) Product Installation: Fix the device on LCD screen, top of computer; directly put it on desk or on tripod mounting. -
Page 5: Product Overview
2. Product Overview 2.1 Product Introduction 2.1.1 Dimensions Figure 2.2 Camera Dimensions 2.1.2 Accessories Check and confirm all accessories are provided as listed in sheet 2.1. User manual 1 Wireless remote controller Accessories 1 piece USB3.0 cable 1 piece Sheet 2.1 Product accessories... -
Page 6: Main Features
2.2 Main Features This product is a new 4K UHD ePTZ video conference camera. It is built with AI functions, which can automatically frame all It also has perfect functions and superior performance, which people in the meeting and make them at the middle of the scene. adopts advanced ISP processing algorithms to provide vivid images with evenly clear brightness, strong color layering, high resolution, and fantastic color rendition. -
Page 7: Technical Specifications
2.3 Technical Specifications Camera Parameter Image Sensor 1/2.8-Inch-High Quality 4K CMOS Sensor Effective Pixels 8.28MP 16:9 Video output port 1* USB3.0, Type B, support audio output over USB3.0 Audio input 2 built-in MIC pickups View Angle 138°(D)/120°(H)/68°(V) MJPG:3840*2160/2560*1440/1920*1080/1600*896 /1280*720 /1024*576 /960*540 /800*600 /800*448 /720*576/720*480 /640*480 /640*360 /480*270 /352*288 /320*240@30/25/20/15/10/5fps. -
Page 8: Interface Instruction
Other Parameters Input Voltage Input Current 1A(Max.) Power consumption 5W(Max.) Store Temperature -10℃~+60℃ Store Humidity 20%~90% -10℃~+50℃ Working Temperature Working Humidity 20%~80% Dimension (W*H*D) 222mm×93.25mm×56.5mm Weight Around 0.53kg Application Indoor Accessory User Manual, remote controller, USB3.0 cable 2.4 Interface Instruction 2.4.1 External Interface The interface illustration is as Figure 2.4 below: Figure.2.4 Interface Diagram... -
Page 9: Application Instruction
3. Application Instruction 3.1 Remote Controller 3.1.1 Keys Instruction 1. Indicator Light ⚫ Always on(red): send command. ⚫ No light: no command is sent. ⚫ Flashing: ◼ Slow flashing: unpaired. ◼ Flat flashing: paired. 2. Standby Key Press button once to enter the standby mode and press it again to restart the output video. -
Page 10: Applications
3.1.2 Applications Pairing: After the camera is turned on, press the "Zoom In" + "Zoom Out" button simultaneously within 30CM of the camera when the remote control is powered on, release the button after the LED flashes for 3 seconds, enter the pairing mode, the pairing is successful, the LED lights up for 2 seconds and then goes out. -
Page 11: Menu Setting
Preset position setting, call out, and Number keys: 1, 2, 3 delete Save the preset position: long press (within 3s-5s) one of the number keys 1 to 3 to preset a preset position corresponding to the number key. Calling the preset position: directly press the number keys 1 to 3 to call the saved preset position. - Page 12 Exposure (3) Exposure In the main menu, move the pointer to (Exposure), and press the [HOME] Mode Auto key to enter the exposure page, as shown in the figure below. Mode: Auto, Manual, SAE, Bright. EV: On/Off (only available in auto mode) Flicker 50Hz Compensation Level: -7~7 (only available in auto mode when EV is ON)
- Page 13 (6) Noise Reduction NOISE REDUCTION Move the pointer to FOCUS on the Menu, click the【NOISE NR-2D REDUCTION】 and enter the (NOISE REDUCTION) as follows: NR-3D 2D noise reduction: auto, off, 1~7 3D noise reduction: off, 1~8 〔↑↓〕Select 〔← →〕Change Value (7)...
-
Page 14: Maintenance And Troubleshooting
4. Maintenance and Troubleshooting 4.1 Maintenance Please disconnect the camera if it is not used for a long time. Use soft cloth or tissue to clean the camera cover. Wipe it with a soft, dry cloth when cleaning the camera lens. Wipe it gently with a mild detergent if needed. Do not use strong or corrosive detergents to avoid scratching the lens and affecting the image. -
Page 15: Copyright Statement
5. Copyright Statement All the contents in this manual and its copyright are owned by the company. No one is allowed to imitate, copy, or translate this manual without the company’s permission. This manual contains no guarantee, standpoint expression or other implies in any form. Product specification and information in this manual is for reference only and subject to change without notice.
Need help?
Do you have a question about the VCM200 and is the answer not in the manual?
Questions and answers