Table of Contents
Advertisement
Quick Links
Advertisement
Table of Contents

Related Manuals for Nugens VCM200


Summary of Contents for Nugens VCM200
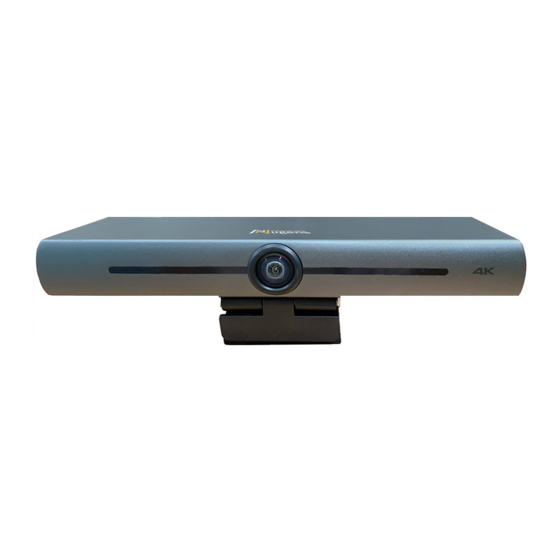
- Page 1 Auto-Framing AI-4K Video Conference Camera VCM200 User Manual...
-
Page 2: Table Of Contents
Content ATTENTIONS ..........................1 FAST INSTALLATION ......................2 1.1 C ........................2 AMERA NTERFACE 1.2 C ........................2 AMERA PERATION PRODUCT OVERVIEW ......................3 2.1 P ........................ 3 RODUCT NTRODUCTION 2.1.1 Dimensions ........................... 3 2.1.2 Accessories .......................... 3 2.2 M .......................... -
Page 3: Attentions
Attentions This manual introduces functions, installation and operations for the camera in details. Please read this manual thoroughly before installation and use. 1. How to Use To prevent damage to this product or any product connected to it, this product can only be used within the specified range. -
Page 4: Fast Installation
1. Fast Installation 1.1 Camera Interface 1. Camera Lens 3. Built-In MIC 5. Positioning Hole 2. Bracket 4. Tripod Fixing Hole 6. USB 3.0 Output Interface 1.2 Camera Operation 1) Product Installation: Fix the device on LCD screen, top of computer; directly put it on desk or on tripod mounting. -
Page 5: Product Overview
2. Product Overview 2.1 Product Introduction 2.1.1 Dimensions 2.1.2 Accessories Check and confirm all accessories are provided as listed in sheet 2.1. User manual 1 Wireless remote controller 1 piece Accessories USB3.0 cable 1 piece Cushion Packing List Sheet 2.1 Product accessories... -
Page 6: Main Features
2.2 Main Features This product is a new 4K UHD ePTZ video conference camera. It is built with AI automatically frame all people in the meeting and make them at the functions, which can middle of the scene. It also has perfect functions and superior performance, which adopts advanced ISP processing algorithms so as to provide vivid images with evenly clear brightness, strong color layering, high resolution, and fantastic color rendition. - Page 7 Min Illumination 0.1Lux (F1.8, AGC ON) 2D & 3D DNR Ultra-low On/off illumination Auto / Manual/ One Push/ 3000K/ 3500K/ 4000K/ 4500K/ 5000K/ 5500K/ 6000K/ White Balance 6500K/ 7000K Focus Auto / Manual/ One push Focus (available on AM series) Exposure Auto / Manual Auto framing...
-
Page 8: Interface Instruction
2.4 Interface Instruction 2.4.1 External Interface Figure.2.4 Interface Diagram... -
Page 9: Application Instruction
3. Application Instruction 3.1 Remote Controller 3.1.1 Keys Instruction 1. Camera Address Selection Select the camera address 2. Number Key Set or call 0-9 presets 3. *, # Key Key combination use Long Press 5s “SET” + “ ” at the same time, the WR controller is light on, releases hands. -
Page 10: Applications
Select the “Remote Control” icon in Nugens CamSwitcher, and press “Menu” button with the remote control of Nugens VCM200, then you may start to adjust your preferred settings. Power on the camera, press the “SET” and “*” keys together for 5 seconds, the indicator light will be on. - Page 11 3) Presets Preset setting: to set a preset position, the users should press the “【SET PRESET】” key first and then press the number key 0-9 to set a relative preset, Note: 10 preset positions in total are available by remote controller. Preset calling: Press a number key 0-9 directly to call a relative preset.
-
Page 12: Menu Setting
3.2 MENU SETTING 3.2.1 Main Menu When use MJPG/ H.264 / H.265 compression, press 【MENU】key to display the menu, using scroll arrow to point at or highlight the selected items. MENU ================= Language English (Set up) (Exposure) (Color) (Image) (Focus) (Noise Reduction)... - Page 13 Image Style: Default/Conference/Clear/Bright/Soft Options Dual: open/close Auto Zoom: open/close, sensitivity 0-7 Exposure Setting Move the pointer to EXPOSURE in the Main Menu, click the【HOME】and enter the (EXPOSURE SET) as follows: EXPOSURE =============== Mode Auto Flicker 50Hz G.Limit [↑↓]Select [← →]Change Value •...
- Page 14 Color Setting Move the pointer to COLOR in the Main Menu, click the【HOME】and enter the (COLOR SET) as follows: COLOR ================ WB Mode Auto RG Tuning BG Tuning Saturation 100% AWB Sensitivity High [↑↓]Select [← →]Change Value • WB Mode: Auto, Manual, One Push, 3000K, 3500K, 4000K, 4500K, 5000K, 5500K, 6000K, 6500K, 7000K •...
- Page 15 IMAGE ================ Brightness Contrast Sharpness Flip-H Flip-V B&W-Mode Color Gamma Default Close Low-Light Mode Close [↑↓]Select [← →]Change Value Brightness: 0~14 Contrast: 0~14 Sharpness: 0~15 Flip-H: On/Off Flip-V: On/Off B&W Mode: color, black/white Gamma: default, 0.45, 0.50, 0.55, 0.63 DCI: Dynamic Contrast: Off,1~8 Focus Setting Move the pointer to FOCUS in the Menu, click the【HOME】and enter the (FOCUS) as follows:...
- Page 16 NOISE REDUCTION ================= NR-2D NR-3D Dynamic Hot Pixel [↑↓]Select [← →]Change Value 2D Noise Reduction: Auto, close, 1~7 3D Noise Reduction: Close, 1~8 Dynamic Hot Pixel: Close, 1~5 Version Move the pointer to VERSION VERSION ================= Cam Version 1.0.2 2019-11-28 Focus Version 1.0.6 2018-8-21 [↑↓]Select [←...
-
Page 17: Maintenance And Troubleshooting
(the video format and color style won’t be restored) Note: If the address of former remoter is not 1 but another one from 2,3,4, the corresponding camera address will restore to 1 when all parameters or system parameters are restored. User should change the remoter address to be 1 (press No.1 according to the camera so to get normal operation) 4.Maintenance and Troubleshooting... -
Page 18: Copyright Statement
5.Copyright Statement All the contents in this manual and its copyright are owned by the company. No one can imitate, copy, or translate this manual without the company’s permission. This manual contains no guarantee, standpoint expression or other implies in any form. Product specification and information in this manual is for reference only and subject to change without notice.
Need help?
Do you have a question about the VCM200 and is the answer not in the manual?
Questions and answers