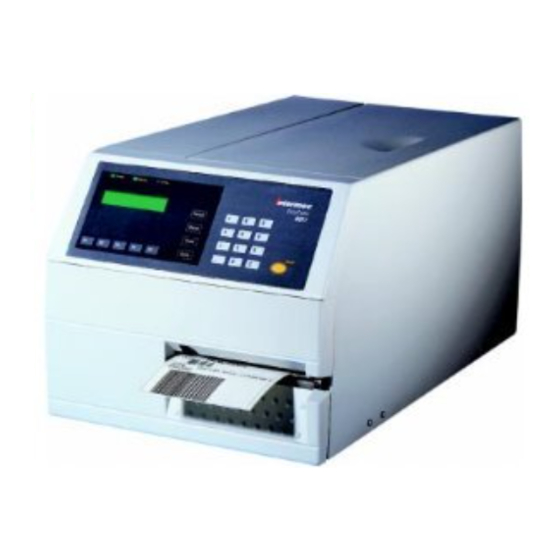
Intermec EasyCoder 501 SA Installation Instructions
Label-taken sensor kit
Hide thumbs
Also See for EasyCoder 501 SA:
- User manual (29 pages) ,
- Installation instructions manual (9 pages) ,
- Installation instructions (3 pages)

Related Manuals for Intermec EasyCoder 501 SA


Summary of Contents for Intermec EasyCoder 501 SA
- Page 1 Installation Instructions P/N 1-960350-06 Edition 5 September 1998 EasyCoder 401/501/601 Label-Taken Sensor Kit...
- Page 2 Information in this manual is subject to change without prior notice and does not represent a commitment on the part of Intermec Printer AB. © Copyright Intermec PTC AB, 1998. All rights reserved. Published in Sweden. EasyCoder and Fingerprint are registered trademarks of Intermec Technolo- gies Corp.
- Page 3 Step-by-Step Installation Instructions Turn off the power. For double security, pull the power cord out of the mains receptacle at the rear plate of the printer. Open the right-hand door. Open the front hatch. Using a #T10 Torx screwdriver, remove the six or eight screws that hold the left-hand cover (see illustration).
- Page 4 Cable held by bracket Using the screw included in the kit, fit the sensor/bracket assembly to the inner wall of the printer unit as shown by the two illustrations below. Fit the cable underneath the top part of the bracket, as illustrated in the second picture.
- Page 5 Connect the cable to P-606 on the CPU board, see below. In case of an EasyCoder 401 Linerless printer, first remove the cable to the cutter interface connector already fitted on P-606. Be careful so the cables do not interfere with any moving parts.
Need help?
Do you have a question about the EasyCoder 501 SA and is the answer not in the manual?
Questions and answers