Advertisement
Quick Links
Advertisement

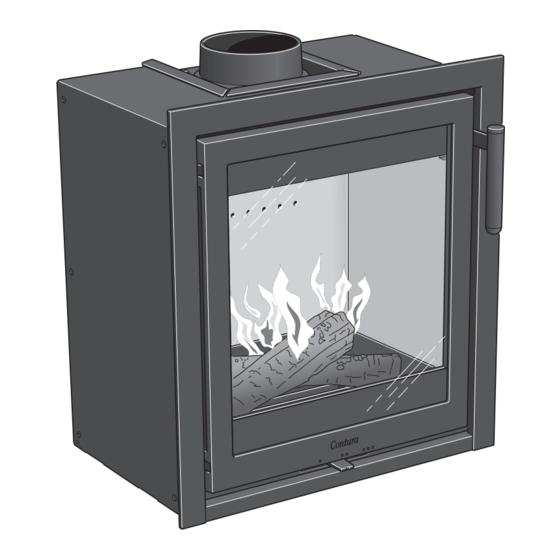
Summary of Contents for Nibe Contura Ci2
- Page 1 Ci2G contura.eu...
- Page 2 Fakta Facts Prestandadeklaration Declaration of performance EU-försäkran om överrensstämmelse EU Declaration of Confirmit Måttskiss Dimensions diagram Inbyggnadsexempel Recess example Montering Assembly Fakta Données techniques Ytelseserklæring Déclaration des performances EU-samsvarserklæring Déclaration CE/UE de conformité Målskisse Schéma dimensionnel Innbyggingseksempel Exemple d’encastrement Montering Montage...
- Page 3 Facts 5 kW 600 / 615 mm 550 mm 350 mm 80 kg Installation by authorised Structural support Nominal output 5 kW Efficiency 80,3% technician Check that the wood joists are strong enough to bear the weight of the stove and chimney. The This manual contains instructions about how Meets requirements of: stove and chimney can usually be placed on a...
- Page 4 5,0 kW Efficiency 80,3% Flue gas temperature at nominal output 269°C Flue gas temperature in flue spigot The undersigned is responsible for the manufacture and conformity with the declared performance. Niklas Gunnarsson, Business area manager NIBE STOVES Markaryd, April 4, 2022...
- Page 5 A sufficient supply of combustion air must always be guaranteed. Air suction systems can interfere with the combustion installation, or maintenance. air supply. The undersigned is responsible for the manufacture and conformity with the declared performance. Niklas Gunnarsson, Business area manager NIBE STOVES Markaryd, April 1, 2022...
- Page 6 Dimensions diagram Furnishings and combustible building elements must be at least 1,4 metre from the front of the insert door. When connecting to a steel chimney, the requirements for safe distance to the chimney must also be observed. A clearance of at least 300 mm must be allowed as a safe distance between an uninsulated flue pipe and com- bustible building elements.
- Page 7 Hearth dimensions The appliance must stand on a constructional hearth which meet the building regulations and has minimum dimension as shown in the diagram. Always check that the building has enough bearing capacity for the heart, stove and chimney. The stove can be loaded with maximum 100 kg of chimney.
- Page 8 Recessing the insert Convection air When recessing the insert, adjacent walls that are not classed as fire walls or are considered unsuitable for exposure to heat must be protected by The convection air ventilates the surround, cools the insert and carries hot non-combustible building material in accordance with the specifications air out into the room.
- Page 9 Recess example The dimensions are the minimum dimensions, unless otherwise stated. Wall made of combustible material Aerated wall, comprising at least a 40 mm calcium silicate board and an air space. There must be a 20 mm air space between the building board and the combustible wall.
- Page 10 Recess example Heat shield Area out min. 200 cm Area out min. 200 cm 20 mm Air gap 20 mm Air gap Area in min. 300 cm Area in min. 300 cm Load bearing base Load bearing base Area out min. 200 cm Area out min.
- Page 11 Montering Prior to installation Om insatsen behöver läggas ned för att förflyttas If the insert needs to be put down to be moved, loose bör lösa delar demonteras. Demontering av components should be removed. Removal of the hearth eldstadsbeklädnad beskrivs på nästa sida. cladding is described on the next page.
- Page 12 Handle with care!
- Page 13 For installation in the UK and in smoke control areas Mandatory for smoke control areas Contura i2, 5 kW woodburning stoves has been recommended as The permanent stop must be installed if the appliance is to be suitable for use in smoke control areas. This when burning wood used in a smoke control area, this stop must not be removed in logs and operated in accordance with these instructions and when smoke control areas, otherwise an offence will be committed if...
- Page 16 Installation i befintlig öppen eldstad Installation in existing open hearth Insatsen kan installeras som spiskassett i befintlig godkänd The insert is designed to be installed as a stove cassette in existing öppen eldstad. Runt om insatsen skall det vara minst 10 mm approved open hearths.
- Page 17 Tillbehör Accessory Tilbehør Accessoire...
- Page 18 Anslutning till befi ntlig murad skorsten Connection to existing masonry chimney För enklast montage rekomenderas att använda flexibel slang A flexible hose is recommended for ease of installation (säljs som tillbehör). Fäst stosen i slangen. Anslut och täta mellan (sold as an accessory). Secure the sleeve in the hose. Connect and seal slangen och skorstenen enligt dess separata anvisning.
- Page 21 7 mm...
- Page 24 Återmontera de invändiga delarna i omvänd ordning. Reinstall the internal components in reverse order. Sett de innvendige delene tilbake på plass i motsatt rekkefølge. Remontez les éléments intérieurs dans l’ordre inverse.
- Page 28 811483 IAV SE-EX Ci2-2 NIBE AB · Box 134 · 285 23 Markaryd · Sweden 2022-05-24 contura.eu...


Need help?
Do you have a question about the Contura Ci2 and is the answer not in the manual?
Questions and answers