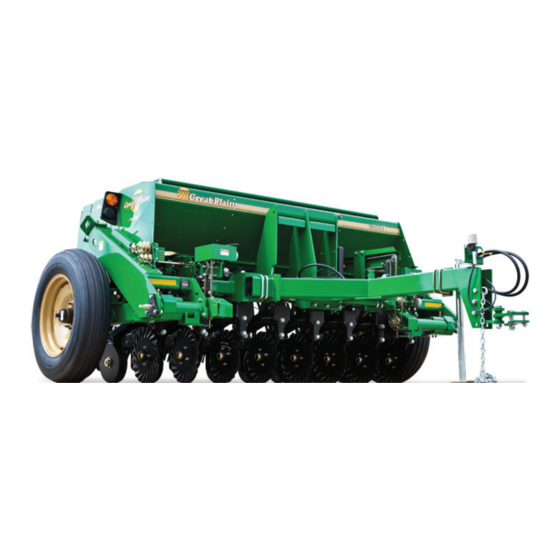
GREAT PLAINS 706NT Instructions Manual
End wheel no-till
Hide thumbs
Also See for 706NT:
- Operator's manual (54 pages) ,
- Original instructions manual (34 pages)
Table of Contents
Advertisement
Quick Links
E
ND
W
HEEL
N
O-
T
ILL
706NT & 1006NT
Proper servicing and adjustment is the key to the long life of any farm implement.
With careful and systematic inspection of your grain drill, you can avoid costly
maintenance, time and repair.
1. After using your drill for several hours, check all bolts to be sure they are tight.
Refer to the torque value chart in your operator's manual.
2.
A. Lubricate the seed cup drive sprocket shaft by coating with never seeze.
B. Lubricate all chains with chain lube.
C. Grease the clutch cam fittings. With the clutch jaws in the open position,
lubricate with slip plate or a chain lube between the jaws.
D. Grease the coulter arm pivots every 6 to 8 hours.
E. Grease the wheel arm pivot castings every 6 to 8 hours.
F. Grease coulter hub bearings and end wheel hub bearing before start of
each planting season.
3. Disk scrapers should be properly adjusted.
4. Check for the proper air pressure in the implement tires (9.00 x 24) 40 psi.
5. Check all chain idlers for proper adjustment. Check that each idler is taking up
excess chain slack. To adjust the chain in the drive axle tube, loosen jam nut
on top of axle tube and screw adjusting stud in to tighten and retighten jam nut.
NOTE: DO NOT OVER TIGHTEN CHAINS. Adjust until the pull side of chain
has no more than a ¼ inch of movement per foot of chain from the centerline of
the pull.
DRILL MAINTENANCE
Advertisement
Table of Contents

Summary of Contents for GREAT PLAINS 706NT
- Page 1 HEEL 706NT & 1006NT DRILL MAINTENANCE Proper servicing and adjustment is the key to the long life of any farm implement. With careful and systematic inspection of your grain drill, you can avoid costly maintenance, time and repair. 1. After using your drill for several hours, check all bolts to be sure they are tight.
- Page 2 TRANSPORTING When transporting the drill, transport locks should always be used. This will prevent damage to the drill and possible personal injury should hydraulic failure occur. Always disengage the lockout hub before transporting the drill. Lock-Out Hub ADJUSTMENT BEFORE GOING TO THE FIELD 1.) After hooking the drill to the tractor and attaching hydraulic hoses, raise the drill up to maximum height and hold the hydraulic lever in the detent for 30 seconds, to allow the cylinders to rephase.
- Page 3 3.) Check the seed cups for any foreign objects. Loosen wing nut on seed rate handle and open to 100% on the brass plate. Move handle back until the edge of the flute is flush with the seam in the center of the cup (this is 50% open). A 7/8" block can also be used to measure the 50% open measurement.
- Page 4 5.) Locate the desired seeding rate for the type of seed on the chart in the owner’s manual or on the lid of drill. A. Set the drive type for the seed and rate desired. B. Loosen wing nut on seed rate adjustment handle and move it past the required number and then back to the correct number on the brass plate.
- Page 5 8.) With the drill in the raised position, the clutch should be fully disengaged. The cam plates will be on top of each other, and the jaws of the clutch will be fully separated. When the drill is lowered to planting position, the jaws of clutch should be fully engaged.
- Page 6 2.) SPRING TENSION ON THE OPENERS: The “W” clips on the opener spring rods should be in the lowest hole. This is the correct location in all conditions. The “W” clips can be raised one hole in the wheel tracks only if penetration is not adequate. 3.) SEED DEPTH: All opener “T”...


Need help?
Do you have a question about the 706NT and is the answer not in the manual?
Questions and answers
For native grass do you just engage drive mech on right side