Ceramicspeed OSPW X Mounting & Maintenance
For sram red, force and rival xplr
Hide thumbs
Also See for OSPW X:
- Mounting & maintenance (8 pages) ,
- Mounting & maintenance (10 pages) ,
- Mounting & maintenance (10 pages)
Advertisement
Quick Links
Advertisement

Related Manuals for Ceramicspeed OSPW X


Summary of Contents for Ceramicspeed OSPW X
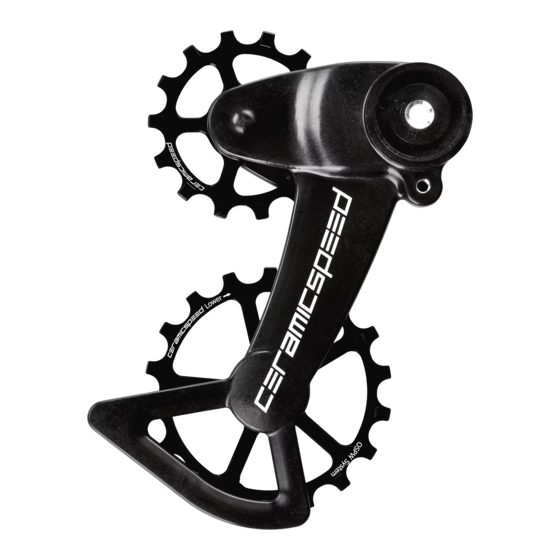
- Page 1 Mounting & Maintenance OSPW X For SRAM RED, FORCE and Rival XPLR...
-
Page 2: Maintenance
Wheels from the cage, remove the seals from both sides and clean all parts in a shaker with degreaser. After cleaning, dry the components off, put two drops of oil onto the CeramicSpeed Balls, place the seals back on and remount the Oversized Pulley Wheels. When dismounting the cage plates, you will need a 2.5 mm Allen Key for the bolts. -
Page 3: Tools Required
Rev. Date Sign Changes Tools required For the installation of your new CeramicSpeed Oversized Pulley Wheel System for X for SRAM RED, FORCE and Rival XPLR, you will need the following tools: A: CeramicSpeed supplied 4 prong tool for main mounting nut... - Page 4 To ensure the very best in riding performance it is vital that your new OSPW System is mounted correctly. Follow these instructions to install your OSPW X for SRAM RED, FORCE and Rival XPLR: Remove the chain. Remove the rear wheel.
- Page 5 Unbox the CeramicSpeed OSPW system and remove the rotation stop screw (to be reinstalled once the cage is mounted). The Rival interface spacer will only be used for the OSPW system installation on a Rival derailleur. Disassemble the OSPW system by removing all 3 bolts from the back of the OSPW system.
- Page 6 Thread the original cage nut on the center screw into place using the provided 4 prong tool. Finger tighten the nut until firm, and then unthread 360 degrees (1 full turn) Take note of the mark you placed on the center post bolt in relation to the alignment mark on the OSPW cage.
- Page 7 Align the OSPW cage plate with the back of the derailleur, inserting the spring post into the single Rival spring hole on the cage. While lightly pressing the OSPW cage plate against the derailleur, align the D-shaped interface with the derailleur center post.
- Page 8 Rotate the OSPW cage forward and install the rotation stop screw with a 2.5mm hex key. Tighten to a torque of 3.0Nm. Install the derailleur onto the bike. Shift down to the bottom (smallest cog) and install the rear wheel. Follow the chain length guide below to cut the chain to the appropriate length.
-
Page 9: Chain Length
Chain length Test the present chain length acc. to the description below. If it turns out to be necessary to change the chain length, follow the description below. STEP 1: Place the chain on the small chain ring, through the derailleur cage, and the smallest cog on the cassette. -
Page 10: Spring Tension
STEP 3: With the chain now cut to length it is important to test the clearance of the OSPW System when rear derailleur is set in the biggest chain ring and the largest cog on the cassette. Just as the arrow indicates, the cage should be able to rotate further counter clockwise. - Page 11 Single Bearings We are committed to manufacturing and delivering the best ceramic bearing products in the industry. Should your CeramicSpeed product not live up to your expectations, and this is caused by defects in materials and/or workmanship, we encourage you to contact us.