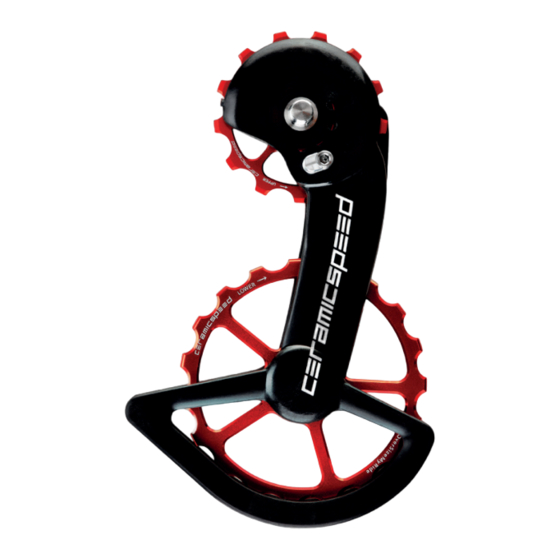
Ceramicspeed OSPW X Mounting & Maintenance
For shimano rx/grx
Hide thumbs
Also See for OSPW X:
- Mounting & maintenance (8 pages) ,
- Mounting & maintenance (10 pages) ,
- Mounting & maintenance (11 pages)
Advertisement
Quick Links
Advertisement

Summary of Contents for Ceramicspeed OSPW X
- Page 1 Mounting & Maintenance OSPW X For Shimano RX/GRX...
-
Page 2: Extended Maintenance
CeramicSpeed dealers worldwide or from our webshop. Watch our maintenance video on ceramicspeed.com in the Support section. When travelling, your OSPW X System will not fit in the bike travelling bag. We recommend that you dismount the whole rear derailleur and pack it aside. -
Page 3: Tools Required
ATTENTION: For a good result after installation, ensure that the existing setup is performing/shifting correctly before mounting the OSPW X. A common cause of imperfect shifting is poor shift cable/housing setup from the shifter to the derailleur, misalignment of the derailleur hanger, or poor b-limit adjustment. - Page 4 Mounting Manual To ensure the very best in riding performance it is vital that your new OSPW X System is mounted correctly. Follow these instructions to install your OSPW X System for Shimano RX/GRX: Begin with your bike mounted in a stand.
- Page 5 Unbox the OSPW X and remove the original stop screw and silver placement chip. with a 2,5mm Allen key. For RX800, RX805, and GRX810 derailleurs, you will only use the rotation stop screw.
- Page 6 OSPW X cage. Make sure that the plastic dust cover is facing the same way on the OSPW X cage as on the Shimano assembly. The flat face should sit against the OSPW X cage.
- Page 7 2mm Allen Key to 1 Nm. Your new OSPW X System is now installed. Shift the derailleur to the bottom, and install the rear wheel. Follow the below chain length...
-
Page 8: Chain Length
1 link shorter than step 1 STEP 2: When tension is applied on the chain and the OSPW X System appears to be aligned as the diagram above, the chain needs to be cut (1 link shorter than step 1) and connected by the required amount of links in order to achieve sufficient tension in this gear combination (always the small cog on the cassette). - Page 9 STEP 3: With the chain now cut to length it is important to test the clearance of the OSPW X System when the rear derailleur is set in the largest cog on the cassette. Just as the arrow indicates the cage should be able to rotate counter clockwise.
- Page 10 Single Bearings We are committed to manufacturing and delivering the best ceramic bearing products in the industry. Should your CeramicSpeed product not live up to your expectations, and this is caused by defects in materials and/or workmanship, we encourage you to contact us.


