Advertisement
Quick Links
Advertisement

Related Manuals for Ceramicspeed Oversize Pulley Wheel Aero System


Summary of Contents for Ceramicspeed Oversize Pulley Wheel Aero System
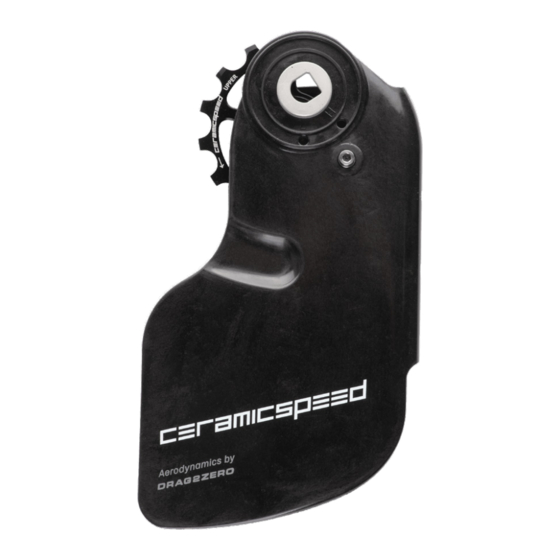
- Page 1 Mounting & Maintenance Oversize Pulley Wheel Aero System For SRAM Red/Force AXS...
-
Page 2: Extended Maintenance
OSPW System horizontally to ensure that the oil reaches the Oversized Pulley Wheel bearings. We recommend the use of CeramicSpeed Oil on the OSPW System. This can be purchased from the CeramicSpeed dealers worldwide or from our webshop. -
Page 3: Tools Required
Pulley wheel lubrication points Tools required: For the installation of your new CeramicSpeed Oversized Pulley Wheel System Aero for SRAM Red/Force AXS you will need the following tools: A: CeramicSpeed supplied 4 prong tool for main mounting nut B: 2mm Allen key... - Page 4 Hold the stock pulley cage (not just the derailleur) and loosen the main center nut with the CeramicSpeed special tool but do not completely remove the mounting nut. When the center nut is loose enough, allow...
- Page 5 Unbox the CeramicSpeed OSPW system and remove the rotation stop screw (to be reinstalled once the cage is mounted). Dissasemble the OSPW System by removing all 4 bolts from the back of the OSPW System. Set aside the 4 bolts, back cage plate, and both pulley wheels.
- Page 6 Thread the original cage nut on the center screw into place using the provided 4 prong tool. Finger tighten the nut until firm, and then unthread 360 degrees (1 full turn) Take note of the mark you placed on the center post bolt in relation to the alignment mark on the OSPW System cage.
- Page 7 Install the 15 tooth pulley on the upper post and the 19 tooth pulley on the lower post of the OSPW Aero cage. Ensure the etching on the pulleys face outward (facing the cage plate with the logo). Align the back cage plate & install the 2.5mm screws for each pulley to a torque of 1.5Nm, and the 2.0mm screw for the center and lower towers to a torque of 0.9Nm .
-
Page 8: Chain Length
Chain length Chain length Test the present chain length acc. to the description below. Test the present chain length acc. to the description below. If it turns out to be necessary to change the chain length, follow the If it turns out to be necessary to change the chain length, follow the description below. - Page 9 1 link shorter than step 1 STEP 2: When tension is applied on the chain and the OSPW System appears to be aligned as the diagram above, cut the chain 1 full link (inner + outer link combination) shorter to ensure adequate chain tension is present in all gears (small chain ring/smallest cog allowed on the cassette).
- Page 10 Pulley Wheels We are committed to manufacturing and delivering the best ceramic bearing Wheel Kits products in the industry. Should your CeramicSpeed product not live up to your Headsets expectations, and this is caused by defects in materials and/or workmanship, we Oversized Pulley Wheel Systems encourage you to contact us.