Table of Contents
Advertisement
Quick Links
W
elcome to the MU10
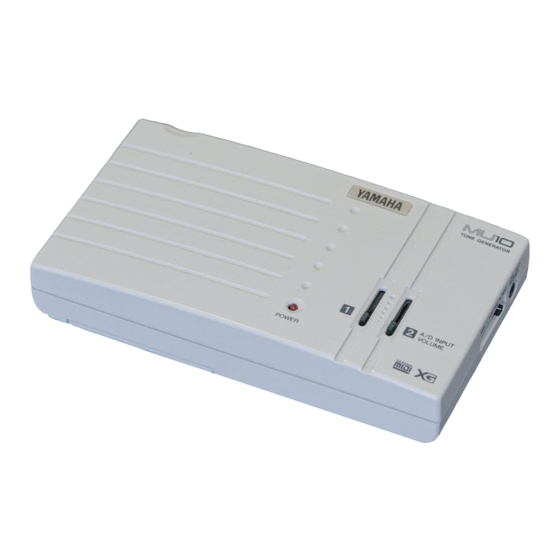
Congratulations and thank you for purchasing the Yamaha MU10
Tone Generator!
The MU10 is a sophisticated, yet highly compact MIDI tone
generator, specially designed for use with computers and MIDI music
systems.
With the built-in host computer interface and MIDI terminals,
the MU10 is ideal for any computer music system — from connection
to a simple laptop to integration in a complete MIDI studio. The host
computer interface is especially convenient, allowing you to directly
connect it to your computer without the need for a special MIDI
interface.
Featuring Yamaha's high quality AWM2 tone generation technol-
ogy, the MU10 has 676 Normal Voices and 21 Drum Voices (percus-
sion sets), with full General MIDI compatibility — including
Yamaha's new XG-MIDI. It provides 16-Part multi-timbral capac-
ity and full 32-note polyphony for playback of even the most sophis-
ticated song data. Three independent digital effect sections — with
11 types of Reverb, 11 types of Chorus, and 43 different Variation
effects — can be used simultaneously and give you enormous versatil-
ity in "sweetening" the sound. Plus, the MU10 has two convenient A/
D INPUT jacks, allowing you to connect external audio sources
(such as a microphone, guitar, or CD player), and mix those sources
with the AWM2 Voices of the MU10.
Because of all the above, as well as its exceptionally portable size
and convenient battery/AC adaptor power supply, the MU10 is an
invaluable tool for all MIDI musicians and performers.
2
○ ○ ○ ○ ○ ○ ○ ○ ○ ○ ○ ○ ○ ○ ○ ○ ○ ○ ○ ○ ○ ○ ○ ○ ○ ○ ○ ○ ○ ○ ○ ○ ○ ○ ○ ○ ○ ○ ○ ○ ○ ○ ○ ○ ○ ○
Advertisement
Table of Contents

Related Manuals for Yamaha MU10


Summary of Contents for Yamaha MU10
-
Page 1: Precautions
With the built-in host computer interface and MIDI terminals, the MU10 is ideal for any computer music system — from connection to a simple laptop to integration in a complete MIDI studio. The host computer interface is especially convenient, allowing you to directly connect it to your computer without the need for a special MIDI interface. -
Page 2: Table Of Contents
Contents Welcome to the MU10 .............. 2 Unpacking ..................3 How to Use This Manual ............5 Precautions ................. 6 Panel Controls and Terminals ..........8 The MU10 — ......10 What It Is and What It Can Do Setting Up Your MU10 ............ -
Page 3: Panel Controls And Terminals
VOLUME control Adjusts the overall volume of the MU10. ○ ○ ○ ○ ○ ○ ○ ○ ○ ○ ○ ○ ○ ○ ○ ○ ○ ○ ○ ○ ○ ○ ○ ○ ○ ○ ○ ○ ○ ○ ○ ○ ○ ○ ○ ○ ○ ○ ○ ○ ○ ○ ○ ○ ○ ○... - Page 4 For connection to a PA-3B, PA-1207 or equivalent AC power adaptor. POWER switch For turning the power on and off. Turning the power on automatically sets the MU10 to the XG mode and initializes all settings and parameter values. ○ ○ ○ ○ ○ ○ ○ ○ ○ ○ ○ ○ ○ ○ ○ ○ ○ ○ ○ ○ ○ ○ ○ ○ ○ ○ ○ ○ ○ ○ ○ ○ ○ ○ ○ ○ ○ ○ ○ ○ ○ ○ ○ ○ ○ ○ ○...
- Page 5 Moreover, the built-in effects can be applied to the external sources as well as the internal AWM2 Voices. The MU10 is also the latest instrument in the Yamaha line to support the XG format, a new addition to the General MIDI standard. In short, XG provides for more instrument sounds and variations, and greater expressive control over voices and effects.
-
Page 6: The Mu10 - What It Is And What It Can Do
The MU10 — What It Is and What It Can Do What It Can Do Here are a few application ideas on how you can use the MU10. The list below is not comprehensive, but is meant to be a general guide to the possibilities and provide a starting point or springboard for your own creative ideas and explorations. -
Page 7: Setting Up Your Mu10
Setting Up the MU10 in Your Music System Whatever your system, you should follow the basic instructions in this section when setting up your MU10. Use the example illustrations as a general guide when making the connections with your own system. - Page 8 When to Replace the Batteries When the battery power runs too low to properly operate the MU10, the POWER lamp will flash slowly. When this happens, replace all batteries with a complete set of six new batteries of the same type.
-
Page 9: Connections
Setting Up Your MU10 Connections In this section you’ll learn how to set up your MU10 with a computer or with another MIDI device. You’ll also learn how to connect the MU10 with audio equipment. CAUTION Turn off all devices before making connections. - Page 10 MIDI interface clock to 1 MHz. PC98 PC-1 Connect the TO HOST terminal of the MU10 to the serial port of the PC98 computer with an optional 8-pin MINI DIN to 25- pin D-SUB cable, then set the mini DIN 8-pin D-SUB 25-pin HOST SELECT switch to PC-1.
-
Page 11: Connecting To A Computer With A Midi Interface
SELECT CHANGE ON/OFF VELOCITY CONTROLLER NRPN NUMBER DECIMAL DECIMAL right, the MU10 is being played from a OCTAVE OCTAVE SHIFT OCTAVE MIDI keyboard. Connect the MIDI IN RESET terminal of the MU10 with the MIDI MIDI OUT HOST SELECT OUT terminal on the MIDI keyboard,... -
Page 12: Connecting To Audio Equipment
Setting Up Your MU10 Connecting to Audio Equipment In order to hear the sounds of the MU10, you must connect it to a set of stereo headphones or an amplifier/speaker system. Connect the headphones or audio cable to the stereo mini jack on the side panel. The particular cable that you use depends on your audio equipment.
Need help?
Do you have a question about the MU10 and is the answer not in the manual?
Questions and answers