Advertisement
Quick Links
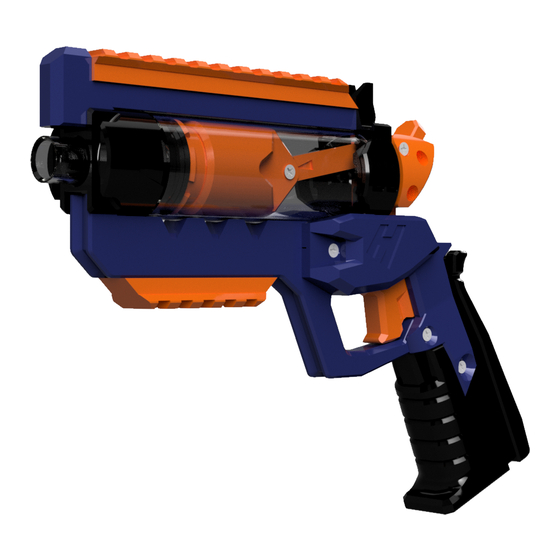
HYPR ASSEMBLY INSTRUCTIONS
The HYPR is a Muzzle-Loading Single-Shot Homemade Nerf Blaster design released as a Non-Commercial license file set
by Captain Slug (http://www.captainslug.com).
You are welcome to and encouraged to modify the files in any way you want. All of the parts can be printed with infill as
low as 20% in PLA, but I would recommend printing in layers of 200 Micron or smaller. Also set the wall/perimeters to
1.5mm to 2mm thickness.
Hardware kits and Blaster kits are available for sale. I'm producing these myself in what remains of my free time.
https://www.etsy.com/shop/CaptainSlug
DO NOT STORE IN TEMPERATURES ABOVE 100F. Storing the blaster inside of a car in warmer months will
cause the printed parts to distort or warp beyond their intended shape. If you need to store one in a vehicle
temporarily, store it in the trunk.
DO NOT aim this blaster at faces. The muzzle velocities this design can reach are between 60fps and 100fps
depending upon the darts used and the bands installed.
For most of the above hardware list the quantities are the MINIMUM required for assembly. Easily-lost items will have
several spares and I typically include extras of the majority of the items. Item #19 is not used in this build.
To assemble this blaster you will need a Small Philips Screwdriver, and a Round Needle File.
You may also need a 3/32" drill bit and a SLOW power drill.
The Plunger Tube in the Hardware Kit does come pre-lubricated. But it's also a good idea to have extra lubricant on-hand
for the Plunger Tube and I would recommend only using a clear Silicone Grease such as Oatey's brand #30219. Any clear
90% silicone grease will work fine so long as it does not include any additives. NEVER USE SILICONE LUBRICANT FROM
AN AEROSOL CAN. The propellants used in those are harmful to plastic parts.
Advertisement

Related Manuals for Captain Slug HYPR


Summary of Contents for Captain Slug HYPR
- Page 1 HYPR ASSEMBLY INSTRUCTIONS The HYPR is a Muzzle-Loading Single-Shot Homemade Nerf Blaster design released as a Non-Commercial license file set by Captain Slug (http://www.captainslug.com). You are welcome to and encouraged to modify the files in any way you want. All of the parts can be printed with infill as low as 20% in PLA, but I would recommend printing in layers of 200 Micron or smaller.
- Page 2 Above is a list of every printed part needed to assemble this blaster. The majority of the through holes should print to the required tolerance, but you will likely have one or two that may require minimal filing. Also make sure to trim off any burrs or oversized edges.
- Page 3 Add a 123 O-Ring to the undercut on the outside of the print. Push the barrel in through the center of the Base print until the end is roughly ½ an inch away from the front face. The barrel needs to have a snug fit inside the print, if it doesn’t hold in place you may need to apply a small amount of super glue near the front.
- Page 4 Slide the TopRail and Wunderbar prints into the keyways in the front of the Base print. Push the Yoke print onto the back of the plunger tube and line up the holes in it with the holes in the TopRail and Wunderbar prints.
- Page 5 Take a short pin and check the fit of it in the two small holes in the GripLeft and GripRight prints. If it’s not a loose fit clean out the holes with a 3/32” drill bit. Perform the same check on the through-holes of the Cammer, Conrod, and Trigger prints.
- Page 6 Insert a short pin into the Cammer and Trigger parts as shown and into the matching holes in the GripRight print. Slowly work the two holes in the GripLeft print onto the two exposed short pins. This is the only annoying step in the instructions. Secure the GripLeft print using three 4-40 screws.
- Page 7 Feed a short pin into the hole in the left side of the Conrod print and then into the CammerRight print. Slide the CammerLeft print onto the exposed end of the short pin. Retain CammerLeft print by driving a 4-40 screw through each hole and into the CammerMiddle print. Use a hammer or whatever else you feel like hitting them with to drive a short pin into each of the two holes in the end of the rail_max print.
- Page 8 Drive two 4-40 screws in through the holes to secure the prints together. Take the smaller elastic cord and tie a knot at the end of it. Feed the free end through the hole in the bottom of the Griddle print, and subsequently through the Trigger print. Pull the excess of the free end taught and tie a knot within ½...
- Page 9 Take one of the larger loops of elastic and hook it under the hammer through the U-shaped cut at the back of the Cammer print. Wrap it up and over the Base print following the curved troughs in the front of the print. Take the remaining elastic and pull it around behind the Grip, then up and behind the Ear on the back of the Cammer print.
- Page 10 The file set includes and alternate “Flat” plunger. It is intended to be use with the barrel mounted flush with the inside of the Base print so that the majority of it sticks out the front of the blaster. That setup will result in a slightly longer blaster, but should result in higher fps averages.
Need help?
Do you have a question about the HYPR and is the answer not in the manual?
Questions and answers