
Related Manuals for Azure Biosystems Azure 200


Summary of Contents for Azure Biosystems Azure 200
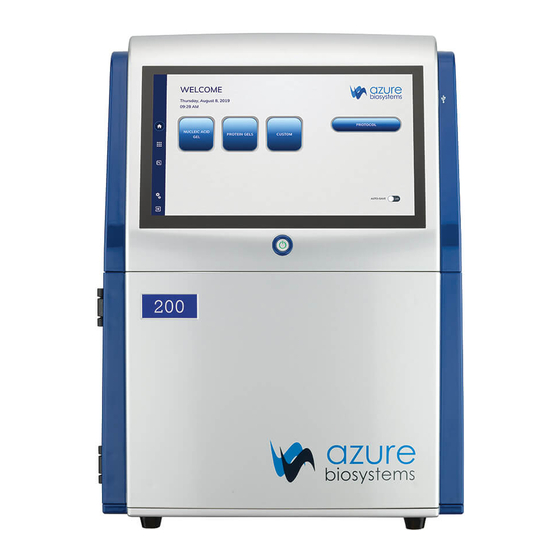
- Page 1 Azure Imaging Systems User Manual for the Azure 200, Azure 280, Azure 300, Azure 400, Azure 500, Azure 600 BLUE WHITE CHEMI LIGHT LIGHT Rev 20190919...
- Page 2 Safety and Regulatory Compliance Important Safety Information Please read these instructions before operating the Azure Imaging System. UV Safety Precautions Because U.V. radiation can cause serious damage CAUTION to unprotected eys and skin, we recommend to wear U.V. protection glasses or face shield. The Azure Imaging System comes with a built-in Ultra-Violet (UV 200-400nm) Transilluminator.
- Page 3 Laser repair or replacement may be performed in the field by Azure Biosystems authorized service technicians, or by return of the entire system to Azure Biosystems, or its authorized service location(s) for laser repair or replacement. Lasers are deemed to be faulty or defective if users discover images that show...
- Page 4 If any defect occurs in the instrument during this warranty period, Azure Biosystems, Inc. will repair or replace the defective parts at its discretion without charge. The following defects, however, are specifically excluded: •...
-
Page 5: Table Of Contents
Table of Contents Introduction Table of Specifications Contacting Technical Support Installation and Setup System Placement Connecting to Power Turning the System On/Off Software Installation Other USB Input Devices Capture Software Overview The home page contains the following imaging options Key definitions that apply to all imaging types Imaging Workflow for Chemiluminescent Applications Imaging Workflow for Fluorescent Applications Imaging Workflow for Nucleic Acid Gel... -
Page 6: Introduction
• USB Ports – There are 3 USB ports for data transfer. One located on the front panel, and two on the lower right side of the cabinet. • USB Memory Stick – The Azure Biosystems memory stick contains calibration files relevant to your imaging system. -
Page 7: Table Of Specifications
Dimensions (W x D x H) 38 cm x 30 cm x 45 cm Weight 22 kg (49 lbs.) Azure 600 Azure 500 Azure 400 Azure 300 Azure 280 Azure 200 CHEMI CHEMI CHEMI CHEMI CHEMI WHITE BLUE WHITE BLUE... -
Page 8: Installation And Setup
Select POWER. Select SHUT DOWN. 2. Turn off power to the system using the power switch on the back of the instrument. Azure Biosystems recommends leaving the system on during working hours. Azure Imaging System User Manual Page 7... -
Page 9: Software Installation
2.4 Software Installation The Azure Acquisition Software is pre-installed. When the 13.3 inch touchscreen running Windows 10 Enterprise is powered on, the software launches directly into the Azure Imaging System capture software application. If the software has been closed, double click on the desktop icon. Once the system is done initializing, the software displays the gallery tab, and is ready to use. -
Page 10: Capture Software Overview
CAPTURE SOFTWARE OVERVIEW Azure Imaging System captures high quality images with an intuitive user interface. The icon based software allows you to program multiple different applications with the touch of a button. There is no need to focus on your sample. Simply put your sample in the system, select an exposure time, then hit capture. 3.1 The home page contains the following imaging options: Chemluminescent Blot –... -
Page 11: Key Definitions That Apply To All Imaging Types
3.2 Key definitions that apply to all imaging types: Auto vs Manual • Auto Scan – determine your optimal exposure time automatically. • Manual – enables you to set each parameter to your preferred specifications. Sensitivity – refers to the pixel binning setting (i.e. how the pixels are grouped). The higher the sensitivity value, the lower the spatial resolution. -
Page 12: Imaging Workflow For Chemiluminescent Applications
3.3 Imaging Workflow for Chemiluminescent Applications Use this with samples that have membranes with chemiluminescent signals such as from HRP. Remove the black tray and place blot in the center of the tray. Close the Azure Imaging System door. Place the blot tray in one of two positions: on the UV transilluminator, or on the chemi shelf, in the middle of the imaging system. -
Page 13: Imaging Workflow For Fluorescent Applications
13. Select to capture the image. 14. All images will be displayed in the Gallery. The Gallery can be reached by clicking . See Section 4.1 for instructions on using the Gallery. 15. Select to go back one screen. 3.4 Imaging Workflow for Fluorescent Applications Use this for samples with fluorescent signals in up to four channels (red, green, blue, and grayscale) for multiplex imaging. -
Page 14: Imaging Workflow For Protein Gel
Sensitivity – see Section 3.2 for details. 10. Exposure – see Section 3.2 for details. 11. UV Override – select this to customize UV light settings. • Band Excision – requires overriding the safety interlock. Open the system door, then pull the override safety interlock switch. -
Page 15: Imaging Workflow For Custom Image
Note: For Azure 200, the focus does not need to be adjusted for the UV table or black tray. Select Exposure type. See Section 3.2 for a detailed explanation of the exposure types. -
Page 16: Image Gallery Overview
IMAGE GALLERY OVERVIEW This section discusses the ways in which you can analyze images. 4.1 Gallery Reach the gallery at any time by clicking From the File dropdown menu, select the following options: • Open – use this icon to open an image that is stored locally, on a USB, or on the network. •... -
Page 17: Settings
• Copy a region of interest on a single channel image. After selecting another image of the same size, use the paste option to overlay the copied image. • Clear clipboard erases the saved image done with cropping or copying so you can select a new region. - Page 18 Manage Protocols – edit or create Custom Protocols. Select Edit button to the right of existing protocols. Or, select light source, name, filter, whether you want cumulative, multiple or single images, the default focus, aperture, and exposure, and the live step and preview step settings. Azure Imaging System User Manual Page 17...
- Page 19 • info@azurebiosystems.com Copyright © 2019 Azure Biosystems. All rights reserved. The Azure Biosystems logo and Azure Biosystems are trademarks of the ® Company. All other trademarks, service marks and trade names appearing in this brochure are the property of their respective owners.
Need help?
Do you have a question about the Azure 200 and is the answer not in the manual?
Questions and answers