Advertisement
Quick Links
说明书归档
说明书
归档首页
首页
说明书
说明书
归档
归档
首页
首页
P00682Q
说明书编号:
□ 全新编制
■ 衍生机型
编制说明
( 首 版 编 制 时 请
填 写 )
□ 临时对应
签字区
签字区
签字区
签字区
设计:
审核:
标准化:
批准
标记
× 2
× 2
变更履历
×
( 变 更 说 明 书 时
×
请 填 写 )
变更内容简要描述
说明书大批量清洗,核查并修改低级错误。
内容字母掉字勘误
内容字母漏掉空格
本次变更
内容简述
担当联络方式
备注
适用产品序列:
适用机型系列:
衍生产品序列:
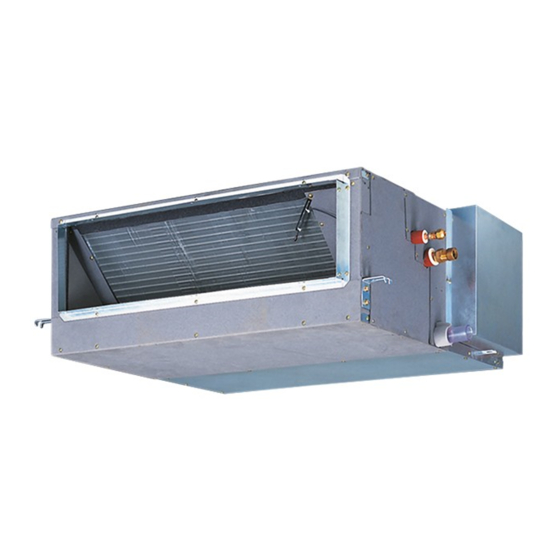
衍生机型系列: RPI—16.0-20.0KFNQ
源产品序列:
源机型系列:
源说明书编号:
对应简要说明:
源说明书编号:
签名
签名
签名
签名
管理编号:
BZ/KF1412-027
BZ/KF-1804-216
3
BZ/KF-1909-027
0532-8087 5223
hanqin2@hisensehitachi.com
邮箱
版本号:
日 立 出 口 新 风 机 ( 国 际 营 销 渠 道 )
潘翠连
陈 林
霍艳萍
前田宪作
日期:
更改:
14.12.08
赵怀杰
18.04.08
张利娜
19.09.17
韩芹
V04
版本号:
版本号:
日期
日期
日期
日期
2013.12.05
2013.12.09
2013.12.06
2013.12.10
审核:
批准:
陈 林
前田宪作
陶友淘
邓玉平
陶友淘
张利娜
涉及页码
目录
P7
P8
Advertisement


Need help?
Do you have a question about the RPI-16.0KFNQL and is the answer not in the manual?
Questions and answers