Advertisement
Quick Links
Advertisement

Summary of Contents for OptConnect neo2 dura
- Page 1 Quick Start Guide Everything you loved about OptConnect neo – times two.
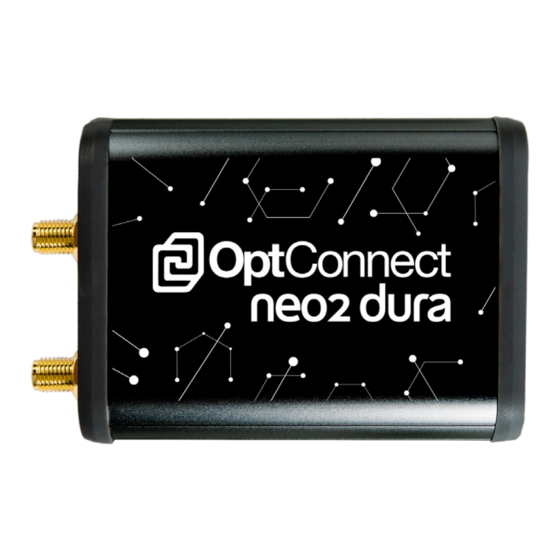
- Page 2 Welcome to neo2 dura neo2 dura is a compact LTE Category 4 multi-carrier cellular router perfectly suited for industrial applications that require high speed connectivity and the peace of mind of redundant carrier connections. neo2 dura’s small size allows it to fit almost anywhere.
- Page 3 Simple steps to Place, Plug & Play 1. Identify neo2 dura and its included accessories 2. Position the antenna 3. Place neo2 dura and connect antenna & power 4. Maximize signal strength and quality 5. Configure your equipment for DHCP 6.
- Page 4 1. Identify neo2 dura and its accessories IMPORTANT • Use only the included power adapter to maintain warranty coverage. • The identifiers on the bottom of neo2 are important. • Your equipment’s IP settings are critical. See the steps on...
-
Page 5: Position The Antenna
2. Position the antenna • Avoid placing the antenna inside equipment constructed entirely or mostly of metal • Position the antenna’s magnetic base on a metal surface 3-5 inches from any edge – location on a metal surface can improve signal strength •... - Page 6 • Route power adapter’s cord from power source to neo2 dura • Connect power cord to neo2 dura – ensure the green LED next to the power port glows • After 10-60 seconds, ensure the middle green LED glows or flashes IMPORTANT –...
- Page 7 4. Maximize signal strength and quality neo2 dura may work well at this point. However, this step is strongly recommended to avoid potential future issues. 1. Log in to the OptConnect Summit portal at summit.optconnect.com 2. Click Total Devices link 3.
- Page 8 5. Configure your equipment for DHCP If you wish to initiate a remote connection to your equipment from your host, do not use DHCP. Got to Step 6 to set up a Static IP. • Set your equipment to obtain an IP address through DHCP...
- Page 9 6. Optionally Configure your equipment for Static IP Skip to step 7 if you do not need to initiate a connection from your host to your equipment through neo2 dura • Set your equipment as follows: IP address 192.168.1.11 255.255.255.0 Subnet mask 192.168.1.90...
- Page 10 7. Connect ethernet cable and test • Connect the ethernet cable to your equipment and to neo2 dura – ensure the amber LED next to the ethernet port glows or flashes • Restart your equipment or cause it to refresh its network environment •...
- Page 11 Skip to step 11 if you do not need to initiate a connection from your host to your equipment through neo2 dura • Look up the IP address of your neo2 dura in Summit or contact our Customer Care Center at 877.678.3343 •...
- Page 12 Contact port 192.168.1.11........192.168.1.12........2xxx • Ex: directing your browser to <neo2 dura IP address> : 2443 establishes an https session on port 443 with your equipment at IP address 192.168.1.12, the 2nd device in the table above • neo2 dura is pre-configured for remote access to two static IP clients as per the table above.
- Page 13 Customer Care Center at 877.678.3343 to install our free software VPN client or to discuss other options. If this neo2 dura is part of a larger portfolio of OptConnect devices, your company is already using credentials to remotely access your equipment. You do not need to take...
- Page 14 11. Manage your OptConnect Device neo2 dura includes a lifetime license to Summit to help you manage your cellular devices. Log in at summit.optconnect.com or contact our Customer Care Center at 877.678.3343. How do I log in to neo2 dura? There is no log in for neo2 dura.
- Page 15 Summit at summit.optconnect.com or add Glimpse™ support to your equipment’s software. How do I get support? Contact our Customer Care Center at 877.678.3343...
- Page 16 Let us show you why thousands of customers have made OptConnect the leading IoT managed services provider for headache-free cellular connectivity with award-winning products and top-rated customer service. OptConnect.com 877.678.3343...


Need help?
Do you have a question about the neo2 dura and is the answer not in the manual?
Questions and answers