Table of Contents
Advertisement
Quick Links
Advertisement
Table of Contents

Subscribe to Our Youtube Channel
Related Manuals for eletab ELTGM01-1


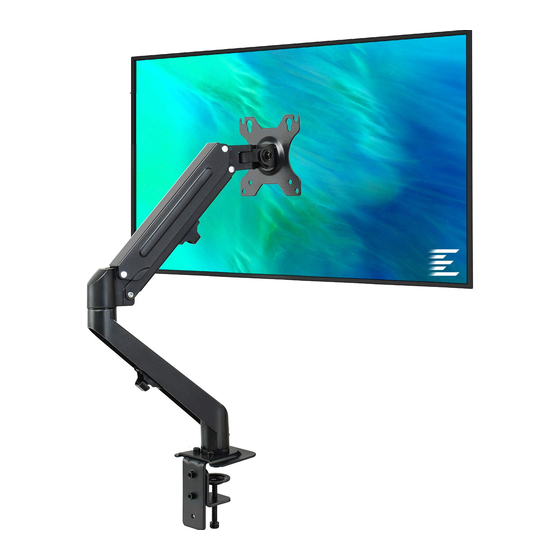
Summary of Contents for eletab ELTGM01-1
- Page 1 ELTGM01-1 EleTab_service@outlook.com www.facebook.com/EleTabus...
- Page 2 Read the entire instrution manual before you start installation and assembly. If you have any questions regarding any of the instructions or warnings, Please contact at EleTab_service@outlook.com for assistance. CAUTION: Use with products heavier than the rated weights indicated may result in instability causing possible injury.
- Page 3 Parts Tools required L (x1) M (x1) Phillips 4mm Allen 5mm Allen Screwdriver Wrench Wrench (not included) Components A (x1) B (x1) C (x1) D (x1) E (x1) F (x1) G (x5) VESA Plate Clamp Base Clamp Cable Clip Long Screw Bolt Support K (x2)
- Page 4 STEP 1 Choose a mounting option OPTION A: Clamp Installation Install clamp base support (C) onto base of monitor stand (A) with bolts (G) using provided 4mm Allen wrench (L). Apply pads (K) to bottom of base. Secure clamp (D) to lower two holes with Secure clamp (D) to upper two holes with bolts (G) using 4mm Allen wrench (L) for bolts (G) using 4mm Allen wrench (L) for...
- Page 5 Attach base support cover (E) to clamp base support (C). Tighten the clamp to the desktop using the plastic knob. STEP 1 (Continued) OPTION B: Grommet Base Installation Slide long screw (F) through the top of the grommet base support (H) and install on base of monitor stand with bolts (G) using 4mm Allen wrench (L).
- Page 6 Position stand on desk with long screw through hole, and secure by using the support plate (I) and clamp knob (J) on underside of the mounting surface. STEP 2 Attach the monitors to the arm Position VESA plate (B) on back of monitor and secure with screws (M -A) or (M-B) with (M-C) washers.
- Page 7 STEP 3 Adjust the tension Be sure to keep the arm in horizontal Adjust spring tension by turning position during adjustment .0r else it screw with 5mm Allen wrench (M) . would be difficult to adjust the mount or Turning it clockwise can increase the damage the mount.
- Page 8 We encourage you to write a review sharing your experierience. Should you have any issues, please don't hesitate to contact us. Scan the qr code below for more products from EleTab For further services: EleTab_service@outlook.com...
Need help?
Do you have a question about the ELTGM01-1 and is the answer not in the manual?
Questions and answers