
Related Manuals for Planet EPL-2000


Summary of Contents for Planet EPL-2000
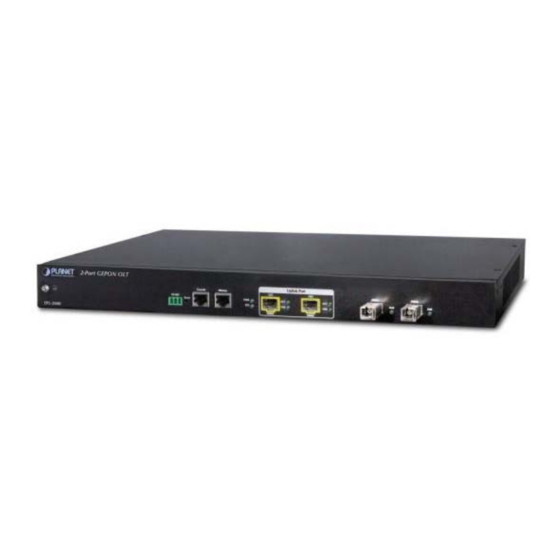
- Page 1 EPL-2000 GEPON OLT (2-PON Interface, 2 x GbE SFP, 1 x MGT Port) Quick Installation Guide...
-
Page 2: Table Of Contents
Table of Contents 1. Package Contents ..................3 2. Requirements ..................... 4 3. MySQL Server Installation ................5 4. PL-EMS Installation ..................14 5. Starting PL-EMS Management ..............17 6. Customer Support ..................19... -
Page 3: Package Contents
1. Package Contents Thank you for purchasing PLANET GEPON OLT EPL-2000. The term “GEPON OLT” refers to the Switch mentioned in this Quick Installation Guide. The box should contain the following items: z The GEPON OLT x 1 z The MGB-PX20 SFP Transceiver x 2 z The Quick Installation Guide x 1 z User’s Manual CD x 1... -
Page 4: Requirements
2. Requirements The GEPON OLT provides a GUI utility to manage the system; the following equipment is necessary for further management: Subscriber PC is installed with Ethernet NIC (Network Card) MySQL Software (Windows Platform) http://dev.mysql.com/ EMS Software (Windows Platform) ... -
Page 5: Mysql Server Installation
3. MySQL Server Installation Install the MySQL software with the purpose of saving equipment’s alarm message, administrator message, system log, etc. 1. Please visit MySQL official website http://dev.mysql.com/ download MySQL-Essential-5.1.73-win32.msi or MySQL-Essential-5.1.73-win64.msi for the Windows system. 2. Once the Setup program starts running, please click the “Next” button for starting installation. - Page 6 3. The Setup Type window appears; the default is “Typical” mode. Please click the “Next” button. Figure 3-2 Setup Type Screen 4. The “Ready to Install the Program” window appears; please click the “Install” button. Figure 3-3 Begin Installation Wizard Screen...
- Page 7 5. When the installation is done, the “MySQL Enterprise” window appears. Please click the “Next” button. Figure 3-4 MySQL Enterprise Screen 6. The “Wizard Completed” window appears, and it will ask for Configure the MySQL server and Register the MySQL Server now. Please click the “Finish” button.
- Page 8 7. The “MySQL Server Instance Configuration Wizard” window appears; please click the “Next” button. Figure 3-6 MySQL Configuration Wizard Screen 8. The “MySQL Server Instance Configuration” window appears; keep the default setting of “Detailed Configuration” and click the “Next” button. Figure 3-7 MySQL Server Instance Configuration (1) Screen...
- Page 9 9. Please select a Server type. Keep the default setting of “Developer Machine” and click the “Next” button. Figure 3-8 MySQL Server Instance Configuration (2) Screen 10. Please select the database usage. Keep the default setting of “Multifunctional Database” and click the “Next” button. Figure 3-9 MySQL Server Instance Configuration (3) Screen...
- Page 10 11. Choose where you want to place the InnoDB Datafile. Here is the remaining default setting. Please click the “Next” button. Figure 3-10 MySQL Server Instance Configuration (4) Screen 12. Please set the approximate number of concurrent connections. Keep the default setting of “Decision Support (DSS)/OLAP and click the “Next”...
- Page 11 13. Please set the Network options and Server SQL mode. Keep the default setting and click the “Next” button. Figure 3-12 MySQL Server Instance Configuration (6) Screen 14. Please Select the default character set. Keep the default setting of “Standard Character Set”...
- Page 12 15. Please set the Windows options. Keep default setting and click the “Next” button. Figure 3-14 MySQL Server Instance Configuration (8) Screen 16. Please set the security options. Type the password “1234” for current root and new root. Click the “Next” button. Figure 3-15 MySQL Server Instance Configuration (9) Screen...
- Page 13 17. Please click the “Execute” button for starting the configuration. Figure 3-16 MySQL Server Instance Configuration (10) Screen 18. Please give a check to “Configuration file created”, “Windows service MySQL installed”, “Service started successfully” and “Security settings applied”, and then click the “Finish” button.
-
Page 14: Ems Installation
4. PL-EMS Installation 1. Insert the bundled CD disk into the CD-ROM drive to launch the autorun program. Once completed, a welcome menu screen will appear. Click the “PL-EMS” hyperlink, the InstallShield Wizard dialog box will appear below. 2. Once the Setup program starts running, please click the “Next” button for starting installation. - Page 15 3. During the installation, it will ask for the place to put the PL_EMS folder. Figure 4-2 PL-EMS Folder Installation Screen 4. Click “Install” for starting installation. Figure 4-3 PL-EMS Installation Screen...
- Page 16 5. Click the “Finish” button for completing the EMS Setup. Figure 4-4 PL-EMS Installation Completing Screen 6. When the PL-EMS installation is done, two icons -- PL Server and PL Client – will appear on the desktop.
-
Page 17: Starting Pl-Ems Management
5. Starting PL-EMS Management Figure 5-1 IP Management Diagram The following shows how to start-up the PL-EMS Management of the GEPON OLT. Please note the GEPON OLT is configured through an Ethernet connection, making sure the manager PC must be set to the same IP subnet address. For example, the default IP address of the GEPON OLT is 192.168.1.10 (the factory-default IP address), then the manager PC should be set to 192.168.1.x (where x is a number between 1 and 254, except 10), and the default subnet... - Page 18 “admin” and password “admin”. The login screen in Figure 5-3 appears. Figure 5-3 PL Client Icon and Login Window 3. After entering the user name and password, the PL-EMS utility main screen will appear as in Figure 5-4. Figure 5-4 Main Screen of EPL-2000 GEPON OLT...
-
Page 19: Customer Support
6. Customer Support Thank you for purchasing PLANET products. You can browse our online FAQ resource on the PLANET Website first to check if it could solve your issue. If you need more support information, please contact PLANET switch support team. - Page 20 Copyright © PLANET Technology Corp. 2016. Contents are subject to revision without prior notice. PLANET is a registered trademark of PLANET Technology Corp. All other trademarks belong to their respective owners.
Need help?
Do you have a question about the EPL-2000 and is the answer not in the manual?
Questions and answers