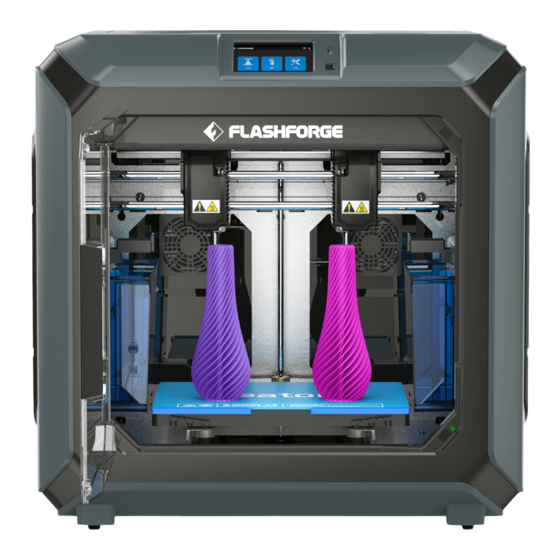
Flashforge Creator 3 Quick Start Manual
Heating assembly
Hide thumbs
Also See for Creator 3:
- Quick start manual ,
- User manual (100 pages) ,
- Quick start manual (36 pages)
Table of Contents
Advertisement
Quick Links
Creator3 加热组件更换操作文档
Creator 3 Heating assembly replacement operation
以下说明以右喷头更换加热组件为例,左喷头操作同理。
Here takes the right extruder as an example to replace the heating assembly, and the operation
of the left extruder is the same.
1. 右喷头进行退丝,退丝完成后拔出白色导丝管。
1. Unload the filament with [unload] function,and pull out the filament guide tube.
2. 机器关机。
2.Power off the machine.
3. 拧下喷头罩固定螺丝后,将喷头罩拆下,放在一边。
3.Unscrew the screw on the extruder cover,remove it and put it aside.
4. 拧下下图红色箭头处的 2 个加热组件固定螺丝,并保存好螺丝。
4.Unscrew the 2 screws which fixing the heating assembly,and save the screws well.
5. 剪断线束固定扎带,根据红色箭头所示,拆下加热管线和热电偶线,这样,就能将旧加
热组件移除。
5.Cut off the tie, and remove the cables of heating cartridge and thermocouples as shown by
Advertisement
Table of Contents

Subscribe to Our Youtube Channel
Summary of Contents for Flashforge Creator 3
- Page 1 Creator3 加热组件更换操作文档 Creator 3 Heating assembly replacement operation 以下说明以右喷头更换加热组件为例,左喷头操作同理。 Here takes the right extruder as an example to replace the heating assembly, and the operation of the left extruder is the same. 1. 右喷头进行退丝,退丝完成后拔出白色导丝管。 1. Unload the filament with [unload] function,and pull out the filament guide tube.
- Page 2 the red arrow in the picture below, then the old heating assembly can be removed. 6. 确保机器下图红框内的压电片上盖和下盖固定在原来位置,如掉落,需先将压电片上盖 和下盖安装好。 (特别是旧版的压电片下盖,不要遗失) 6.Make sure that the upper and lower covers of the piezoelectric sensor are fixed in their original positions,which show in the red frame in the picture below .If fall, please install them back.(especially the old version of the lower cover, don't lose it) 7.
- Page 3 8. 将加热管线和热电偶线重新安装到喷头 PCB 板上, 确保安装牢固。 线束用扎带重新绑好。 8.Insert the cables of heating cartridge and thermocouple on the extruder PCB board again, ensure that the connections are well. Re-tie the cables with a tie. 9. 重新将喷头罩装回去,拧紧螺丝。 9.Reinstall the extruder cover and tighten the screws. 10.


Need help?
Do you have a question about the Creator 3 and is the answer not in the manual?
Questions and answers