Haier XQG65-11SU User Manual
Automatic drum washing machine
Hide thumbs
Also See for XQG65-11SU:
- User manual (83 pages) ,
- User manual (83 pages) ,
- User manual (29 pages)
Table of Contents
Advertisement
XQG65-11SU
Automatic Drum Washing Machine
Table of Contents
Before using the appliance
Names of parts---------inside front cover
Matters needing attention--------------1-3
Installation--------------------------------- 4-5
Control Panel --------------------------------6
Functions-----------------------------------7
How to operate the washing machine
Program description table-----------------8
Preparation-----------------------------------9
Washing Procedure-------------------10-11
Maintenance
Maintenance--------------------------------12
Troubleshooting Guide-------------------13
Technical Specifications-----------------14
Wiring Circuit-------------------------------15
Advertisement
Table of Contents

Subscribe to Our Youtube Channel
Related Manuals for Haier XQG65-11SU


Summary of Contents for Haier XQG65-11SU
-
Page 1: Table Of Contents
XQG65-11SU Automatic Drum Washing Machine Table of Contents Before using the appliance Names of parts---------inside front cover Matters needing attention--------------1-3 Installation--------------------------------- 4-5 Control Panel --------------------------------6 Functions-----------------------------------7 How to operate the washing machine Program description table-----------------8 Preparation-----------------------------------9 Washing Procedure-------------------10-11 Maintenance Maintenance--------------------------------12... -
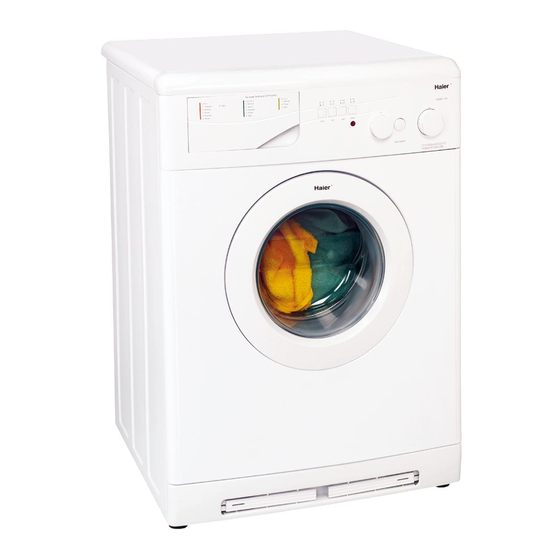
Page 2: Names Of Parts
This diagram may be slightly different from the layout of the washing machine you have just purchased due to technical improvements. Program selector Door button Dryer selector Caster release levers Drain hose clip Packing bolt (3) Back plate... -
Page 3: Matters Needing Attention
2. Pull the plug and not the electric cable when unplugging the washing machine. 4. For your safety, dry your hands before touch-ing the washing machine Haier and wear appro-priate footwear. 6. The door of the washing machine be- comes hot during the water heating process. - Page 4 Matters Needing Attention 8. The washing machine must not be used in the open or in an area of high humidity as water droplets may form on the electrical components. appliance washing components become wet. 10. Keep away from heat sources and direct sunlight to prevent plastic and rubber components from ageing.
- Page 5 Matters Needing Attention 3. Never place heavy objects, e.g. a heating appliance or water container, on the top panel of the washing machine. 5. Before washing, close zippers, buttons, laces repair damaged Underwear and small items should be placed in a laundry bag or pillow slip. Do not wash clothes containing wire frames.
-
Page 6: Installation
Check attachments and materials Name Operational manual Model XQG65-11SU Remove the packing screws as shown in figure 2. The packing bolts protect the appliance from impact damage during transportation. Follow the steps below before using the appliance. 1. Remove the rear panel of the washing machine;... -
Page 7: Installation
The power supply voltage conforms to the required value. The power supply socket and plug of the washing machine are compatible; if they are not compatible, contact a washing machine technician or a Haier designated service point for power cable replacement. The washing machine must be connected to the earth before use. -
Page 8: Control Panel
Control Panel A Wash program Turn the knob clockwise to select the desired wash program. Caution: Turn off the power before turning the program knob clockwise to set the desired wash program. B Drying knob This knob is for selecting a drying program. 0-120 minutes for cotton fabrics and coarse fibre fabrics, 0-80 minutes for chemical fabrics. -
Page 9: Functions
Functions D Power Button Push the button in to have your washer "ON". The light will turn on indicating that power is "ON". Push the button out to have your washer "OFF". The light will go off indicating that power is "OFF". E Load Button Push the button in if you want to reduce water usage during the rinse cycle. -
Page 10: Program Description Table
Program description table XQG65-11SU Mode Selection(program selector position) Pre-wash Heavily soiled Soiled cotton Wash Non-fast coloureds and Quick wash medium soiled fabrics Medium soiled or light Super quick coloured fabrics wash Rinse Capable of softening if soften softener added spin... -
Page 11: Preparation
Preparation 1. Power supply Plug in the power supply 220V/60Hz. 4. Detergents Only special foam detergents should be used in the automatic drum washing machine. Special detergents should be used for blended wool fabrics.. Dry cleaning solvents, such t r i c h l o r o e t h y l e n e , should not be used (caution: load the required amount of... -
Page 12: Washing Procedure
Washing Procedure 1. Laden van de wasmachine Load the laundry into the washing machine and the close the door. Note: 1) When using the washing machine for the first time, let it run unloaded for one program to prevent the laundry from being spotted by oil or dirty water from the washing machine. -
Page 13: Washing Procedure
Washing Procedure 5. Selecting the function button Select the function buttons as required (refer to the indications printed on the control panel), otherwise leave all the buttons released. 6. Washing Press the ON/OFF button: the washing machine will automatically start the selected wash cycle. -
Page 14: Maintenance
Maintenance 1. Turn off the water and power supply after wash. Open the door to prevent formation dampness and odours. If the washing machine is left idle for a long period, drain any remaining water machine and replace the drain 5. -
Page 15: Troubleshooting Guide
Troubleshooting Guide Before contacting the after-sales service, see if you can solve the problem yourself with the help of the Troubleshooting Guide. Fault The washing machine does not function The washing machine does not fill with water The water supply and draining do not stop The washing machine does not drain... -
Page 17: Wiring Circuit
Wiring Circuit...
Need help?
Do you have a question about the XQG65-11SU and is the answer not in the manual?
Questions and answers