Advertisement
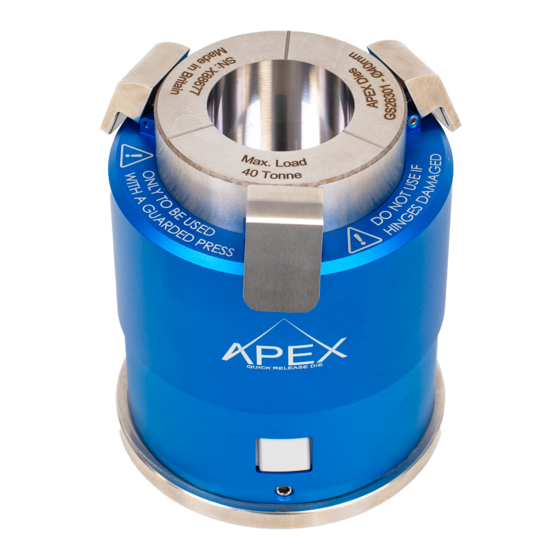
APEX™ QUICK RELEASE DIE
Preparing the Press for Use of the Apex™
The benefits of the Apex™ Quick Release Die are fully realized when calibrated for use with your
samples. Please take time to read carefully through this Quick Start Guide and follow the
procedures described. Always consult the User Instruction Manual (UIM) for full details of
operation and follow any additional instructions that we may issue from time to time. Please
take note of the disclaimer and warnings set out in this Quick Start Guide and the Specac Limited
Conditions of Sale.
The Apex™ Quick Release Die is to be used in conjunction with a Specac press with an Apex™
pressing anvil and locator plate. Proper fitment of the anvil and locator items to your press is
essential for safe and reliable operation of the die.
1) Fitting the Top Pressing Anvil to a Press Leadscrew
Remove the standard top bolster anvil fitted to the leadscrew of the Press and replace with the
new pressing anvil for the APEX Die. Both anvil types are held into the hollow recess at the tip of
the leadscrew by the fit of the O-ring on the anvils. The standard anvil is carefully pulled out of the
leadscrew and the APEX Die anvil is pushed back into place as far as it will go for the O-ring to hold.
Note: when correctly fitted, the anvil will be flat and level, and the sealing O-ring will not be visible,
as shown in figure 1.
Figure 1 Correct fitment of the Anvil: flat
and level without a visible O-ring
2) Fitting of the Base Locator Plate into the Press
The base locator plate is placed onto the Press lower pressing piston. The recess on the underside
of the base locator provides correct and centralized positioning. The locator plate has two dowel
location pins or a raised edge which is used to centralize the APEX Die when it is placed into the
Press. The APEX Die is positioned such the outer sleeve of the APEX Die touches both dowel pins or
the raised edge. It must not be placed on top of the dowels.
Figure 3 Base locator plate correctly installed
with locating pins facing upwards
QS-26300-6
Figure 2 Improper fitment of the Anvil, with
a visible tilt.
Figure 4 Base locator plate incorrectly installed with
recessed surface facing upwards
1
Advertisement
Table of Contents

Subscribe to Our Youtube Channel
Related Manuals for Specac APEX QUICK RELEASE DIE


Summary of Contents for Specac APEX QUICK RELEASE DIE
- Page 1 Always consult the User Instruction Manual (UIM) for full details of operation and follow any additional instructions that we may issue from time to time. Please take note of the disclaimer and warnings set out in this Quick Start Guide and the Specac Limited Conditions of Sale.
- Page 2 APEX™ QUICK RELEASE DIE With the top pressing anvil and base locator plate fitted to the Press, the APEX Die is ready to use. Tips for First Time Use 1) Latch set-up Level Gently push the die body down to its first latch position. The top of the body should then be level with the tabs (see Figure 5).
- Page 3 APEX™ QUICK RELEASE DIE A polished capping plate is provided which imparts a highly smooth surface to the pellet. Its use is optional, but its thickness must be factored into the overall maximum pellet thickness. Caution: overfilling the die may prevent the hinged tabs from fully engaging upon release of the load.
- Page 4 Apex Quick Release Die and when issued shall supersede any other terms. Specac Limited shall not be liable for any defects appearing in an Apex Quick Release Die sold or supplied by Specac Limited to the extent that such defects arise as a result of the purchaser or any...
Need help?
Do you have a question about the APEX QUICK RELEASE DIE and is the answer not in the manual?
Questions and answers