Table of Contents
Advertisement
Quick Links
R
GENMAX GENERATOR
INVERTER GENERATOR
USER'S MANUAL
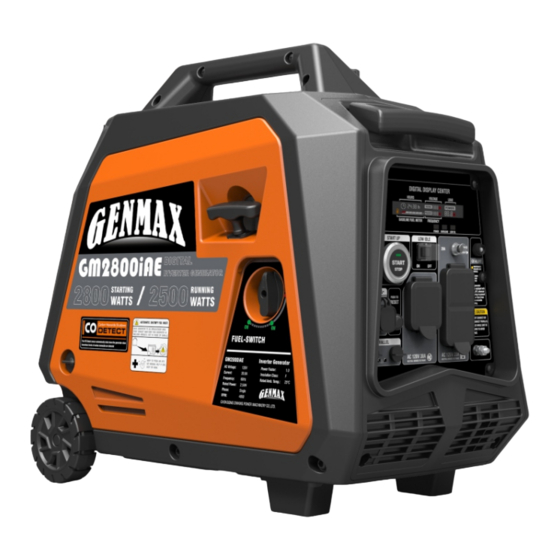
GM2800iA/GM2800iAE
GM3500iA/GM3500iAE/GM3500iAD/GM3500iAED
Portable Inverter Generator
Portable Inverter Generator
2500 Running Watts | 2800 Peak Watts
3200(GAS.)/2800(LPG) Running Watts | 3500(GAS.)/3100(LPG) Peak Watts
WARNING: SAVE THIS MANUAL FOR FUTURE REFERENCE
This manual contains important information regarding safety. Operation,
maintenance and storage of this product. Before use, read carefully and
understand all cautions, warnings, instructions and product labels. Failure to
do so could result in serious personal injury and/or property damage.
Advertisement
Table of Contents


Need help?
Do you have a question about the GM2800iA and is the answer not in the manual?
Questions and answers