Table of Contents
Advertisement
Quick Links
G2 TRIGGER DEADMAN
OPERATION AND MAINTENANCE MANUAL
MAY 2021
SAVE THIS MANUAL AND MAKE AVAILABLE
TO ALL USERS OF THIS EQUIPMENT!
Manual Part Number 7200-345
Copyright © 2021 AXXIOM Manufacturing, Inc.
11927 S. Highway 6, Fresno, Texas 77545
800.231.2085 * 281.431.0581 * fax 281.431.1717
Visit us at www.SchmidtAbrasiveBlasting.com
Website
Advertisement
Table of Contents

Related Manuals for Schmidt G2 TRIGGER DEADMAN


Summary of Contents for Schmidt G2 TRIGGER DEADMAN
- Page 1 G2 TRIGGER DEADMAN OPERATION AND MAINTENANCE MANUAL MAY 2021 SAVE THIS MANUAL AND MAKE AVAILABLE TO ALL USERS OF THIS EQUIPMENT! Manual Part Number 7200-345 Copyright © 2021 AXXIOM Manufacturing, Inc. 11927 S. Highway 6, Fresno, Texas 77545 800.231.2085 * 281.431.0581 * fax 281.431.1717 Visit us at www.SchmidtAbrasiveBlasting.com...
- Page 2 2.0 GENERAL INFORMATION The G2 Trigger Deadman is designed to be used in an abrasive blast control system as a device that allows remote control of the on-off function of the blast operation. Consult an authorized Axxiom Distributor for system compatibility verification.
- Page 3 3.3.4 Connect the 1/4" swivel fitting of the twinline to the 1/4” 90 swivel fitting (#19) on the G2 Trigger Deadman. No thread sealer is required since fittings are flared. The opposite end of the twinline connects to the blast system air supply.
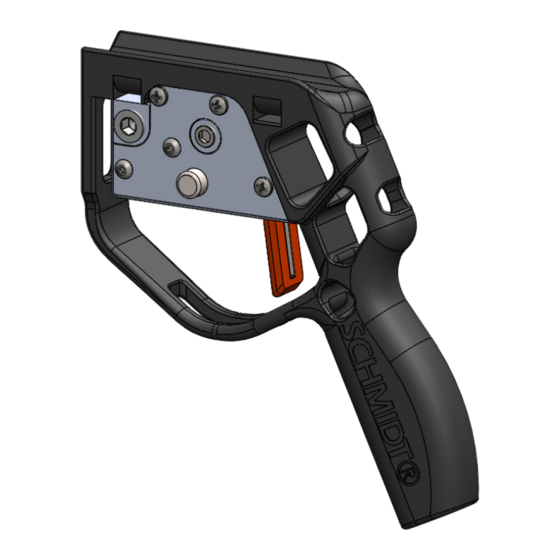
- Page 4 4.0 ELECTRIC TRIGGER DEADMAN Figure 4.1 - G2 Electric Trigger Deadman Assembly DISASSEMBLY PROCEDURE. Refer to Figure 4.1 above. The tools required for this procedure include: #2 phillips screwdriver. 4.1.1 Remove the (6) phillips head screws (#12) to detach the trigger module assembly from the deadman handle (#2). 4.1.2 Remove the (4) phillips head screws (#11) to unfasten the left and right module bodies (#9, #10).
- Page 5 Turn on or reconnect the power source to the abrasive blast system. 4.3.6 To test the G2 Trigger Deadman, press in the safety button (#6) and pull the trigger (#1) to activate the deadman switch and start the blast operation. Release the trigger to stop blasting.
- Page 6 Do Not modify or alter any abrasive blaster, blast equipment or controls thereof without written consent from Axxiom Manufacturing, Inc. Do Not use bleeder type deadman valves on any Schmidt® abrasive blaster. The use of A-BEC, Clemco or a similar bleeder type deadman valve can cause unintentional start- up without warning, which can result in serious personal injury.
Need help?
Do you have a question about the G2 TRIGGER DEADMAN and is the answer not in the manual?
Questions and answers