Sign In
Upload
Download
Table of Contents
Contents
Add to my manuals
Delete from my manuals
Share
URL of this page:
HTML Link:
Bookmark this page
Add
Manual will be automatically added to "My Manuals"
Print this page
×
Bookmark added
×
Added to my manuals
Manuals
Brands
Digitus Manuals
Indoor Furnishing
DA-90430
Assembling manual
Digitus DA-90430 Assembling Manual
Electrically height-adjustable desk frame
Hide thumbs
1
Table Of Contents
2
3
4
5
6
7
8
9
10
11
12
13
14
15
16
17
page
of
17
Go
/
17
Contents
Table of Contents
Bookmarks
Table of Contents
Table of Contents
Introduction
Features
Package Content
Product Overview
Accessory List
Component List
Installation
Step 1
Step 2
Step 3
Step 4
Step 5
Step 6
Step 7
How to Use Handset
Handset Operation
Common Fault Treatment
Important Safety & Usage Instructions
Advertisement
Quick Links
Download this manual
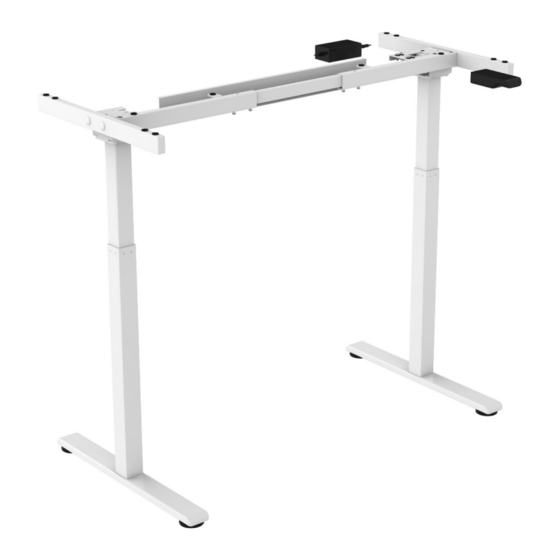
Electrically Height-Adjustable
Desk Frame
Frame Assembling and Display Manual
DA-90430 · DA-90431 · DA-90432
Table of
Contents
Previous
Page
Next
Page
1
2
3
4
5
Advertisement
Table of Contents
Need help?
Do you have a question about the DA-90430 and is the answer not in the manual?
Ask a question
Questions and answers
Related Manuals for Digitus DA-90430
Indoor Furnishing Digitus DA-90387 User Manual
Electric height-adjustable variable stand / sit desk frame (14 pages)
Indoor Furnishing Digitus DA-90388 Instruction Manual
Electric sit-stand desk (23 pages)
Indoor Furnishing Digitus DA-90422 Quick Installation Manual
Ergonomic stool / standing aid, height-adjustable with gas pressure spring (42 pages)
Indoor Furnishing Digitus DA-90407 Quick Installation Manual
Electric height-adjustable desk (11 pages)
Indoor Furnishing Digitus DA-90433 Quick Start Manual
Electrically height-adjustable desk frame (13 pages)
Indoor Furnishing Digitus DA-90434 Quick Start Manual
Electrically height-adjustable desk frame (13 pages)
Indoor Furnishing Digitus DA-90435 Quick Start Manual
Electrically height-adjustable desk frame (13 pages)
Indoor Furnishing Digitus DA-90431 Assembling Manual
Electrically height-adjustable desk frame (17 pages)
Indoor Furnishing Digitus DA-90432 Assembling Manual
Electrically height-adjustable desk frame (17 pages)
Indoor Furnishing Digitus DA-90445 Quick Installation Manual
Ergonomic stand/sit desk (3 pages)
Indoor Furnishing Digitus DA-90413 Quick Installation Manual
Pull-out keyboard shelf for under-desk installation (6 pages)
Indoor Furnishing Digitus DA-90453 Manual
Electrically height-adjustable table frame (20 pages)
Indoor Furnishing Digitus SOHO PRO Series Quick Installation Manual
(4 pages)
This manual is also suitable for:
Da-90431
Da-90432
Table of Contents
Print
Rename the bookmark
Delete bookmark?
Delete from my manuals?
Login
Sign In
OR
Sign in with Facebook
Sign in with Google
Upload manual
Upload from disk
Upload from URL


Need help?
Do you have a question about the DA-90430 and is the answer not in the manual?
Questions and answers