Table of Contents
Advertisement
Advertisement
Table of Contents

Summary of Contents for Andonstar AD409
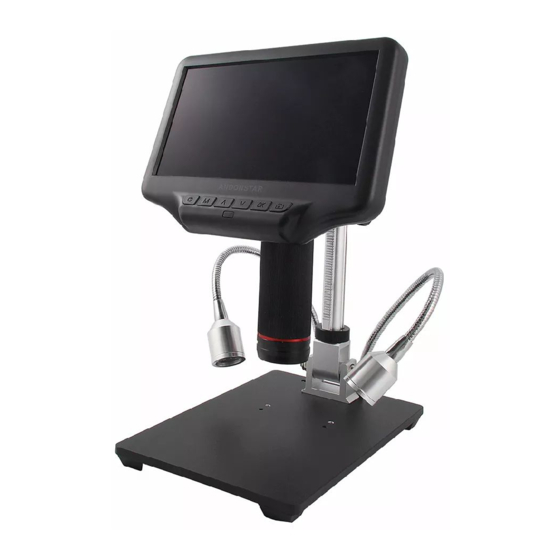
- Page 1 Digital Microscope AD407 Users Manual...
-
Page 2: Table Of Contents
LIST OF CONTENTS Safety and Maintenance ............... 3 Basic Parameters ................3 What’s in the box ................ 4 Assembly ................... 5 Buttons ....................5 Quick start ..................7 Adjusting the Magnification and Focus ......7 Using a Micro SD Card to Save Images ....... 7 Reviewing and Managing Images ......... -
Page 3: Safety And Maintenance
Safety and Maintenance 1. This microscope is safe and low-maintenance, as long as common sense is employed. 2. The assembly includes small parts, particularly the thumbscrews used to hold the main device in place. Do NOT allow unsupervised access by infants or toddlers. 3. -
Page 4: What's In The Box
What’s in the box (P1,what’s in the box) (P2, Assembly1) (P3, Assembly2) -
Page 5: Assembly
Assembly 1. Screw the optical bracket on to the base (see the left picture above,P2 ). 2. Once you have done so, if the bracket is not aligned over the base, unscrew the locking ring, adjust the bracket’s direction, then turn locking ring... - Page 6 (P5, remote buttons) (P6 connect )
-
Page 7: Quick Start
Quick start Connect To use the microscope stand alone, you need to connect the optical stack to the power supply via the switch cable. See the picture(P6) above. Switch on Then press and hold the Power button (① from the P4 “Buttons”) underneath the display until the display turns on. -
Page 8: Reviewing And Managing Images
To play a video, press the OK button to start play. Press the OK button again to pause. Press Mode button to stop playing the current video. Hit the Mode button again to exit playback mode. While reviewing a still image or video, the Menu button can be used to provide additional options. Press the Menu button and hold for a while till options show up. - Page 9 Netsetting: Use “Up” and “Down” to select among “cross line”、 “line” 、 “direction” 、 “position” 、 “color”and “width”. Use “Left” and “Right” on the remote to change the settings. Without remote can not change any of the settings of netsetting. Cross line means 十...
- Page 10 (P13,Set the color of line 1 to transparent) Date/Time: Press “OK” into Date/time setting. Use “Up” and “Down” to select the correct number for year/month/day. Once you finish setting a number, press “OK” on the monitor to the next number. Or, you can use “Left”...
-
Page 11: Warranty
Warranty Warranty User’s name: Address: Phone number: Post code: email: Model name: Purchase date: Fault feedback: Date: Fault: Notice: Our warranty doesn’t cover: If users can not provide the purchase proof or the Warranty. If users use it in an improper environment, such as incompatible power supply, high temperature environment etc.


Need help?
Do you have a question about the AD409 and is the answer not in the manual?
Questions and answers
how do I do a Factory reset mode button doesnt change mode
To perform a factory reset on the Andonstar AD409, locate the "reset" hole on the back of the monitor. Use a narrow object like an unfolded paperclip to press the button inside. This will reset all settings to factory values and restart the display. It does not erase saved images or videos.
This answer is automatically generated