Advertisement
Advertisement
Table of Contents

Related Manuals for Andonstar AD407


Summary of Contents for Andonstar AD407
- Page 1 Digital Microscope AD407 Users Manual...
-
Page 2: Table Of Contents
LIST OF CONTENTS Safety and Maintenance ..............3 Basic Parameters ................3 What’s in the box ................4 Assembly ..................... 5 Buttons ....................5 Quick start................... 7 Adjusting the Magnification and Focus ....... 7 Using a Micro SD Card to Save Images ....... 7 Reviewing and Managing Images .......... -
Page 4: Safety And Maintenance
Safety and Maintenance 1. This microscope is safe and low-maintenance, as long as common sense is employed. 2. The assembly includes small parts, particularly the thumbscrews used to hold the main device in place. Do NOT allow unsupervised access by infants or toddlers. 3. -
Page 5: What's In The Box
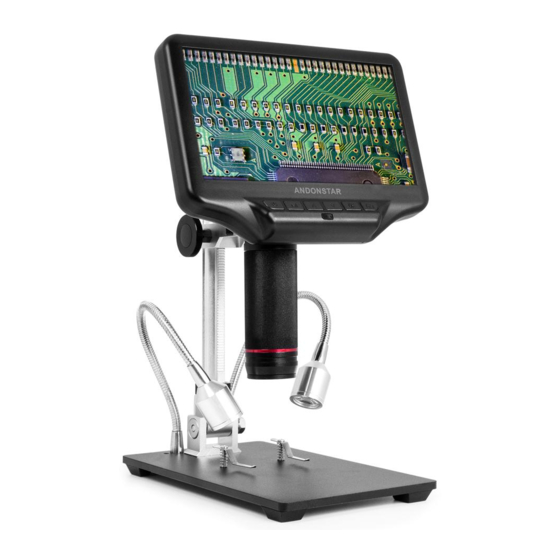
Accessories Metal Base, Optical Bracket, Power Adapter, Switch Cable, HDMI Cable, Remote, UV filter, Screws*2, Screwdriver, Users Manual Packing data 1.6KG/32*22*10CM What’s in the box (P1,what’s in the box) -
Page 6: Assembly
(P2, Assembly1) (P3, Assembly2) Assembly 1. Screw the optical bracket on to the base (see the left picture above,P2 ). 2. Once you have done so, if the bracket is not aligned over the base, unscrew the locking ring, adjust the bracket’s direction, then... - Page 7 (P4, buttons) ⑩Memory card slot ① Power on/off ② Mode/menu ⑪ USB port ③ Up ⑫ HMDI port ④ Down ⑤ OK/Start video record ⑥ Picture capture ⑦ Infrared sensor (when you are using the remote, please point the remote to this so the device would response) ⑧...
- Page 8 (P5, remote buttons)
-
Page 9: Quick Start
(P6 connect ) Quick start Connect To use the microscope stand alone, you need to connect the optical stack to the power supply via the switch cable. See the picture(P6) above. Switch on Then press and hold the Power button (① from the P4 “Buttons”) underneath the display until the display turns on. -
Page 10: Reviewing And Managing Images
Press the OK button(⑤ ) briefly to begin recording. The elapsed time(red color) in the recording will appear at the top left. To stop recording, hit the OK button again. The OK button on the remote has the same function. To Capture pictures Press the Picture Capture button(⑥... - Page 11 (P7,video menu) Then, press MENU button (or M on the monitor) again, you get into the Setup menu, like this: (P8,setup menu) Netsetting: Use “Up” and “Down” to select among “cross line”、 “line” 、 “direction” 、 “position” 、 “color”and “width”. Use “Left”...
- Page 12 example, you change a line from HOR&160(p11) to a vertical line, the position would become 266(p12). → (P11,line 1,HOR&160) (P12,Line1,VER&266) If you don’t want that many lines in the view, you could also change the color of the certain lines into “TRANSPARENT”.
- Page 13 (P14,Date/time setting) To save settings After you set everything right, you should turn off the device by pressing ON/OFF button on the monitor and hold it until the device switching off. If you turn off the device by pressing the button on the switch cable, or just simply cut off the power supply, the setting would not be saved.
-
Page 14: Warranty
Warranty Warranty User’s name: Address: Phone number: Post code: email: Model name: Purchase date: Fault feedback: Date: Fault: Notice: Our warranty doesn’t cover: If users can not provide the purchase proof or the Warranty. If users use it in an improper environment, such as incompatible power supply, high temperature environment etc.
Need help?
Do you have a question about the AD407 and is the answer not in the manual?
Questions and answers