Advertisement
Quick Links
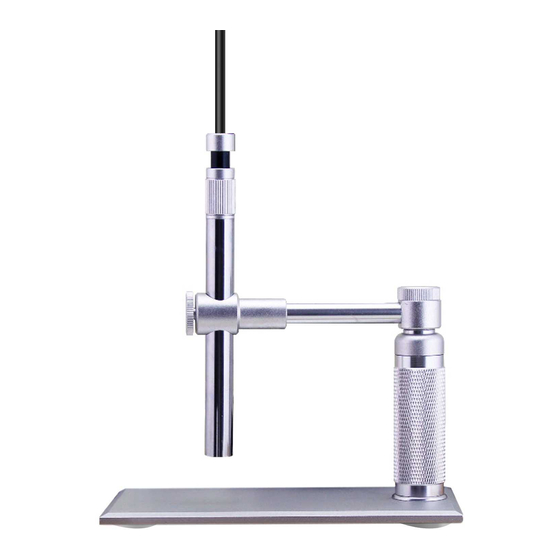
USB Handheld Microscope
USER'S Introduction
Functions and applications
The USB HANDHELD MICROSCOPE is a new electronic product for the
micro object observation. It is a tubular imaging system consisting of an
optical lens, an image sensor, an illumination mechanism, and an image
transfer control circuit connected to a computer. You can display the images
captured by the USB HANDHELD MICROSCOPE on the computer screen,
store them on the computer, print them, or send them over the Internet.
Advertisement

Related Manuals for Andonstar A1


Summary of Contents for Andonstar A1
- Page 1 USB Handheld Microscope USER’S Introduction Functions and applications The USB HANDHELD MICROSCOPE is a new electronic product for the micro object observation. It is a tubular imaging system consisting of an optical lens, an image sensor, an illumination mechanism, and an image transfer control circuit connected to a computer.
- Page 2 Applications As a USB microscope, it can magnify stamps, coins, antiques, insects, electric circuits, machines, hair, skin, fabrics, food, decorations, etc. Attention Before installation and use of this product, please read the instructions in this manual to ensure its correct use. Safety instructions Before using this product, please carefully read the following safety instructions.
- Page 3 10.The cable with this product has been strictly tested. To ensure safe use, do not replace it. System Requirements For best picture quality, the following specifications are recommended: 1. Windows XP, Vista ,windows 7 2. 128M RAM or above 3. At least one USB port (For best effect, USB 2.0 port is recommended). 4.
-
Page 4: Take Photos
Directions for Use Properly connect the USB HANDHELD MICROSCOPE to the computer and to rotate the dial on the USB cable to controls the brightness of the LED on the USB HANDHELD MICROSCOPE. After a short while you should see the image captured by the USB HANDHELD MICROSCOPE on the computer monitor. -
Page 5: Movie Record
5, Click right mouse button to confirm The photos can be taken by push down the button of the dimmer or just push down the return key of the keyboard. LED Light Adjustment There is a LED light dimmer on the USB cable. - Page 6 Post-Sale Services Limitations and exclusions Please keep all the receipts of your purchase in a safe place. You need to produce the unaltered and original receipts to receive warranty coverage. Otherwise, the warranty is voided. The warranty only covers the product if it is used under normal operation conditions.
- Page 7 help of the professional .(Notes:Don ’ t dip in too much absolute alcohol,protecting the alcohol from flowing itno circuit board and LED light and don’t be too strong when cleaning) 5.After confirimg dustout,pls turn on the LED ligth and keep for 15-20min to fast the alcoho volatilization.Because the alcohol will dissolve the glue around the camera lens,pls make sure after volatilization totally,then install the camera lens...
- Page 8 Repair Service Card Product model: Date of repair Customer’s name phone number Description of faults...
- Page 9 Place of repair Results Warranty Card Name of customer Address of customer Purchase date Customer phone number Product model Labeling of Sales Company Serial number...
Need help?
Do you have a question about the A1 and is the answer not in the manual?
Questions and answers