Table of Contents
Advertisement
Quick Links
Advertisement
Table of Contents

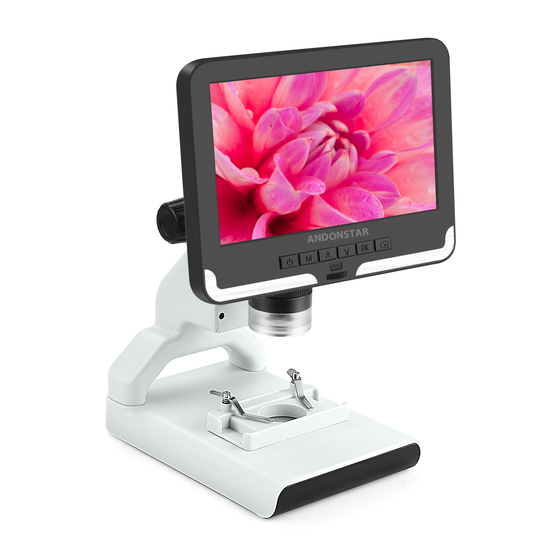
Summary of Contents for Andonstar AD108
- Page 1 Digital Microscope AD 1 0 8 Users Manual...
-
Page 2: Table Of Contents
LIST OF CONTENTS Preface.........................2 Basic Parameters....................2 What’s in the box....................3 Quick start......................4 Adjusting the Magnification and Focus............4 Using a Micro SD Card to Save Images............5 Reviewing and Managing Images............... 5 Settings......................5 Warranty Card.....................7... -
Page 3: Preface
Preface 1. Please read this manual before use the microscope. If you do not follow the instructions, it‘s possible to cause the device damaged. 2. The assembly includes small parts, particularly the thumbscrews used to hold the main device in place. -
Page 4: What's In The Box
What’s in the box (P1, buttons & packing contents ) (P2, remote buttons) -
Page 5: Quick Start
(P3 connect ) Quick start Note 1. To give you good experience, please adjust the microscope and plastic bracket before using, then remove the screen guard film on the screen. 2. If the light barrier is not over the bottom light, please adjust its position. Connect Firstly, connect the optical stack to the power supply via the switch cable. -
Page 6: Using A Micro Sd Card To Save Images
of the stack contact the object being imaged. Turn the Focus controller to focus the image. ②To increase the digital magnification, press and hold the Up button (‘ Button’ ) until the desired Λ Use the Down button( ‘ V Button ’ ) to decrease the digital digital magnification is reached. - Page 7 get into the general Setup Menu. For example, if you are in Video standby mode, and you long press MENU, this is the first menu would show, the “Video menu”: (P4, video menu) Then, press MENU button (or M on the monitor) again, you get into the Setup menu, like this: (P5, setup menu)...
-
Page 8: Warranty Card
To save settings After you set everything right, you should turn off the device by pressing ON/OFF button on the monitor and hold it until the device switching off. If you turn off the device by pressing the button on the switch cable, or just simply cut off the power supply, the setting would not be saved.


Need help?
Do you have a question about the AD108 and is the answer not in the manual?
Questions and answers