Table of Contents
Advertisement
Quick Links
DIGITAL MULTIFUNCTIONAL SYSTEM
DIGITAL MULTIFUNCTIONAL SYSTEM
DIGITAL MULTIFUNCTIONAL SYSTEM
Quick Start Manual
Quick Start Manual
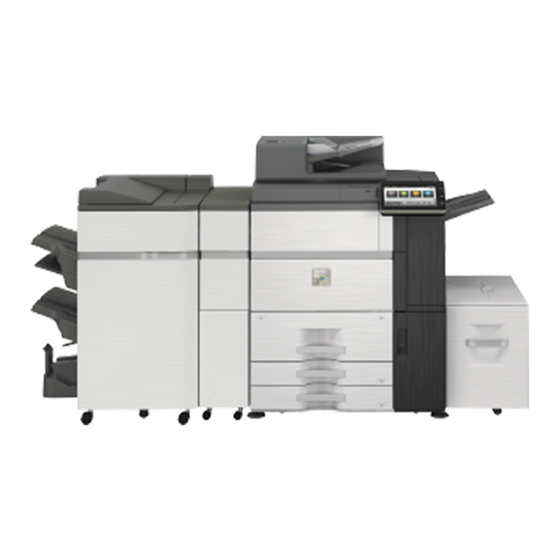
MODEL: MX-M1056
MODEL:
MX-M1056
MX-M1206
MX-M1206
BEFORE USING THE MACHINE
Functions of the machine and procedures
for placing originals and loading paper
COPIER
Using the copy function
PRINTER
Using the printer function
SCANNER
Using the scan function
DOCUMENT FILING
Storing jobs as files on the local
drive
MANUAL FINISHING
Using the manual finishing function
SYSTEM SETTINGS
Configuring settings to make the
machine easier to use
Advertisement
Table of Contents


Need help?
Do you have a question about the MX-M1056 and is the answer not in the manual?
Questions and answers