Table of Contents
Advertisement
Quick Links
Advertisement
Table of Contents

Subscribe to Our Youtube Channel
Related Manuals for Zanussi ZOB442X


Summary of Contents for Zanussi ZOB442X
- Page 1 User Manual GETTING STARTED? EASY. ZOB442X EN User Manual Oven...
-
Page 2: Safety Information
VISIT OUR WEBSITE TO: Get usage advice, brochures, trouble shooter, service and repair information: www.zanussi.com/support SAFETY INFORMATION Before the installation and use of the appliance, carefully read the supplied instructions. The manufacturer is not responsible for any injuries or damage that are the result of incorrect installation or usage. -
Page 3: Safety Instructions
Always use oven gloves to remove or put in accessories or • ovenware. Before carrying out any maintenance, disconnect the appliance • from the power supply. WARNING: Ensure that the appliance is switched off before • replacing the lamp to avoid the possibility of electric shock. Do not use the appliance before installing it in the built-in •... - Page 4 Ventilation opening 560x20 mm minimum size. Opening Cable types applicable for installation or re- placed on the bottom placement for Europe: rear side Mains supply cable 1100 mm H07 RN-F, H05 RN-F, H05 RRF, H05 VV-F, length. Cable is placed H05 V2V2-F (T90), H05 BB-F in the right corner of the back side...
-
Page 5: Internal Lighting
• Do not put flammable products or items that are • Replace immediately the door glass panels wet with flammable products in, near or on the when they are damaged. Contact the appliance. Authorised Service Centre. • Be careful when you remove the door from the WARNING! Risk of damage to the appliance. -
Page 6: Installation
INSTALLATION BUILDING IN WARNING! Refer to Safety chapters. (*mm) min. 550 min. 560 (*mm) min. 550 min. 560 SECURING THE OVEN TO THE CABINET... -
Page 7: Product Description
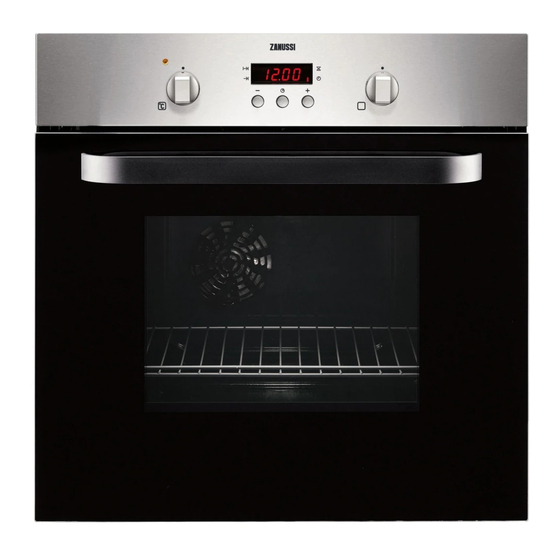
PRODUCT DESCRIPTION GENERAL OVERVIEW Control panel Power lamp / symbol Knob for the heating functions Display Control knob (for the temperature) Temperature indicator / symbol Air vents for the cooling fan Heating element Lamp Shelf support, removable Shelf positions ACCESSORIES •... -
Page 8: Before First Use
BEFORE FIRST USE WARNING! Refer to Safety chapters. BEFORE FIRST USE The oven can emit an odour and smoke during preheating. Make sure that the room is ventilated. Step 1 Step 2 Step 3 Set the clock Clean the oven Preheat the empty oven 1. -
Page 9: Clock Functions
NOTES ON: MOIST FAN BAKING This function was used to comply with the energy Oven func- Application efficiency class and ecodesign requirements tion according to EU 65/2014 and EU 66/2014. Tests according to EN 60350-1. This function is designed to The oven door should be closed during cooking so save energy during cooking. -
Page 10: Using The Accessories
How to set: Duration Step 1 Set an oven function and the temperature. Step 2 - press repeatedly. - starts to flash. Step 3 - press to set the duration. The display shows: - flashes when the set time ends. The signal sounds and the oven turns off. Step 4 Press any button to stop the signal. -
Page 11: Additional Functions
Wire shelf: Push the shelf between the guide bars of the shelf support and make sure that the feet point down. Baking tray: Push the tray between the guide bars of the shelf support. Wire shelf, Baking tray: Push the tray between the guide bars of the shelf support and the wire shelf on the guide bars above. - Page 12 If you cannot find the settings for a special recipe, To prevent too much smoke in the oven during look for the similar one. roasting, add some water into the deep pan. To prevent the smoke condensation, add water each The oven has a special system which circulates the time after it dries up.
- Page 13 Conventional Cook- Fan Cooking CAKES (min) (°C) (°C) Buns, preheat 80 - 100 Baking tray the empty oven Choux pastry, 3 (1 and 15 - 20 Baking tray preheat the empty oven Plate tarts 25 - 35 Cake mould, Ø 20 cm Rich fruit cake 110 -...
- Page 14 Conventional Cooking Fan Cooking FLANS (min) (°C) (°C) Pasta flan 40 - 50 Vegetable flan 45 - 60 Quiches 40 - 50 Lasagne 25 - 40 Cannelloni 25 - 40 Yorkshire pudding, 6 pud- 20 - 30 ding moulds, preheat the empty oven Use the wire shelf.
- Page 15 Conventional Cooking Fan Cooking MEAT (min) (°C) (°C) Pork shoulder, with rind 120 - 150 Pork shin, 2 pieces 100 - 120 Leg of lamb 110 - 130 Whole chicken 70 - 85 Whole turkey 210 - 240 Whole duck 120 - 150 Whole goose 150 - 200...
-
Page 16: Moist Fan Baking - Recommended Accessories
GRILL (min) (min) (kg) 1st side 2nd side Beef steak, 4 pieces 10 - 12 6 - 8 Sausages, 8 12 - 15 10 - 12 Pork chops, 4 pieces 12 - 16 12 - 14 Chicken, half, 2 30 - 35 25 - 30 Kebabs, 4 10 - 15... - Page 17 (°C) (min) Pizza, frozen, 0.35 wire shelf 35 - 40 Swiss roll baking tray or dripping 30 - 40 Brownie baking tray or dripping 30 - 40 Soufflè, 6 pieces ceramic ramekins on wire 30 - 40 shelf Sponge flan base flan base tin on wire shelf 20 - 30 Victoria sandwich...
-
Page 18: Information For Test Institutes
INFORMATION FOR TEST INSTITUTES Tests according to IEC 60350-1. (°C) (min) Small Conven- Baking 20 - 30 cakes, tional tray 20 per Cooking tray Apple Conven- Wire 80 - 120 pie, 2 tional shelf tins Ø20 Cooking Sponge Conven- Wire 35 - 45 cake, tional... -
Page 19: Notes On Cleaning
NOTES ON CLEANING Clean the front of the oven with a soft cloth with warm water and a mild detergent. Clean and check the door gasket around the frame of the cavity. Use a cleaning solution to clean metal surfaces. Clean stains with a mild detergent. - Page 20 Step 1 Open the door fully and hold Step 2 Lift and turn the levers fully on both hinges. both hinges. Step 3 Close the oven door halfway to Step 4 Put the door on a soft cloth on a the first opening position.
-
Page 21: Troubleshooting
Before you replace the lamp: Step 1 Step 2 Step 3 Turn off the oven. Wait until the Disconnect the oven from the Put a cloth on the bottom of oven is cold. mains. the cavity. Back lamp Step 1 Turn the glass cover to remove it. -
Page 22: Energy Efficiency
ENERGY EFFICIENCY PRODUCT INFORMATION AND PRODUCT INFORMATION SHEET* Supplier's name Zanussi Model identification ZOB442X 944064848 Energy Efficiency Index 94.9 Energy efficiency class Energy consumption with a standard load, conventional 0.83 kWh/cycle mode Energy consumption with a standard load, fan-forced mode 0.75 kWh/cycle... -
Page 23: Environmental Concerns
ENVIRONMENTAL CONCERNS with the symbol with the household waste. Recycle materials with the symbol . Put the Return the product to your local recycling facility or packaging in relevant containers to recycle it. Help contact your municipal office. protect the environment and human health by recycling waste of electrical and electronic appliances. - Page 24 WWW.ZANUSSI.COM/SHOP...
Need help?
Do you have a question about the ZOB442X and is the answer not in the manual?
Questions and answers