
Subscribe to Our Youtube Channel
Related Manuals for Royal Sovereign ARP-2210


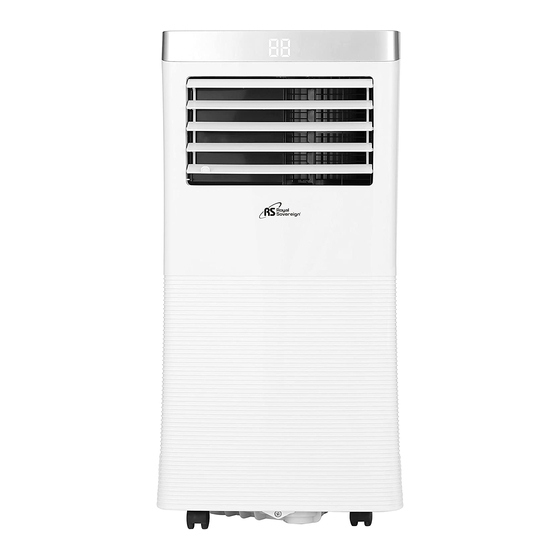
Summary of Contents for Royal Sovereign ARP-2210
- Page 1 Owner Manual 3 in 1 Portable Air Conditioner ARP-2210 Please read and retain these instructions. For more information, please visit Royal Sovereign International Inc. www.royalsovereign.com(USA) or www.royalsovereign.ca(Canada)
-
Page 2: Table Of Contents
Contents SAFETY INSTRUCTIONS ..............X PRODUCT VIEW ................X INSTALLATION ................X OPERATION ..................X MAINTAINANCE AND SELF DRAINAGE,,,,..........X TROUBLESHOOTING.................X SPECIFICATIONS................X WARRANTY ..................X... -
Page 3: Safety Instructions
5. In case of any abnormality, be sure to turn off the machine, disconnect the plug, and contact Royal Sovereign Customer Service. 6. Do not operate if the electrical plug or power cord is damaged. If damaged, call Royal Sovereign Customer Service for repair/replacement. - Page 4 Safety Instructions When using this unit follow these safety precautions to reduce risk of fire, electric shock, or injury Operational Safety 1. Install the unit according to the installation instructions supplied 2. Do not block air outlets or intake with obstacles. 3.
-
Page 5: Product View
Product View Unit Remote Control Unit Control panel Air filter (inlet) Drainage Hole Adjustable Caster Wheels Exhaust Duct Louver Handle Remote Control High Sleep Timer Up/Down °C/°F Power Cool /Dry / Fan... - Page 6 Unpacking Accessories Included: 1. Exhaust hose 2. Hose connector 3. Window kit adapter 4. Remote control 5/ Window Kit Important: To prevent damage after moving, unpack the unit and let the unit stand upright for a minimum of 2 hours. If the unit was accidentally placed on its side, allow the unit to set upright for at least 24 hours before use Placement 1.
-
Page 7: Installation
Installation The air conditioner requires being vented outside so that the exhaust air can escape the room. Do not replace or extend exhaust hose beyond its specification. This will result in decreased efficiency of the unit and may cause the unit to shut down due to low backpressure. - Page 8 Step 5: Attach the hose connector to the exhaust air outlet of unit. Step 6: Adjust the length of the flexible exhaust hose. Avoid bends in the hose and ensure that the unit is near the electrical outlet.
-
Page 9: Operation
Operation BEFORE PLUGGING IN THE UNIT TO A POWER SOURCE: 1. Let the unit stand upright for a minimum of 2 hours. This will reduce the chance of malfunction in the cooling system. 2. Ensure the rubber drain plugs are securely plugged into the drain ports on the back of the unit to prevent any possible water leaks. - Page 10 Unit Panel POWER Press button to turn unit ON/OFF Press button to switch the operation mode between fan, MODE cooling, and dehumidifying modes Press button to set a time for the unit to automatically start TIMER or stop. Press button to increase the desired temperature and/or used for timer setting.
- Page 11 Fan Mode Using the control panel Press the Mode button until fan mode is selected. The fan indicator light will blink for a few second and turn solid when set. In fan mode, only the unit will circulate air, while the units compressor is off. To change between high and low setting, press the speed button To control the direction of the air flow, manually adjust the louvres by using the louvre handle Using the remote control...
- Page 12 Sleep Mode Available only using Remote Control. Press the sleep icon to switch to sleep mode Sleep mode can only be used when the unit is in cooling mode In sleep mode the fan runs at low speed. During sleep mode after 1 hour the preset temperature will increase by 1°C ad again every hour by 1°C Timer The timer function has two sets of operation (Timer OFF and Timer ON)
- Page 13 Automatic Defrost (Continued When the unit operates in the dehumidifying mode, once the coil temperature sensor senses the temperature of the evaporator is below 40℃ and the differential temperature between coil temperature and room temperature is below 19℃, compressor operation will stop operation for 20minutes, the unit will begin defrosting for 5 minutes and the power indicator light will be blinking.
- Page 14 CLEANING THE AIR FILTER The filter should be cleaned about every 2 weeks to maintain proper air flow Important: Do not operate the unit without an air filter, or the evaporator may be contaminated. 1. Press POWER button to turn OFF the unit. Unplug the unit from the electrical power outlet. 2.
-
Page 15: Troubleshooting
PCB. Check connection or replace it. Clean or replace the temperature sensor – Ambient temperature sensor failure Contact Royal Sovereign customer service Error Codes Check connection or replace it. Clean or replace the temperature sensor. – ... -
Page 16: Specifications
Specifications Attributes BTU: 10000 BTU Ashrae /6600 BTU SACC Room Size: 32.5m2 (350sq. ft.) Functions: Cool, Fan, Dehumidify LED Digital Display: Yes Front LED Temperature Display: Yes Remote Control Included: Yes 4-Way Manual Louvres: Yes Fan Speeds: 2 24 Hour Timer: Yes Sleep Mode: Yes Auto Restart: Yes Thermostat Range: 16-32°C /61-90°F... -
Page 17: Warranty
One Year Limited Warranty Royal Sovereign International, Inc. warranties this product to be free from defects in material and workmanship to the original purchaser only as outlined below. Parts: Replacement of defective parts for 1 year from the date of customer purchase.
Need help?
Do you have a question about the ARP-2210 and is the answer not in the manual?
Questions and answers