Table of Contents
Advertisement
Quick Links
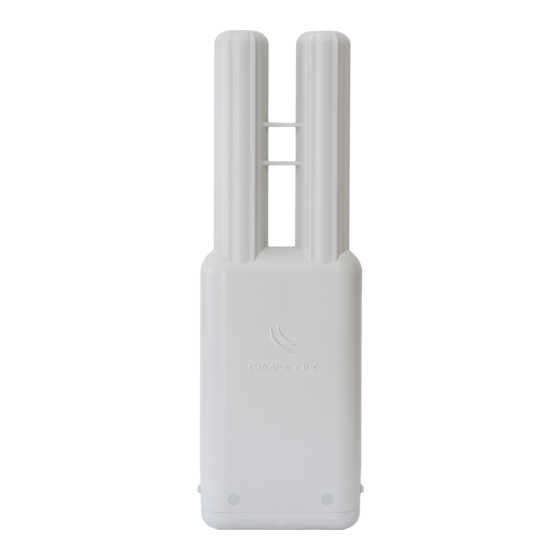
RouterBOARD OmniTik 5HnD
Quick Setup Guide and Warranty Information
The RouterBOARD OmniTik comes preinstalled in an outdoor case, with a built-in 5GHz
802.11a/n wireless and five 10/100 Ethernet ports which support MDI-X auto detection.
There are two built-in antennas. One antenna is v-pol, the other is h-pol. Antenna gain is
7.5dbi. The device is packaged with a 24V power adapter, a PoE injector, a mounting
bracket and a hose clamp.
First use
Open the small door on the bottom of the case, connect an Ethernet cable to the
•
Ethernet port. If you want to connect more than one Ethernet cable, you have to
break out the hole-blockers.
OmniTik accepts 8-30V Passive PoE from a PoE injector. The package includes a
•
24V power adapter and a PoE injector.
The default IP address from LAN is 192.168.88.1 for configuration
•
Username is admin and there is no password
•
Powering
The board accepts powering from the Ethernet port (Passive PoE):
Ethernet port accepts passive Power over Ethernet 8-30V DC. Package contains a
•
24V adapter and a PoE injector.
Maximum power consumption of the device is 9W.
Power output
The OmniTik UPA-5HnD can supply PoE powering to external devices from its Ethernet
ports. This is convenient as you don't need any additional PoE injectors on a tower to pow-
er other wireless devices. This feature is indicated by the letter "P" in the device model
name. The output Voltage will be the same as input Voltage, and this feature will have to be enabled on the specific
ports in RouterOS software. By default it is disabled. Output is possible on ports 2-5. Once Power Output is enabled in
RouterOS, the Ethernet LED light turns from Green, to Red. Read LED means the port is currently providing PoE
power.
Booting process
This device doesn't come fitted with a Serial Port connector, so initial connection has to be done via the Ethernet ca-
ble, using the MikroTik Winbox utility. Winbox should be used to connect to the default IP address of 192.168.88.1
with the username admin and no password.
In case IP connection is not available, Winbox can also be used to connect to the MAC address of the device. Infor-
mation here: http://wiki.mikrotik.com/wiki/First_time_startup
In case you wish to boot the device from network, for example to use MikroTik Netinstall, hold the RESET button of
the device when starting it until the LED light turns off, and the device will start to look for Netinstall servers.
Mounting
OmniTik comes bundled with one mounting bracket and one hose clamp for putting the device on a pole. You should
avoid connecting a loose Ethernet cable to the Ethernet port, secure the cable to a wall or the pole, so that the cable
weight is not pulling the port. It is recommended to secure the Ethernet cable less than 2m from the device. This is to
ensure that the cable doesn't damage the port by its weight, or doesn't fall out.
www.routerboard.com
1
!
21 Nov 2016
Advertisement
Table of Contents

Related Manuals for MikroTik RouterBOARD OmniTik 5HnD


Summary of Contents for MikroTik RouterBOARD OmniTik 5HnD
- Page 1 In case you wish to boot the device from network, for example to use MikroTik Netinstall, hold the RESET button of the device when starting it until the LED light turns off, and the device will start to look for Netinstall servers.
- Page 2 Hardware. MikroTik warrants all RouterBOARD series equipment for the term of twelve (12) months from the shipping date to be free of defects in materials and workmanship under normal use and service, except in case of damage caused by mechanical, electrical or other accidental or intended damages caused by improper use or due to wind, rain, fire or other acts of nature.
- Page 3 Federal Communication Commission Interference Statement (FCC ID: TV7OMNITIK5HND) This equipment has been tested and found to comply with the limits for a Class B digital device, pursuant to Part 15 of the FCC Rules. These limits are designed to provide reasonable protection against harmful interference in a residen- tial installation.
- Page 4 Connect the power adapter to turn on the device. Open 192.168.88.1 in your web browser, to configure it. More informa- tion on http://wiki.mikrotik.com Инструкция: Свържете адаптера на захранване, за да включите устройството. Отворете 192.168.88.1 в уеб браузър, за да настроите продукта. Повече информация в...
Need help?
Do you have a question about the RouterBOARD OmniTik 5HnD and is the answer not in the manual?
Questions and answers